


27En
En
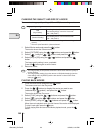
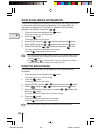
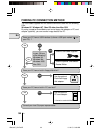
REC VIEW
After each picture is taken, the image is displayed on the LCD monitor for a
few seconds for you to view.
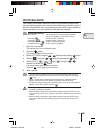
1 Open the lens barrier.
The camera turns on in the Record mode.
2 Press the button.
The monitor shows the Camera menu.
3 Select [SETUP] using the / buttons and press the button.
4 Select [REC VIEW] using the
/ buttons and press the
button.
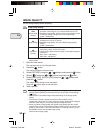
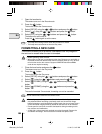
5 Select [ON] using the
/ buttons and press the button.
ON: The monitor briefly shows the last image you took once shooting is
completed.
OFF: The camera is ready to take the next picture immediately after shooting
is completed.
The Rec view setting is now completed.
Press the
button again to exit the menu.
Note
The Rec view mode remains when the lens barrier is closed.
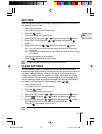
CLEAR SETTINGS
You can choose to keep the shooting-related settings, such as the flash
mode and image quality settings, as they are for the next picture or return to
the default settings when the camera is turned off. If you do not want to
change the settings to suit the weather or subject, select [HOLD] to keep
current settings. This conveniently avoids having to re-enter settings each
time the camera is used (as would be the case if the settings are cleared).
For details of the settings, see “Clear settings value” (
).
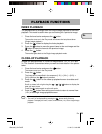
1 Open the lens barrier.
The camera turns on in the Record mode.
2 Press the button.
The monitor shows the Camera menu.
3 Select [SETUP] using the / buttons and press the button.
4 Select [
] using the / buttons and press the button.
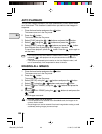
5 Select [HOLD] using the
/ buttons and press the button.
By selecting [HOLD], you can keep the current settings.
Press the button again to exit the menu.
Note
The clear settings remains when the lens barrier is closed.
1/Basic06_C2-E.65E 01.8.17, 10:07 AM27