61
VQT3A36
Basic
• If the images are not output on the TV when the setting is [AUTO], match with the image format
your TV can display, and select the number of effective scanning lines. (Please read the
operating instructions for the TV.)
• This will work when the HDMI mini cable (optional) is connected.
• Refer to P157 for details.
• This will work when the HDMI mini cable (optional) is connected.
• Refer to P158 for details.
• This will work when the HDMI mini cable (optional) is connected.
• Refer to P154 for the method to playback 3D pictures in 3D.
• When it is set to [ON], you can set/cancel favorites by pressing 4
during playback. You can also set favorites from the playback menu.
For details, refer to P149.
[VIERA Link]
Setup so this unit can be controlled by the remote control of the
VIERA equipment by automatically coupling this unit with the
VIERA Link compatible equipment using HDMI mini cable
(optional).
[OFF]: Operation is performed with the buttons on this unit.
[ON]: Remote control operation of the VIERA Link
compatible equipment is enabled. (Not all operations
are possible)
Button operation of the main unit will be limited.
[3D PLAYBACK]
Setup the output method for 3D pictures.
[]: Set when connecting to a 3D compatible television.
[]: Set when connecting to a television not compatible
with 3D.
Set this when you would like to view pictures in 2D
(conventional image) on a 3D compatible television.
Ü [FAVORITE FUNC.]
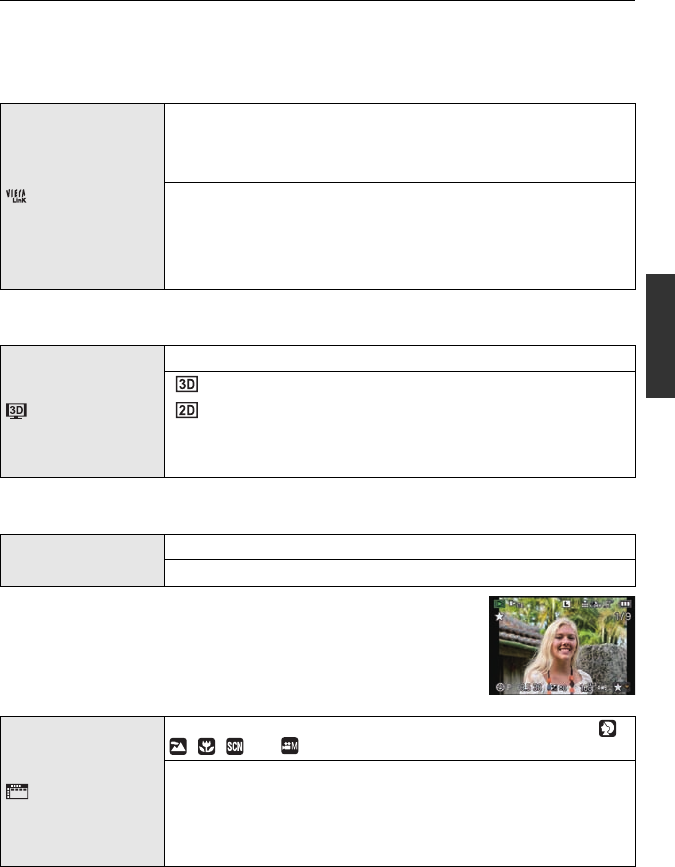
Marks can be added to pictures, and set up as favorites.
[OFF]/[ON]
[MENU GUIDE]
Set the screen that is displayed when the mode dial is set to ,
, , and .
[OFF]: The recording screen in the currently selected
Advanced Scene Mode (P96), Scene Mode (P98) or
Creative Motion Picture Mode (P105) appears.
[AUTO]: The Advanced Scene Mode, Scene Mode or Creative
Motion Picture Mode menu screen appears.
DMC-GH2H&GH2K&GH2PP-VQT3A36_eng.book 61 ページ 2010年10月19日 火曜日 午前11時3分


