


35
VQT1A34
Setup
Setting date and time
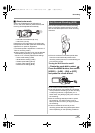
When the unit is turned on for the first time, a
message asking you to set the date and time will
appear.
≥Move the cursor button up or down to select
[YES], press the centre of the cursor button and
then perform steps 2 and 3 below to set the
date and time.
If the screen shows the incorrect date and time,
then adjust it.
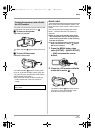
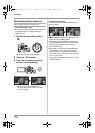
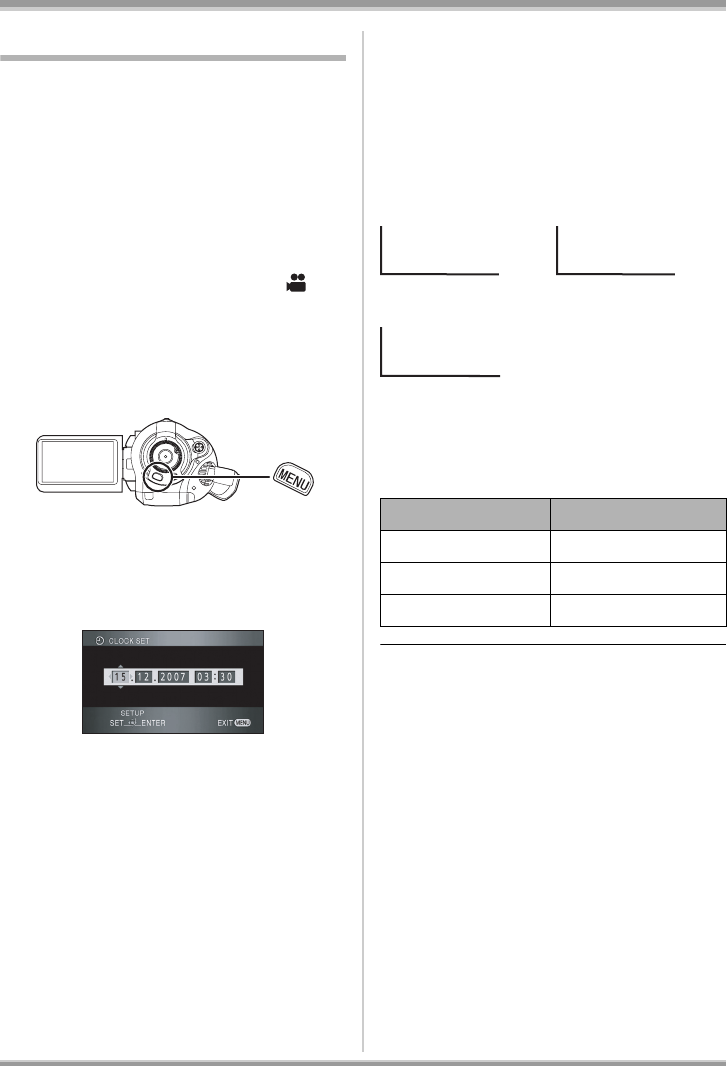
¬
Rotate the mode dial to select .
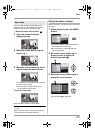
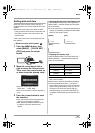
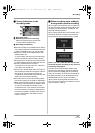
1 Press the MENU button, then
select [BASIC]
# [CLOCK SET] #
[YES]
and press the cursor
button.
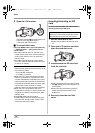
2 Move the cursor button left or
right to select the item to be set.
Then, move the cursor button up
or down to set the desired value.
≥The year will change as follows:
2000, 2001, ..., 2039, 2000, ...
≥The 24-hour system is used to display the
time.
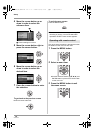
3 Press the cursor button to enter
the selection.
≥The clock function starts at [00] seconds
when the cursor button is pressed.
≥After pressing the MENU button to finish
the setting, check the date and time
display.
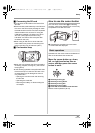
Changing the date and time display style
Press the MENU button, then select [SETUP] #
[DATE/TIME] # desired display style and press
the cursor button.
≥You can also show or change the date and time
display by repeatedly pressing the DATE/TIME
button on the remote control.
Changing the display style
Press the MENU button, then select [SETUP] #
[DATE FORMAT] # desired display style and
press the cursor button.
≥The date and time function are driven by a
built-in lithium battery.
≥Make sure to check the time before recording.
≥If the time display becomes [- -], the built-in
lithium battery has run down. Use the following
steps to charge the battery. When you turn on
the power for the first time after charging, a
message asking you to set the date and time
will appear. Select [YES] and set the date and
time.
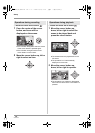
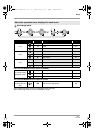
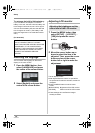
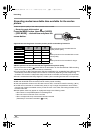
[DATE] [D/T]
[OFF]
Display style Screen display
[Y/M/D] 2007.12.15
[M/D/Y] 12 15 2007
[D/M/Y] 15.12.2007
15.12.2007 15:30
15.12.2007
VQT1A34_GC_ENG.book 35 ページ 2007年1月27日 土曜日 午後1時46分