43
Writing Printing Data on a Card
(DPOF Setting)
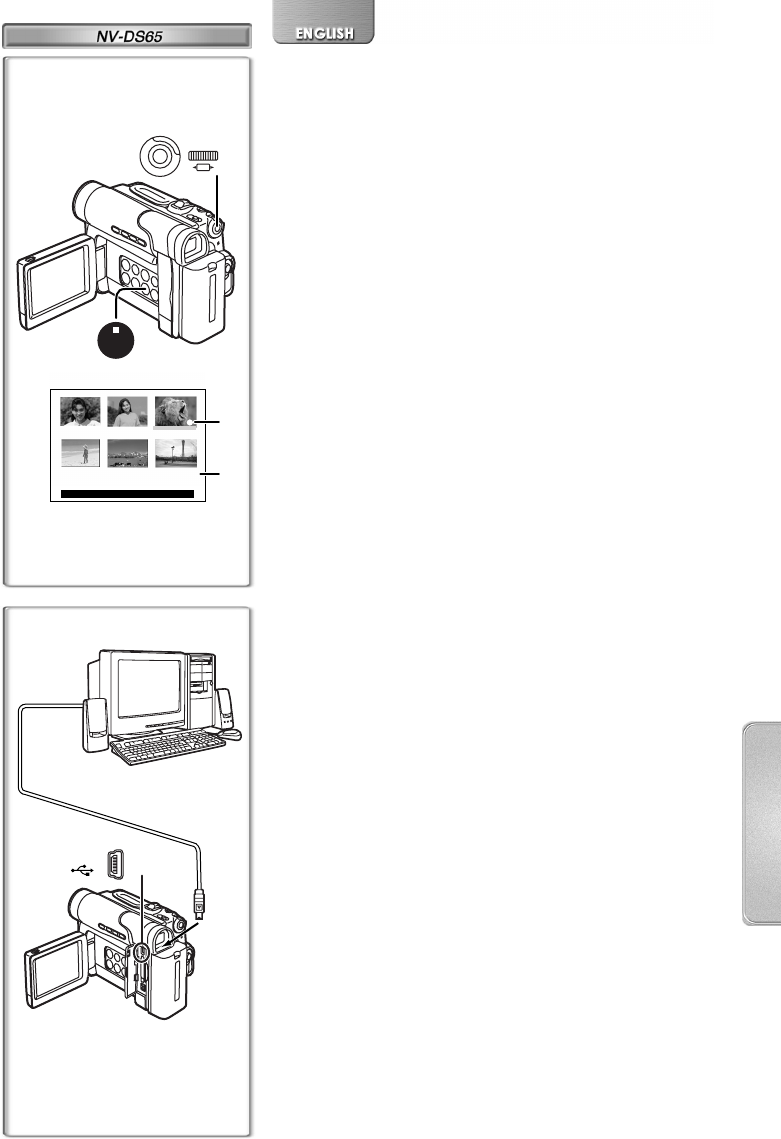
DPOF Setting Printing data (DPOF Settings), such as the
number of images to be printed, can be written to the Card.
“DPOF” means Digital Print Order Format.
1 Press the [MENU] Button in the card playback
mode.
2 Set [CARD SETUP] >> [DPOF] >> [ON] >>
[VARIABLE] >> [ON].
≥Pictures recorded on the Card are displayed in
Multi-Picture Mode.
1
≥To print all pictures one at a time, select [ALL 1]. When all
images are not printed, select [ALL 0].
3 Select a desired picture.
≥The number of prints set by DPOF 2 is displayed.
4 Turn the [PUSH] Dial and select the number of
pictures to be printed, and press the [PUSH] Dial.
≥[µ] Indication 3 is displayed in the picture set.
5 Repeat Step 3 and 4 and press the [M-STOP]
Button when the setup is completed.
≥For other notes concerning this item, see page 49.
~~~~~~~~~~~~~~~~~~~~~
Using the USB Connection Kit
(NV-DS65 only)
Using the USB Connection Kit, you can import still pictures into
your personal computer.
1 Install the supplied USB driver.
2 Select the desired mode of the Movie Camera.
3 Connect the supplied USB Cable 1 to [USB]
Socket.
2
≥It enters PC connection mode.
≥The USB Connection Kit can be used with Windows98 Second
Edition/Me/2000/XP.
≥Use the AC Adaptor as power source for the Movie Camera.
(The Card or its contents may be destroyed if battery power is
lost while transmitting data.)
≥Mode cannot be changed in PC connection mode by setting
the [VCR/OFF/CAMERA/M-CARD] Switch.
≥For more details on the operating environment, installation,
connections, and procedures, please refer to USB Connection
Kit’s operating instructions.
2, 3, 4
1
D-001
PRESS STOP TO EXIT
123
4 5 6
DPOF SETTING
1
M
E
N
U
2
3
PUSH
SHUTTER /
W B / IRIS/
MF / JOG
5
STOP
M-STOP
1
2
1
3
EG-ENG.book 43 ページ 2003年1月6日 月曜日 午後3時43分


