


212
Wi-Fi
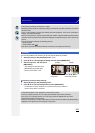
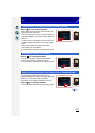
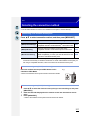
2 Press 3/4 to select [New Connection], and then press
[MENU/SET].
•
When connecting with the setting you used before, you can
select the connection destination from [Select a destination from
History] (P214) or [Select a destination from Favorite] (P215).
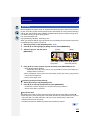
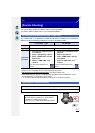
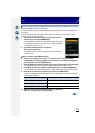
3 Press 3/4 to select [Remote Shooting], and then press
[MENU/SET].
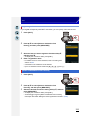
•
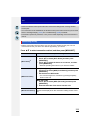
The information (SSID and password) required for directly
connecting your smartphone/tablet to this unit is displayed.
• To change the connection method, press [DISP.], and then select
the connection method. For details, refer to [Change method].
∫ [Change method]
•
When connecting with [Via Network]
(On the camera)
1 Press 3/4 to select [Via Network], and then press [MENU/SET].
2 Select the method for connecting to a wireless access point, and set.
•
Refer to P217 for details.
(On your smartphone/tablet)
3 On the setting menu of your smartphone/tablet, turn on the Wi-Fi function.
4 Select the wireless access point you want to connect to, and set.
5 Start “LUMIX LINK” on your smartphone/tablet. (P211)
• When connecting with [Wi-Fi Direct] or [WPS Connection]
(On the camera)
1 Press 3/4 to select [Direct], and then press [MENU/SET].
•
For details on the connection methods, refer to P219.
(On your smartphone/tablet)
2 Start “LUMIX LINK” on your smartphone/tablet. (P211)
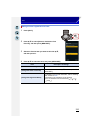
On your smartphone/tablet
(The default connection method is set to [Manual Connection].)
4 On the setting menu of your smartphone/tablet, turn on the Wi-Fi function.
5 Select the SSID that matches the one displayed on the sceen of this unit, and
then enter the password.
6 Start “LUMIX LINK” on your smartphone/tablet. (P211)
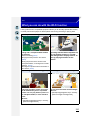
•
When the connection is complete, live images being captured by the camera are
displayed on the smartphone/tablet.