65
Taking Pictures
4
5 Set the Mode dial to G.
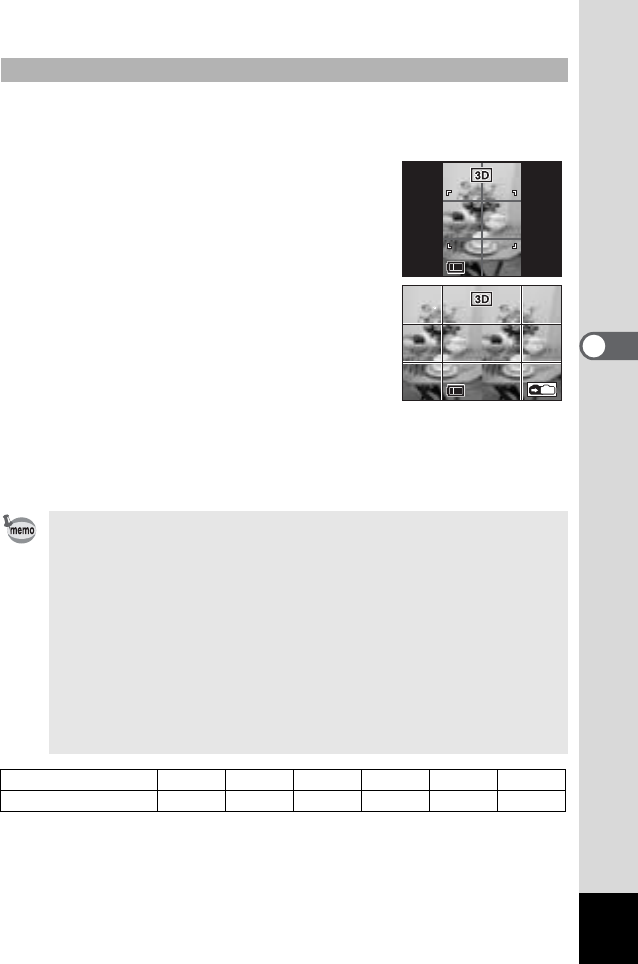
The screen for taking the first picture appears in the middle of the LCD
monitor.
6 Take the first picture.
Hold the camera so that the subject is in the
middle of the screen, and press the shutter
release button.
The picture is displayed in the left half screen of
the LCD monitor. The right half screen is for
taking the second picture.
7 Move the camera to right without
changing your stance.
8 Take the second picture.
Make sure that the subject is in the middle of the
right half of the screen and press the shutter release button.
When you have taken the second picture, the screen returns to Step 6.
9 Press the Playback button.
The LCD monitor displays both the left and right images.
Taking pictures
• Press the Menu / Fn button or change the 3D image mode to another
Capture mode to cancel the 3D image mode.
• A clear three-dimensional effect will not be achieved if the two images are
taken in widely different positions (heights) or are not straight. When taking a
person, you are recommended to ask your model to stay as still as possible
and to take the second picture as quickly as you can. It is easier to take the
pictures if you use a tripod or appropriate base.
• As a guide, the camera should be moved about 1/40 of the distance
between the camera and the subject. For example, if the subject is 3m
away, the distance the camera should be moved will be
3m ÷ 40=7.5cm.
However, as the way people see three-dimensional images differs from
person to person, there is no need to be too concerned. Refer to the table
below for a simple guide to how far to move the camera.
Distance to subject 0.1 m 0.3 m 0.5 m 1 m 3 m 5 m
Camera movement 0.5 cm 1 cm 1.5 cm 2.5 cm 7.5 cm 13 cm
14
14
14
11:19
11:19
11:19
03/20/2003
03/20/2003
03/20/2003
14
14
14


