126
6
Editing and Printing Images
5 Select [Recorded Pixels] and [Quality Level].
Use the four-way controller (45) to choose the size and quality.
Use the four-way controller (23) to switch between [Recorded Pixels]
and [Quality Level].
6 Press the 4 button.
A confirmation dialog for overwriting the image appears.
If the image is protected, a confirmation screen does not appear. The
image is automatically saved with a new file name.
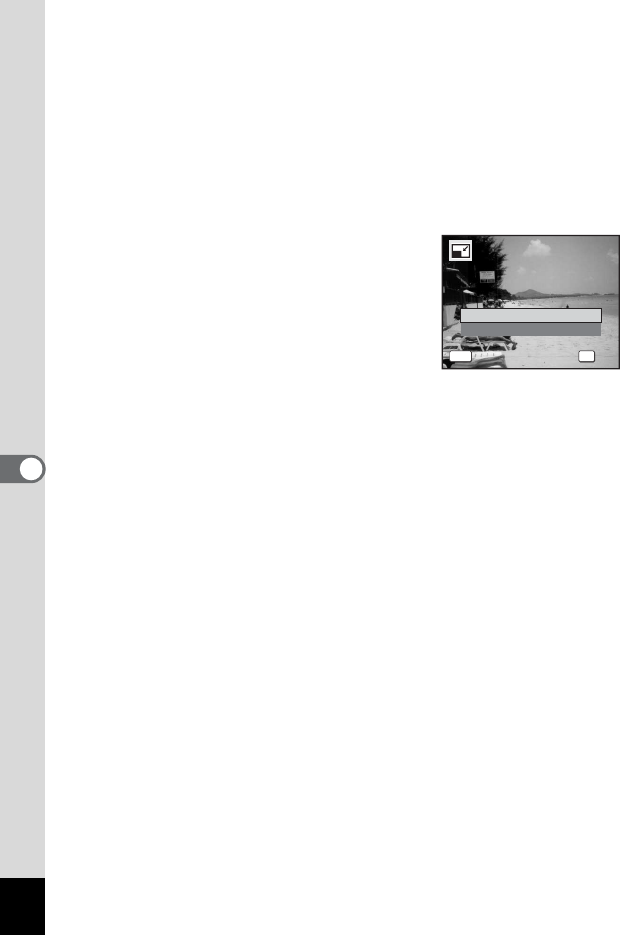
7 Use the four-way controller (23)
to select [Overwrite] or [Save as].
8 Press the 4 button.
The resized image is saved.
MENU
Overwrite
Save as
Overwrite
original image?
Overwrite
original image?
Cancel
Cancel
OK
OK
OK


