17
Getting Started
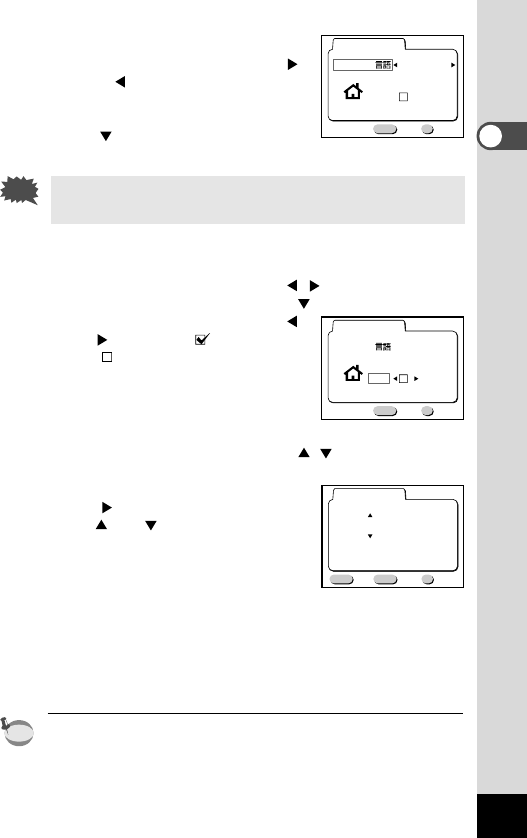
x Select the display language.
1. Use the four-way controller (
or ) to select the display lan-
guage.
2. Press the four-way controller
().
If you skip this operation, the menus and error messages
etc.will be displayed in English.
c Select the nearest city in the time zone in which you will
use the camera.
1. Use the four-way controller ( ) to select the city.
2. Press the four-way controller ( ).
3. Use the four-way controller (
) to enable ( ) or disable
( ) summer time.
4. Press the OK button.
The screen for setting the date
and time will be displayed.
v Set the date and time.
1. Press the four-way controller ( ) to change the
year.
2. Press the four-way controller
().
and will be displayed
above and below the month.
3. Repeat Steps 1 and 2 to change
the [month] [day] [hour] and
[minutes] and select the 12-hour
or 24-hour display format with the Display button.
4. When you have finished the settings, press the OK but-
ton when the clock reaches 00 seconds.
The screen confirming the settings will be displayed and the
camera is ready to take a picture.
You can change the settings after they have been made.
Refer to “Changing the Display Language” (p.76), “Setting the
World Time” (p.74) and “Changing the Date/Time” (p.73).
memo
Caution
MENU OK
Exit Ok
Initial satting
Language/
English
DST
City
NYC
MENU OK
Exit Ok
Initial satting
Language/
English
DST
City
NYC
MENU OK
Exit
Date Adjust
1 / 1 / 2001
00 : 00
Ok
12/24
DISP


