


45
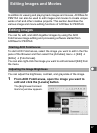
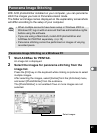
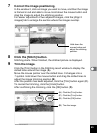
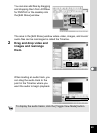
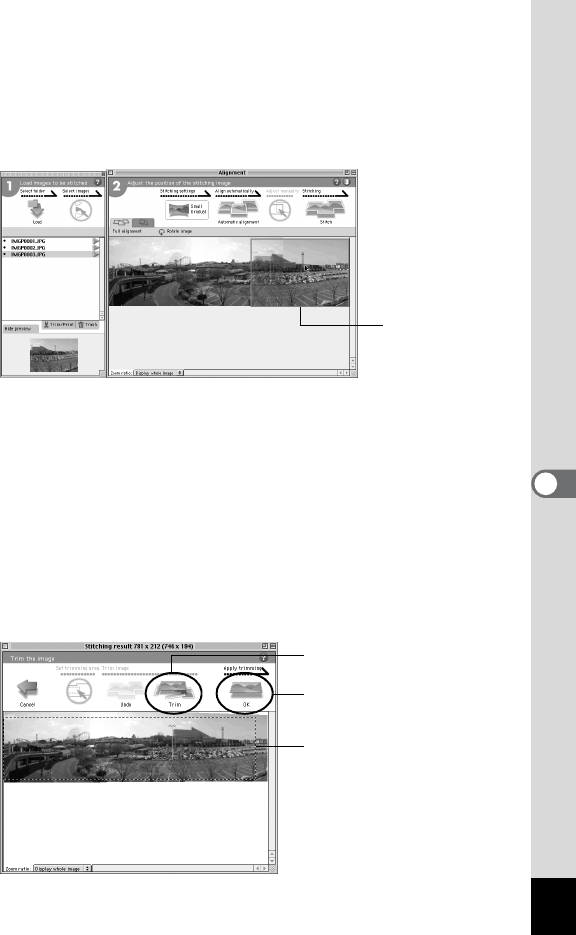
7 Correct the image positioning.
In the window 2, click an image you want to move, and then the image
is framed in red and able to move. Hold down the mouse button and
drag the image to adjust the stitching position.
For easier adjustment of two adjacent images, click the [Align 2
images] tab to enlarge the section where the images overlap.
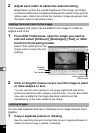
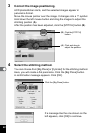
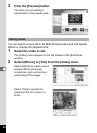
8 Click the [Stitch] button.
Stitching starts. When finished, the stitched picture is displayed.
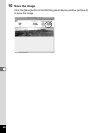
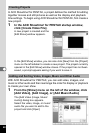
9 Trim the image.
Click the [Trim] button in the Stitching result window to display the
dotted lines around the image (A).
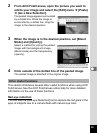
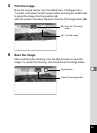
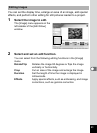
Move the mouse pointer over the dotted lines. It changes into a
symbol. Hold down the mouse button and drag the dotted lines to
adjust the image trimming position (B).
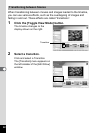
After the position has been adjusted, click the [Trim] button again (C).
To cancel the trimming, click the [Undo] button.
After confirming the trimming, click the [OK] button (D).
Hold down the
mouse button and
adjust the stitching
position.
(A) Click the [Trim] button.
(C) Click the [Trim] button.
(B) Trim the image.
(D) Click the [OK] button.