


64
PictBridge : Printing
Printing Pictures
1. Connect the camera to your printer.
The [USB] menu must be set to [PRINTER] before you
connect the camera to the printer. (See p.62)
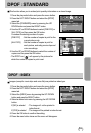
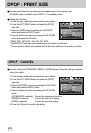
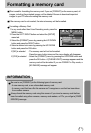
2. Use the LEFT and RIGHT buttons to select the [PRINT]
menu tab.
3. Use the UP and DOWN buttons to select the desired
submenu value, and then press the OK button.
[STANDARD] : Print the pictures stored in the
memory card in set numbers. One picture is printed on one piece of
paper.
[INDEX] : Print multiple images on one sheet of paper.
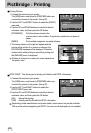
4. The screen shown on the right will appear and the
picture will be printed. If no picture is selected, the
[NO IMAGE!] message will be displayed. Press the
shutter button while printing to cancel the printing and
the [IMAGES] menu is displayed.
Number of pictures in a index print varies depends on
the printer used.
NOW PRINTING
EXIT : SH1
001/001
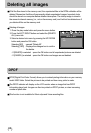
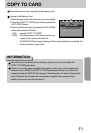
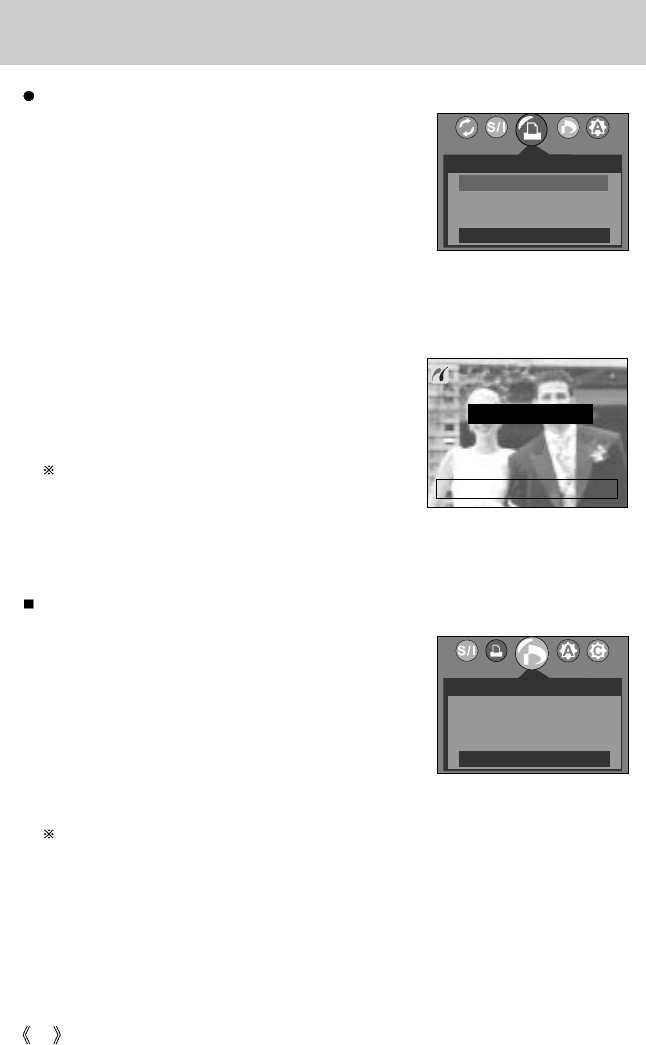
DPOF PRINT : This allows you to directly print the files with DPOF information.
1. Connect the camera to your printer.
The [USB] menu must be set to [PRINTER] before you
connect the camera to the printer. (See p.62)
2. Use the LEFT and RIGHT buttons to select the
[DPOF PRINT] menu tab.
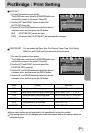
3. Use the UP and DOWN buttons to select the desired
submenu value, and then press the OK button.
[NO] : Cancel the printing
[YES] : Directly print the file with the DPOF information
Depending on the manufacturer and printer model, some menus may not be available.
With a printer without supporting the DPOF, the menu is still displayed but not available.
PRINT
STANDARD
INDEX
MOVE : SET : OK
DPOF PRINT
NO
YES
MOVE :