


ENGLISH
FRANÇAIS
Using the CAMCORDER - Advanced Recording
Utilisation du caméscope –
enregistrement perfectionné
7171
Audio Dubbing Audio Dubbing <Doublage sonore>
✤ The AUDIO DUBBING function only works in PLAYER Mode.
✤ You can add sound to the original sound on a pre-recorded tape,
recorded in SP mode with 12bit sound.
✤
Use the internal and external microphones or other audio equipment.
✤ The original sound will not be erased.
Dubbing Sound
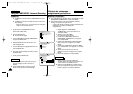
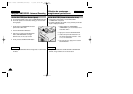
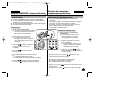
1. Set the device to CAMCORDER.
■
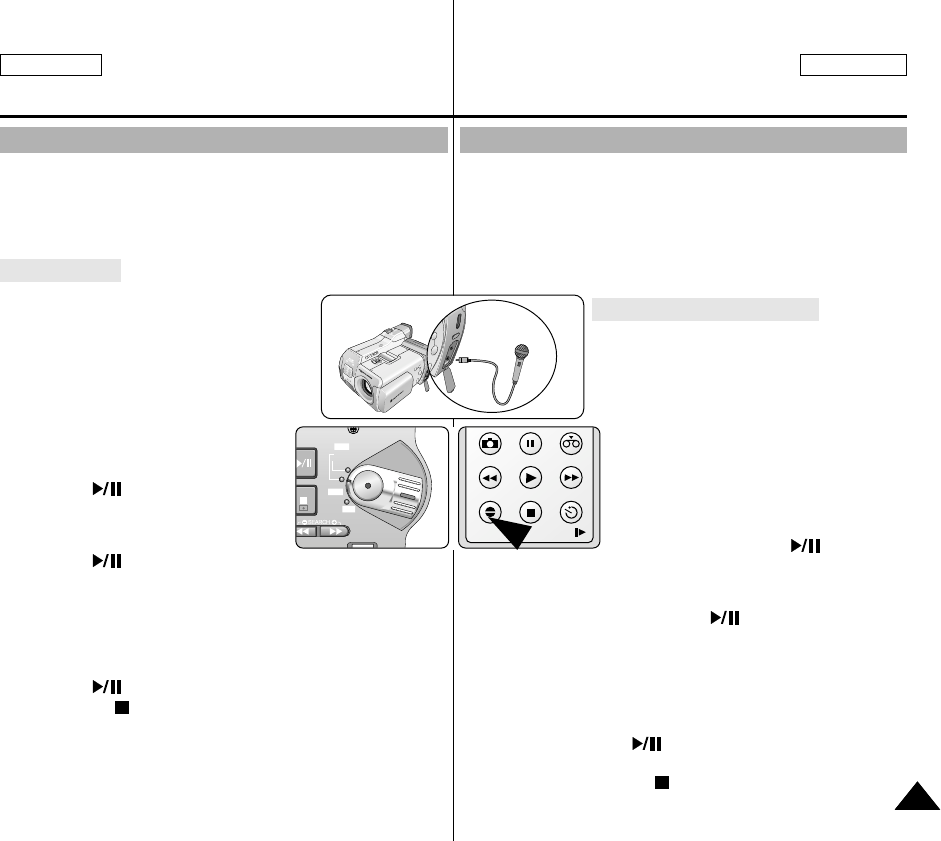
If you want to use an external microphone,
connect the microphone to the external
MIC input jack on the camcorder.
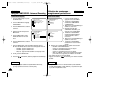
2. Set the power switch to PLAY mode.
■
If you want to use an external
microphone, connect the microphone
to the external MIC input jack on the
camcorder.
3. Press the (PLAY/STILL) button and
find the time frame of the scene to
be dubbed.
4. Press the (PLAY/STILL) button to
pause the scene.
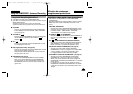
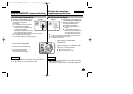
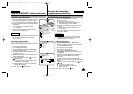
5. Press the A.DUB button on the Remote Control.
■
A.DUB will be displayed on the LCD.
■
The camcorder is in a ready-to-dub state for dubbing.
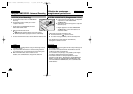
6. Press the (PLAY/STILL) button to start dubbing.
■
Press the (STOP) button to stop the dubbing.
✤
Cette fonction est disponible uniquement en mode PLAYER
<LECTEUR>.
✤ Vous pouvez enregistrer un fond sonore (12 bits) pour l’ajouter au
son d’origine sur une bande enregistrée en mode SP.
✤ Pour ce faire, vous pouvez utiliser le micro interne ou bien con-
necter un micro externe ou un équipement audio.
✤ Le son d’origine ne sera pas effacé.
Réalisation du doublage sonore
1. Réglez l'appareil sur CAMCORDER
<CAMESCOPE>.
■
Si vous souhaitez utiliser un micro
externe, branchez-le sur la prise
du caméscope prévue à cet effet.
2. Réglez le commutateur sur le mode
PLAY <LECTURE>.
■
Si vous souhaitez utiliser un micro
externe, branchez-le sur la prise du
caméscope prévue à cet effet.
3. Appuyez sur la touche (PLAY/
STILL) et localisez la première position de
la scène à doubler.
4. Appuyez de nouveau sur la touche (PLAY/STILL) pour
interrompre l’enregistrement de la scène.
5. Appuyez sur la touche A.DUB de la télécommande.
■
L’indication A.DUB s’affiche sur l’écran LCD.
■
Le caméscope est prêt pour le doublage.
6. Appuyez sur la touche (PLAY/STILL) et commencez l’enreg-
istrement du son.
■
Appuyez sur la touche (STOP) pour arrêter le doublage.
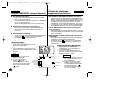
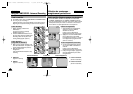
PHOTO
REW/RPS
A.DUB STOP SELF TIMER
SLOW
PLAY FF/FPS
STILL ZERO MEM.
FADE
S.SHOW
BLC
REV FWD
TAPE
MEMORY
P
L
A
Y
R
E
C
O
F
F
00655C D5000 USA+FRA(070~109) 7/3/03 9:24 AM Page 71