


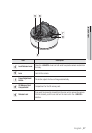


English _35
● INSTALLATION & CONNECTION
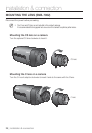
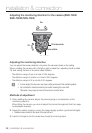
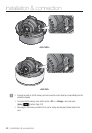
Installing on the ceiling directly
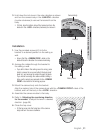
1. Remove the top cover from the case by referring to the “Disassembling” section.
(page 34)
2. Drill a hole (diameter: 5mm, depth: min 35mm) in a
desir
ed position of the case bottom and insert the
provided plastic anchor (HUD 5) to the end.
3. Fit the bottom hole to the anchor hole and insert
and fix the ASSY taping screw (TH M4×L30).
When assembling the camera case to a junction box, select
appropriate screw holes on the case bottom for installation.
4. Connect and arrange the necessary cables lest that
they should be damaged or twisted while installing
the camera.
5. Install the camera body in the r
everse order of
“Disassembling”. (page 34)
6. Adjust the lens in a desir
ed direction by referring to the “Adjusting the monitoring
direction for the camera" section. (page 38)
7. Close the top cover
.
To ensure waterproofing, tight up the fixing bolts using the L-wrench.
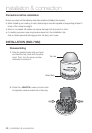
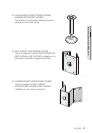
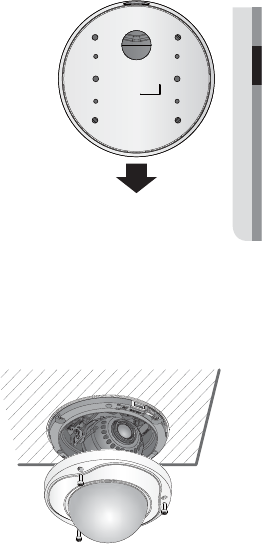
Ceiling mount
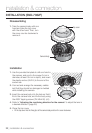
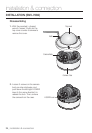
1. Remove the top cover from the case by
referring to the “Disassembling” section.
(page 34)
2. Use the provided template to drill one hole for
the camera, and one for the screw (5 mm in
diameter, at least 35 mm in depth), and insert
the plastic anchor (HUR 5) to the end of the
screw hole.
3. Connect and arrange the necessary cables
lest that they should be damaged or twisted
while installing the camera.
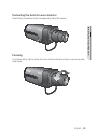
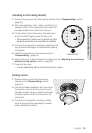
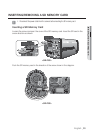
CAMERA FRONT