


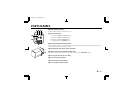


MOUNTING THE LENS
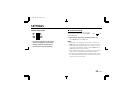
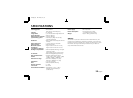
Rewiring the lens cable in the lens iris plug
1 Prepare the lens cable.
Cut the cable at the plug, then remove approx. 8 mm of the cable sheath and strip about 2 mm from each wire.
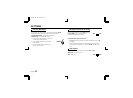
2 Install the lens iris plug.
Solder the cable to the pins following the correct pin layout (refer to the table and illustrations), then close
the plug cover.
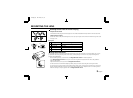
Pin layout
DC type lenses VIDEO type lenses
1
Brake coil (–) +10 V DC (50 mA max.)
2
Brake coil (+) Not used
3
Drive coil (+) Video output (1.0 Vp-p, high impedance)
4
Drive coil (–) Ground (for video signal and DC power)
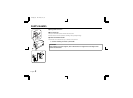
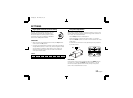
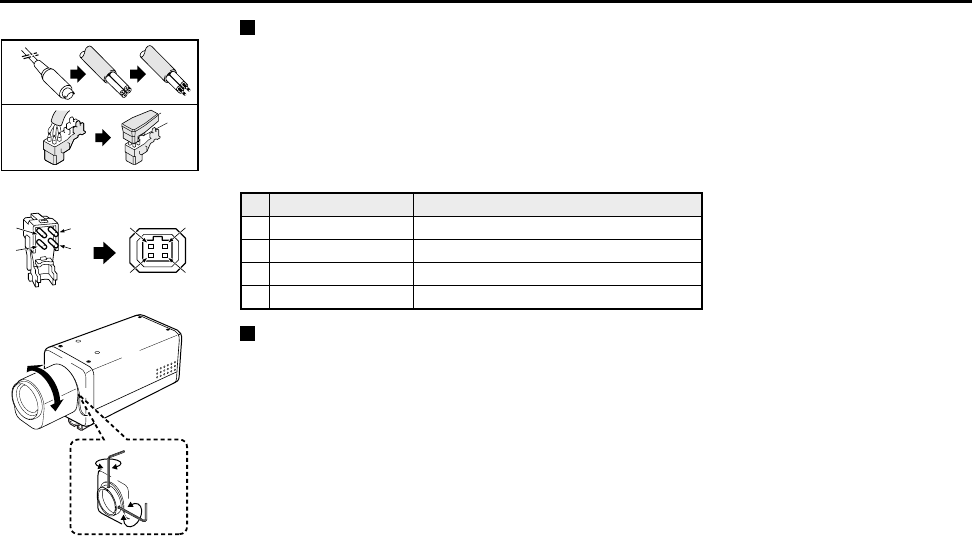
Flange-back adjustment
If the pick-up surface is not correctly positioned with relation to the lens focal point, the picture will be out of focus
(in particular when using auto-iris power zoom lenses, sold separately). If that is the case, adjust the flange-back
position as described below.
1 Before installing the lens, check that the two flange-back lock screws have been tightened.
If the flange-back lock screws are loose, the CS mount ring will not be secured and it will not be possible to
adjust the flange-back.
2 Fully install the lens, then loosen the two flange-back lock screws.
3 Set the zoom lens to the maximum telephoto position (TELE), then set the focus using the focus ring on the lens.
4 Set the zoom lens to the maximum wide angle position (WIDE), then set the focus by turning the CS mount ring.
5 Repeat steps 3 and 4 until the image stays in focus when changing from a telephoto shot to a wide angle shot.
When the setting is complete, tighten the two flange-back lock screws.
1
2
4
3
1
4
3
1
2
2
2
1
1, 3
L73Q4/US GB 2001, 6, 18
8 English