


930-112-01-B.00 PowerLogic
TM
EM4800 Series
01/2011 PowerLogic configuration tool
© 2011 Schneider Electric All Rights Reserved
7
7. Restore power. When control power is restored, the meter will receive
an IP address from a local DHCP server. This IP address can be
viewed from the Diagnostics menu.
NOTE: To use a static IP address, have your local network
administrator assign the desired IP address to the MAC address of the
meter in the DHCP server configuration. To display the MAC address,
see “Display Navigation” on page 4.
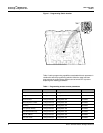
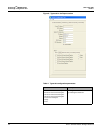
Configuring the Meters The PowerLogic EM4800 Series configuration tool is available on the CD
shipped with each unit, and is used to configure all programmable
parameters listed in Table 1.
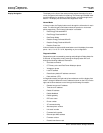
Login Use the following procedure to log in to the meter.
1. Establish an Ethernet network connection with the meter using one of
the methods descirbed in “Communications Connections” on page 5.
2. Ensure the programming switches are in the ON position. The
programming switches are two-position DIP switches labeled SW1, and
are located inside the meter cover below the Display button. To enable
meter configuration, both switches must be physically set to the ON
position. When both switches are in the OFF position, meter
configuration is disabled.
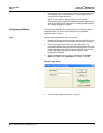
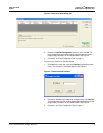
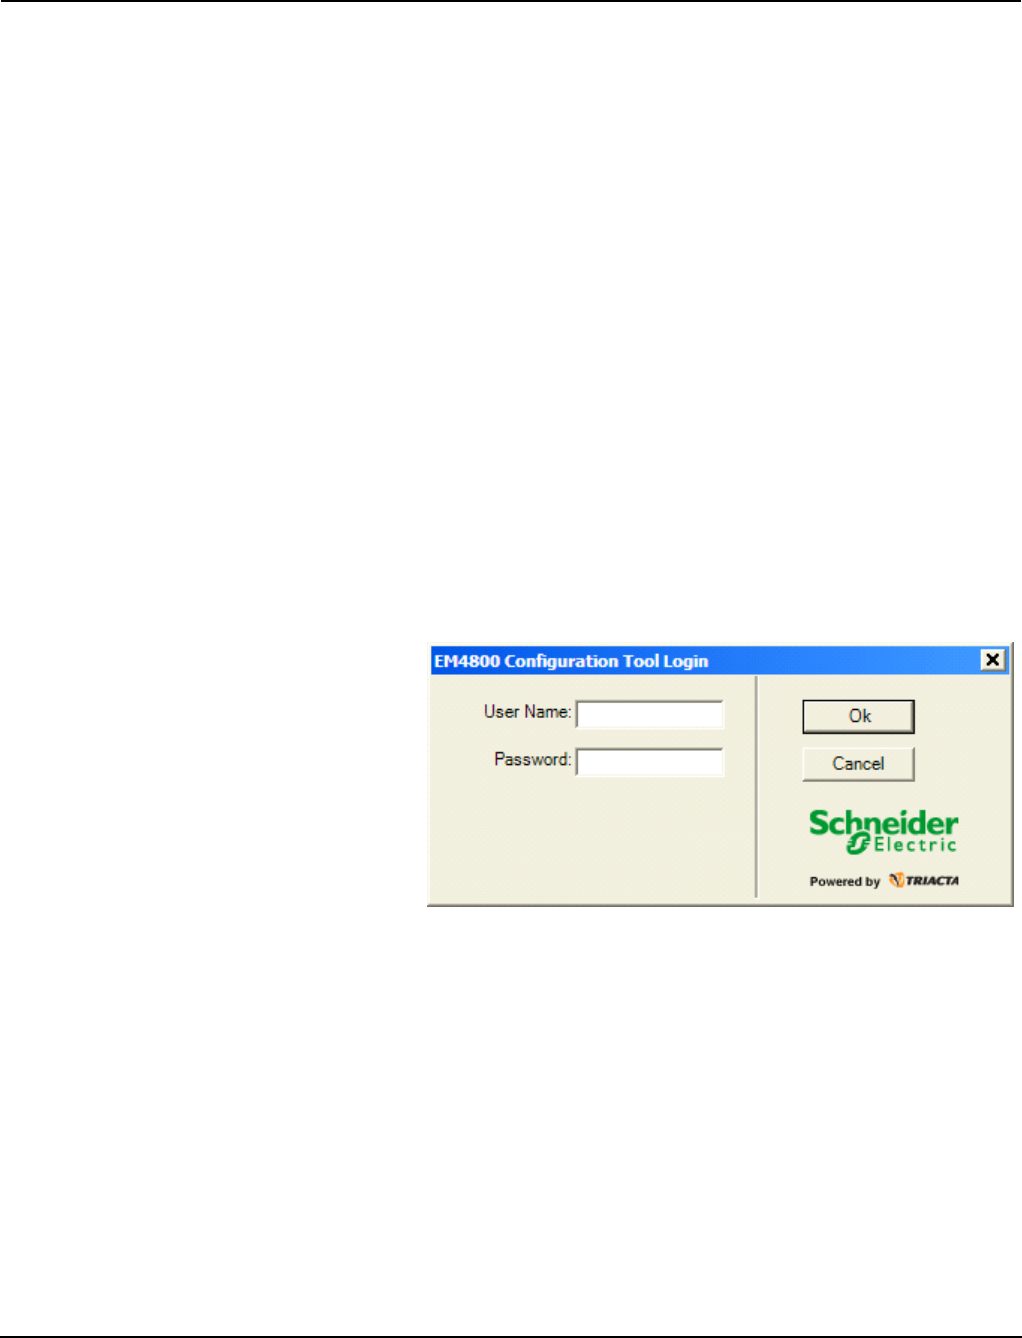
3. Start the configuration tool by entering “PowerLogic” as the User
Name, and “E4800” as the Password (see Figure 2). Click Ok.
Figure 2: Login screen
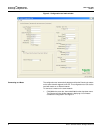
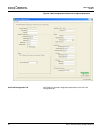
4. The main window displays as shown in Figure 3.