


Dubbing/Editing
62
Dubbing/Editing
Connecting to a VCR
or TV
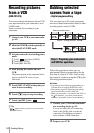
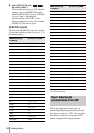
You can create a copy of the picture recorded
on your camcorder on other recording device
(p. 63).
For DCR-PC107E, you can also record the
picture from a VCR to a tape inserted into
your camcorder (p. 64).
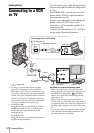
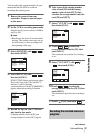
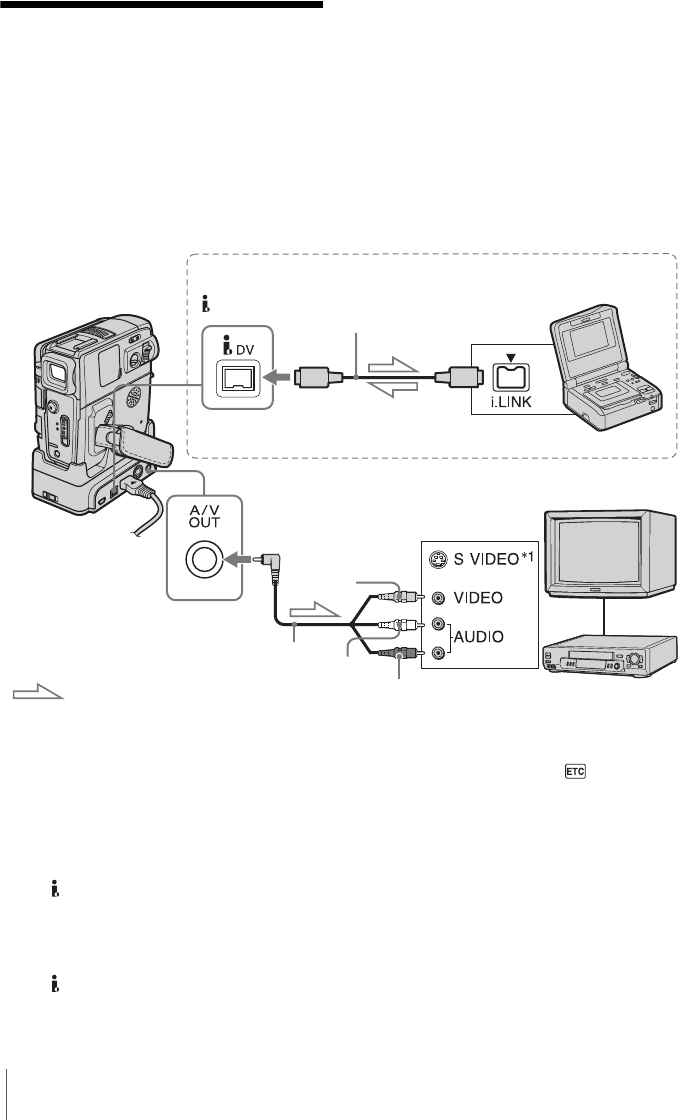
Connect your camcorder via the Handycam
Station or the A/V OUT jack of your
camcorder to a TV using the supplied A/V
connecting cable.
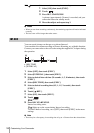
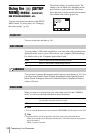
Connect your camcorder to a TV or VCR as
shown in the following illustration.
*1 By using an S video cable (optional), higher
quality DV format pictures can be produced.
When there is an S video jack on the device to be
connected, connecting the S video cable (optional)
to the S video jacks on both the Handycam Station
and the device instead of using the yellow plug is
recommended. The audio will not be output when
you connect with the S video plug alone.
*2 For DCR-PC106E:
The DV Interface of your Handycam Station is
designed for output use only. Your Handycam
Station does not accept input data from the
connected device.
For DCR-PC107E:
The DV Interface of your Handycam Station is
designed for input/output use.
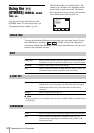
b Notes on the A/V connecting cable
• When you connect your camcorder to the other
devices using the A/V connecting cable, make sure
the [DISPLAY] setting in the (OTHERS)
menu is set to [LCD] (the default setting) before
connecting (p. 61).
• When you are connecting your camcorder to a
monaural device, connect the yellow plug of the A/
V connecting cable to the video jack, and the red or
the white plug to the audio jack on the VCR or the
TV.
• Do not connect the A/V connecting cables to both
your camcorder and the Handycam Station. The
recorded picture may be distorted.
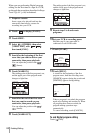
A/V connecting cable
(supplied)
i.LINK cable (optional)
DV Interface*2
Signal flow
i.LINK jack
Connecting with an i.LINK cable
VCRs or TVs
A/V OUT jack
Yellow
Red
White
(For DCR-PC107E)
To the audio/video
input jacks