


Connecting to a Windows computer
G:\BackUP(E)\PC(3084946111)\0729PC_GB\3084946111\3084946111_PC\01US02WIN1.fm
master:Right
Connecting to a Windows computer
17
DCR-PC330/IP1
3-084-946-11(1)
Step 5: Checking the
connection
Playing pictures recorded on a
tape on your computer
Before following the procedure below, start
up ImageMixer Ver.1.5 for Sony and check
the connection.
b Note
• Before following the procedure below, make sure
you remove the “Memory Stick” from the
camcorder.
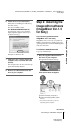
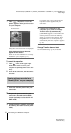
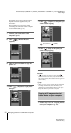
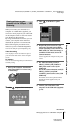
1 Double-click [ImageMixer Ver.1.5 for
Sony] on the desktop.
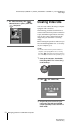
2 Click (Capture Environment).
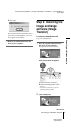
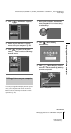
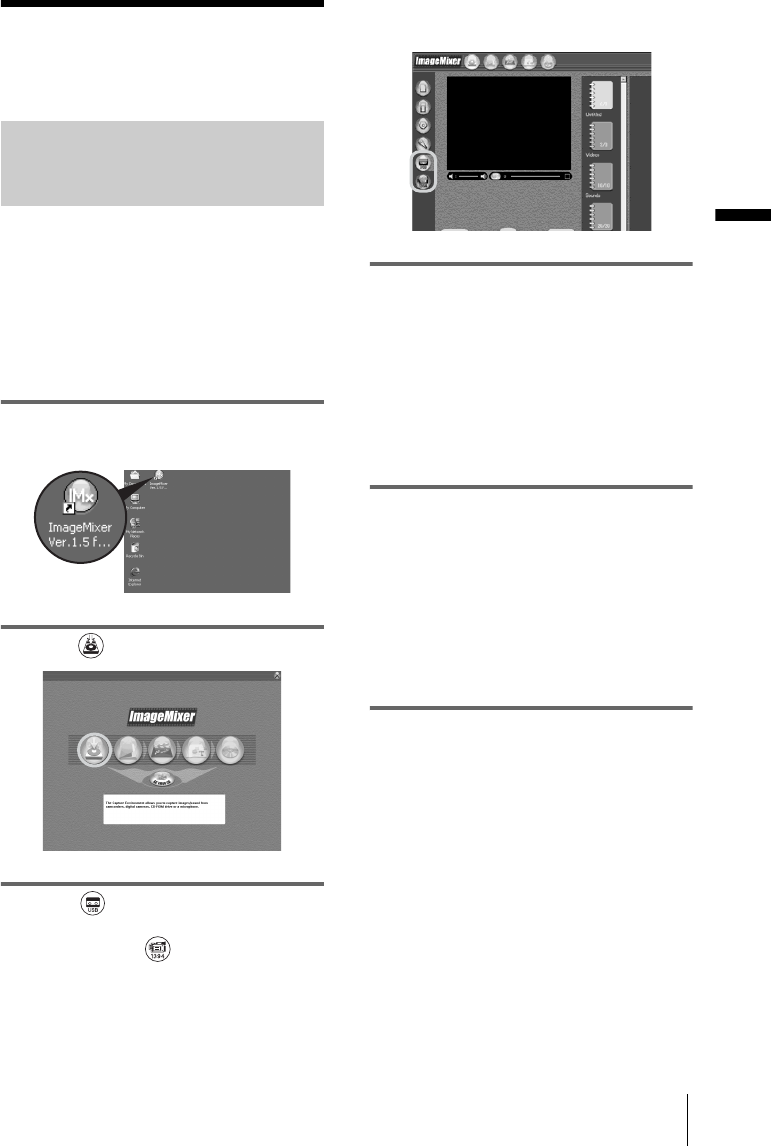
3 Click (USB Device Capture
Mode) if you are connecting via a USB
cable, or click (DV Camcorder
Capture Mode) if you are connecting
via an i.LINK cable (DV format
models only).
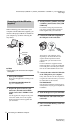
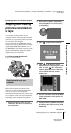
4 Prepare the power source for your
camcorder, then slide the POWER
switch repeatedly to select the PLAY/
EDIT mode.
Use the supplied AC Adaptor as the power
source.
For details, refer to the separate Camera
Operations Guide supplied with your
camcorder.
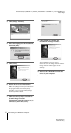
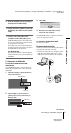
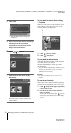
5 Touch [P-MENU], [MENU] and [USB-
PLY/EDT], then touch to select [USB
STREAM].
For details, refer to the separate Camera
Operations Guide supplied with your
camcorder.
This operation is not necessary when
connecting the camcorder to the computer
via an i.LINK cable (p. 16).
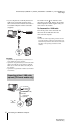
6 Connect your camcorder to the
computer (p. 13).
,continued