


Managing pictures on a Windows computer
G:\BackUP(E)\PC(3084946111)\0729PC_GB\3084946111\3084946111_PC\01US03WIN2.fm
master:Right
Managing pictures on a Windows computer
27
DCR-PC330/IP1
3-084-946-11(1)
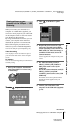
4 Connect the camcorder to the
computer via the USB cable (supplied)
(p. 14).
Image Transfer starts up automatically and
the pictures recorded on the “Memory
Stick” are transferred to the computer.
Normally, the [Image Transfer] and [Date]
folders are created inside the [My
Document] folder, and all the pictures are
stored in those folders.
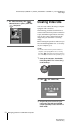
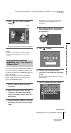
When the image transfer is complete,
ImageMixer starts up automatically and
displays a list of pictures.
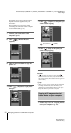
For Windows XP
The automatic playback wizard starts up at the
default setting. Follow the steps below to
deactivate this setting. (From the second time
on, you can skip the rest of the procedure.)
1 Make sure you have connected your
camcorder to a computer via a USB
cable.
2 Click [Start], then select [My Computer]
from the start menu.
3 Right-click [Sony MemoryStick], then
click [Properties].
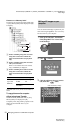
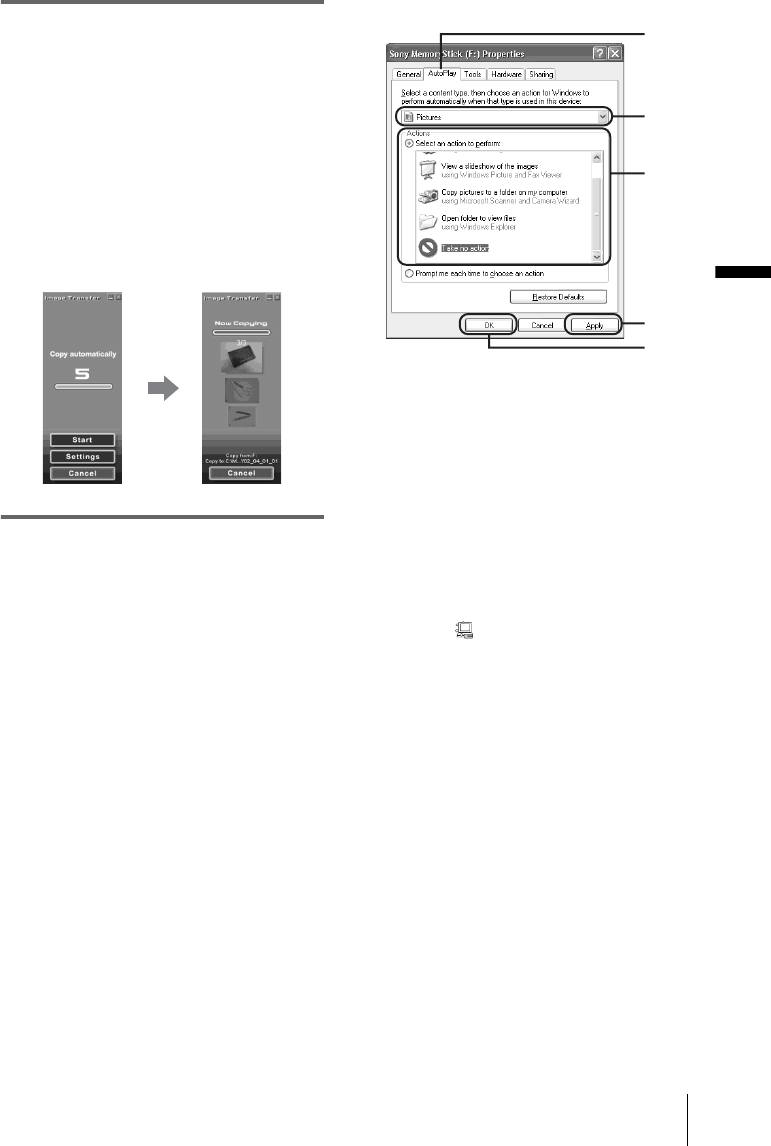
4 Deactivate the setting.
AClick the [Auto Play] tab.
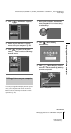
BSelect [Pictures] for a content type.
CSelect [Actions], check [Select an action
to perform], then select [Take no
action]. Click [Apply].
DSelect [Video Files] for a content type.
Repeat step 3.
ESelect [Mixed content] for a content
type. Repeat step 3.
FClick [OK].
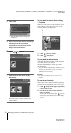
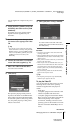
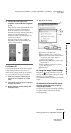
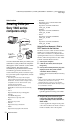
To change the Image Transfer settings
Right-click (Image Transfer icon) on the
task tray. Then, select [Open settings] to change
[Basic], [Copy], and [Delete].
Click [Restore defaults] to return to the default
setting.
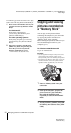
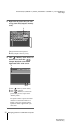
On destination folders and file names
Pictures transferred to the computer
using Image Transfer
The pictures are copied to the [Image Transfer]
and [Date] folders created inside the [My
Document] folder.
A
B
DE
C
C
F
,continued