


Managing pictures on a Windows computer
G:\BackUP(E)\PC(3084946111)\0729PC_GB\3084946111\3084946111_PC\01US03WIN2.fm
master:Right
Managing pictures on a Windows computer
29
DCR-PC330/IP1
3-084-946-11(1)
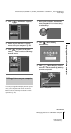
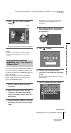
4 Click (Exit) after you finish
editing.
The edited still image is added to the album.
z Tip
• Refer to the on-line help for detailed operating
instructions on ImageMixer Ver.1.5 for Sony
(p. 22).
Copying pictures edited on
ImageMixer Ver.1.5 for Sony to a
“Memory Stick”
You can copy pictures edited on ImageMixer
Ver.1.5 for Sony to a “Memory Stick,” and
use them as materials for MEMORY MIX on
your camcorder.
Refer to the separate Camera Operations
Guide supplied with your camcorder for
details on MEMORY MIX.
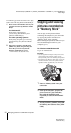
1 Insert a “Memory Stick” into your
camcorder.
2 Prepare the power source for your
camcorder, then slide the POWER
switch repeatedly to select the PLAY/
EDIT mode.
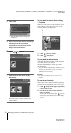
3 Touch [P-MENU], [MENU] and [USB-
PLY/EDT], then touch to select [STD-
USB].
For details, refer to the separate Camera
Operations Guide supplied with your
camcorder.
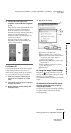
4 Start up the computer, then double-
click [ImageMixer Ver.1.5 for Sony]
on the desktop.
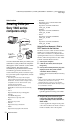
5 Click (Album).
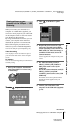
6 Connect your camcorder to the
computer via the USB cable (supplied)
(p. 14).
Click [Cancel] if Image Transfer starts up
automatically.
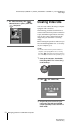
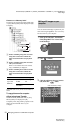
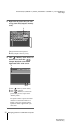
7 Click the [MEMORY MIX] album.
Click.
,continued