


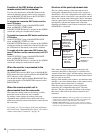
34
Preparing Audio Input System
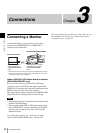
Chapter 2 Preparation
Preparing Audio Input
System
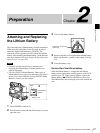
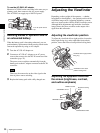
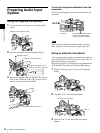
Using the supplied microphone
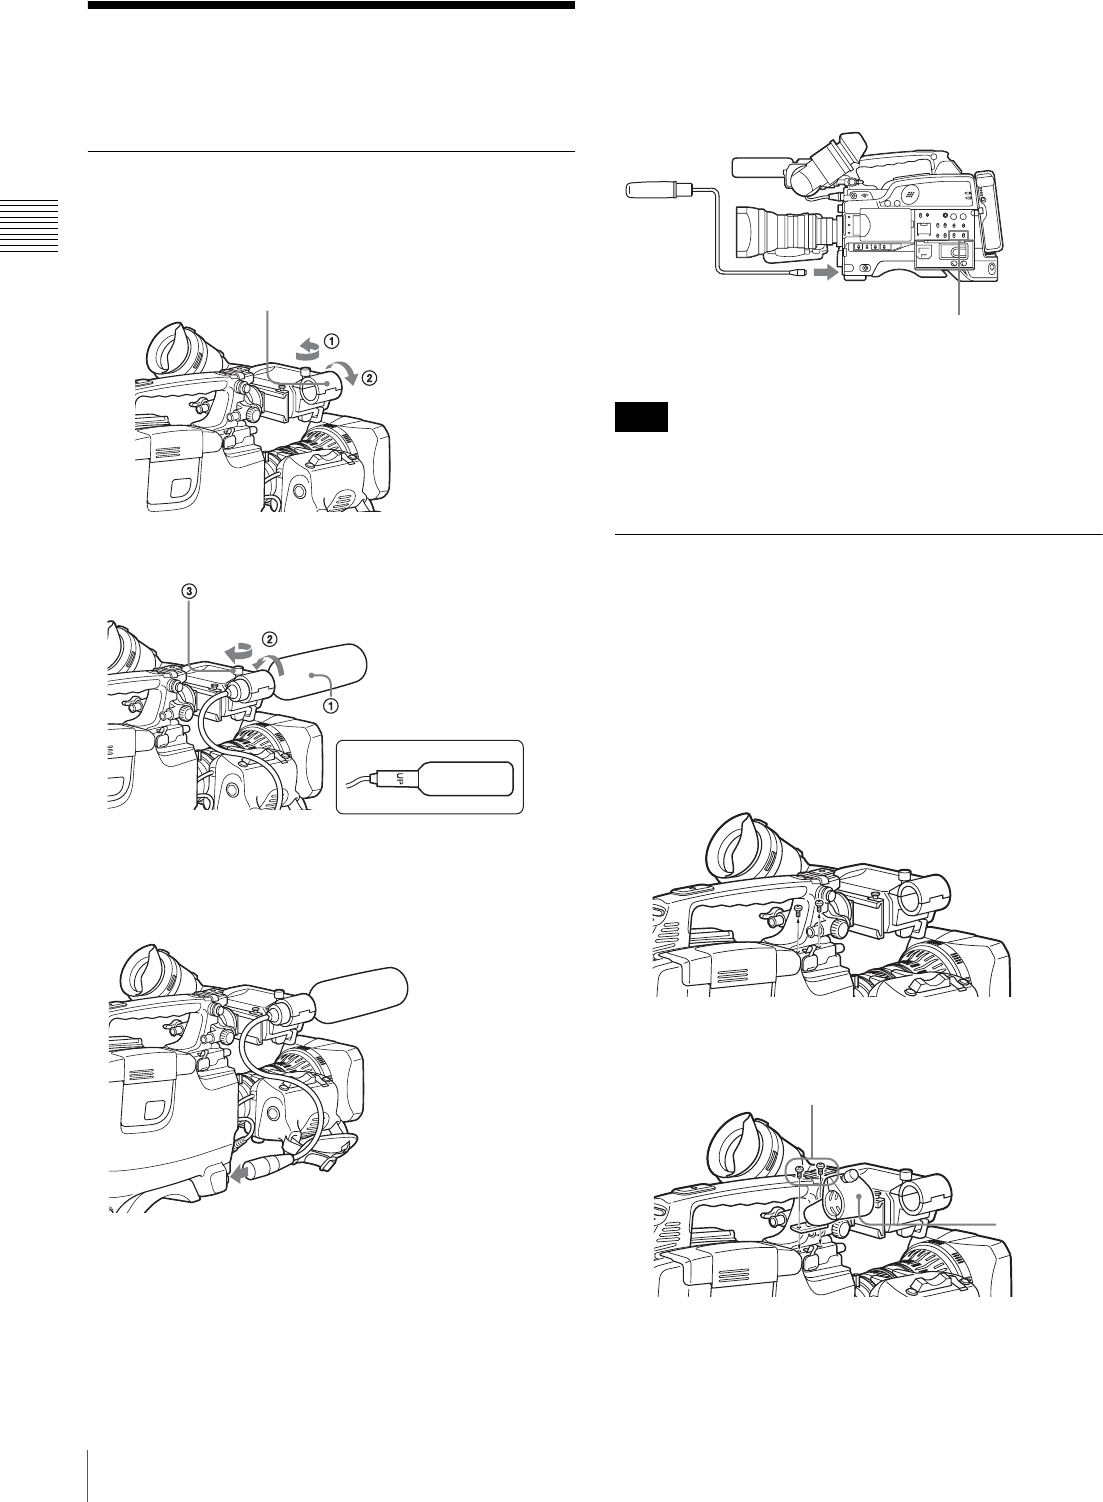
1
Loosen the screw and open the microphone holder
clamp.
2
Place the microphone in the microphone holder.
3
Plug the microphone cable into the MIC IN connector,
then set the AUDIO IN (CH-1/CH-2) switch for the
desired recording channel to FRONT.
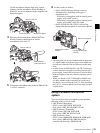
To use the microphone detached from the
camcorder
You can use the supplied microphone detached from the
camcorder.
When using the supplied microphone with an extension
cable, always use an external power supply type cable.
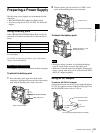
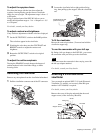
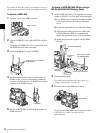
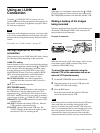
Using an external microphone
You can connect up to two external monaural microphones
to the AUDIO IN CH-1/CH-2 connectors, using a CAC-12
Microphone Holder (not supplied).
The procedure below is an example showing attachment of
an ECM-670/672/etc. Electret Condenser Microphone.
1
Remove the fixing screws for external microphone
holder.
2
Attach the CAC-12 Microphone Holder.
3
Open the CAC-12 and remove the microphone
adaptor.
Clamp of the microphone holder
Place the microphone in the
holder so that “UP” is at the top.
Tighten the screw.
Close the microphone holder.
Connect to the MIC IN connector.
Note
Set the AUDIO IN (CH-1/CH-2)
switch for the desired audio
recording channel to FRONT.
Connect to the MIC IN
connector.
CAC-12
S
crews removed in step 1