Chapter 1 Overview
18 Chapter 1 Overview
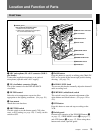
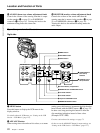
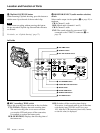
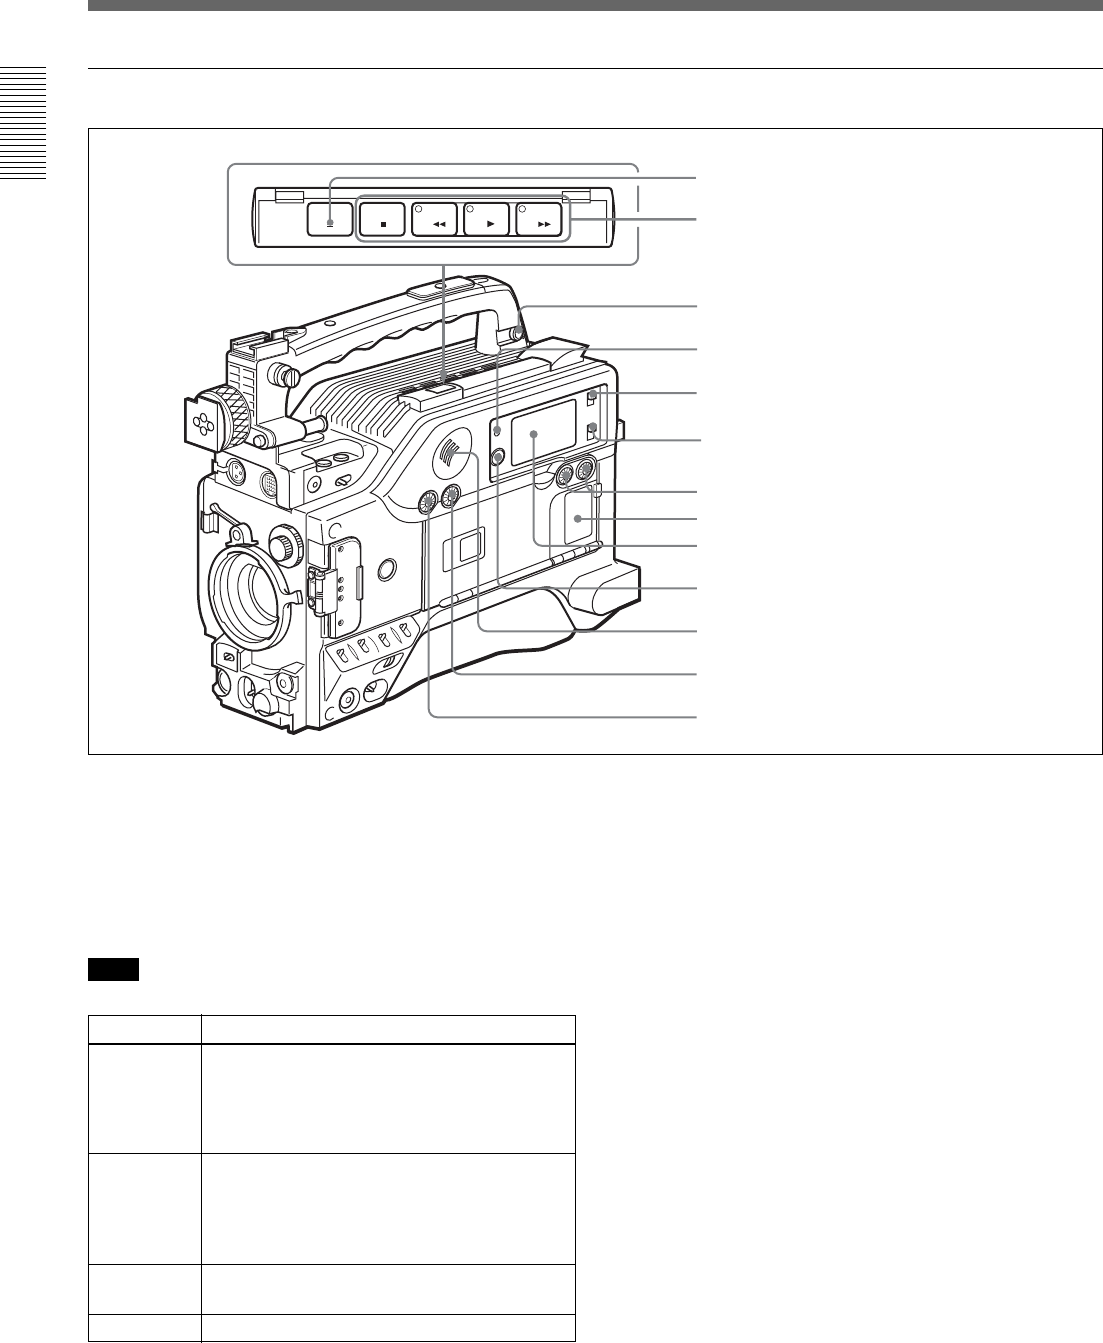
Location and Function of Parts
EJECT
F FWD
STOP
PLAYREW
Rear section
1 EJECT Z button
Press to open the cassette holder (1 on page 27) when
the camcorder is powered.
2 Tape transport buttons and indicators
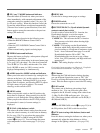
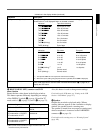
These buttons transport the tape as shown below.
Note
During recording, none of these buttons operates.
3 EARPHONE connector (mini-jack)
Connect an earphone or headphones. This outputs the
same sound that would be output to the speaker (qa on
page 21), but mutes the speaker.
4 WARNING indicator
This lights or blinks when an abnormality occurs.
For details, see “Warning System” on page 142.
5 LIGHT switch
This switches the display window (9 on page 19)
light on or off.
6 DISPLAY switch
Switches time value indication shown in the display
window (9 on page 19).
COUNTER: Shows the tape transport time in
HH:MM:SS (hours, minutes and seconds).
TC: Shows the time code value.
U-BIT: Shows the user bit data in the time code.
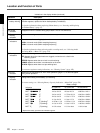
Buttons
REW m
Operation
Rewinds the tape. The indicator lights while
the tape is being rewound.
Press while the tape is being rewound or
during playback to view reverse search
playback.
F FWD M Fast forwards the tape. The indicator lights
while the tape is being fast forwarded.
Press while the tape is being fast forwarded
or during playback to view forward search
playback.
PLAY N Plays back the recorded video. The indicator
lights during playback.
STOP x
Stops the tape.
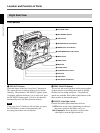
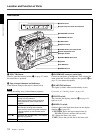
1 EJECT button
2 Tape transport buttons and indicators
3 EARPHONE connector
4 WARNING indicator
5 LIGHT switch
6 DISPLAY switch
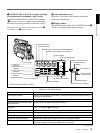
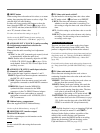
7 AUDIO LEVEL (CH-1/CH-2) knobs
8 Audio adjustment cover
9 Display window
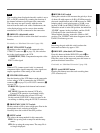
0 RESET/(MENU SET) button
qa Speaker
qs ALARM knob
qd MONITOR knob


