


57
Dubbing/Editing
Printing recorded images
(PictBridge compliant printer)
You can print out pictures using a
PictBridge compliant printer without
connecting the camcorder to a computer.
Connect the AC Adaptor to obtain power
from the wall socket (p. 8).
Insert the “Memory Stick Duo” containing
still images into your camcorder and turn
on the printer.
1 Slide the POWER switch
repeatedly to turn on the PLAY/
EDIT lamp.
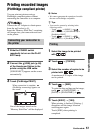
2 Connect the (USB) jack (p. 88)
of the Handycam Station to the
printer using the USB cable.
[USB SELECT] appears on the screen
automatically.
3 Touch [PictBridge PRINT].
One of the images stored on the
“Memory Stick Duo” will be displayed.
b Notes
• We cannot guarantee the operation of models
that are not PictBridge compatible.
z Tips
• You can also operate by selecting in the
following orders:
– Touch t [MENU] t
(PICT.APPLI.) t [USB SELECT] t
[PictBridge PRINT]
– Touch t [MENU] t
(PICT.APPLI.) t [PictBridge PRINT]
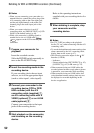
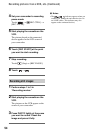
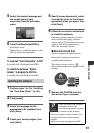
1 Select the image to be printed
with / .
2 Touch t [COPIES].
3 Select the number of copies to be
printed with / .
A maximum of 20 copies of the image
can be printed.
4 Touch t [END].
To print the date and time on the image,
touch t [DATE/TIME] t
[DATE] or [DAY&TIME] t .
5 Touch [EXEC] t [YES].
When printing is finished, [Printing...]
disappears and the image selection
screen appears again.
Touch [END] when printing is
completed.
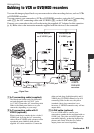
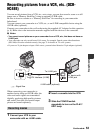
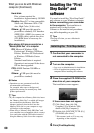
Connecting your camcorder to
the printer
PictBridge PRINT
PictBridge PRINT
101-0001
101-0001
SET
+
-
101
1/10
END
1.0M
EXEC
PictBridge PRINT
101-0001
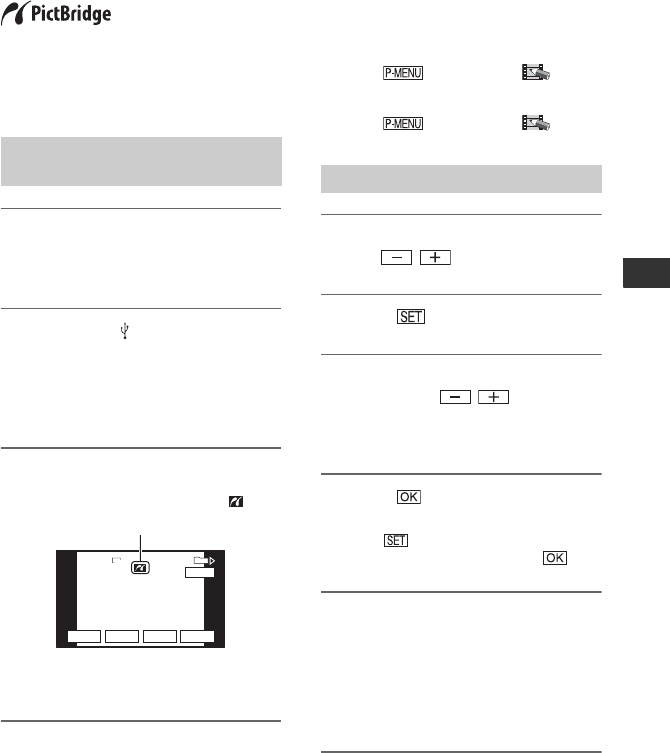
When connection is complete,
(PictBridge connecting) appears on
the screen.
Printing
Continued ,