HVL-F43AM
4-278-307-11(1) GB
C:\édéñÉtÉHÉãÉ_\ÅiäîÅjÉGÉXÉPÉCÉèÅ[Éh\SO-
NY\VX9197\SourceÉfÅ[É^\4278307111\4278307111\4278307111HVLF58AMUC\01GB-
HVLF58AMUC\050C02.fm
Master: Right
Basics
23
Flash range
Press the shutter button halfway down.
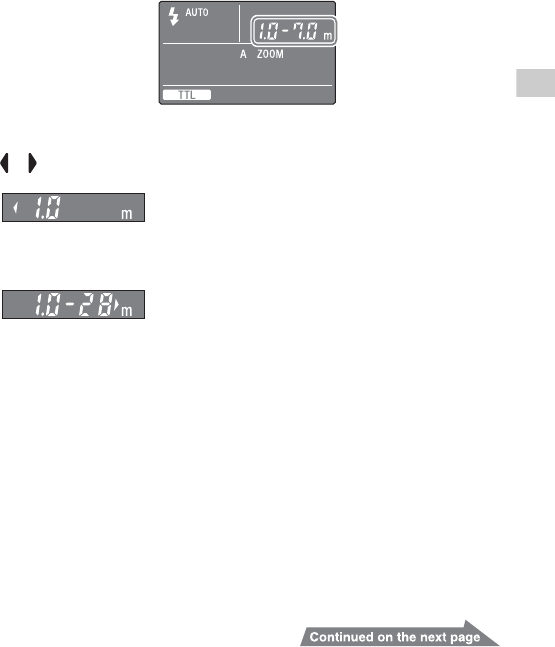
The flash range for the proper exposure is displayed on the LCD panel. Make sure
that the subject is within this range and then take the photo.
The range that can be displayed on the LCD panel is from 1.0 m to 28 m (0.7 m to
28 m for downward bounce; see page 36). When the distance is beyond this range,
or is lit on either side of the Flash range.
• The flash ranges when using upward bounce flash or wireless flash are not
shown.
• When you take a photo closer than the lower limit of the flash range, the photo
may be over-exposed even if the TEST button blinks green, or the lower area of
the image on the LCD monitor of the camera may darken. Always take a photo
within the indicated flash range.
Proper exposure is obtained at less than 1.0 m.
If the flash range is less than 1.0 m, the lower area of
the image on the LCD monitor of the camera may
become dark. Change the flash range to adjust the
aperture and ISO sensitivity.
Proper exposure is obtained from 1.0 m to 28 m or
more.


