


24
filename[C:\My Documents\_upload job\3075509121\3075509121DSCP2UC\02GB-DSCP2UC\05BAS.FM]
masterpage:Left
model name1[DSC-P2]
[3-075-509-
12
(1)]
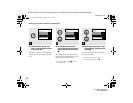
Using the self-timer
(continued)
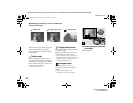
,
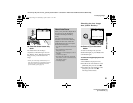
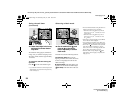
Center the subject in the frame,
and press the shutter button
fully down.
The Self-timer lamp (page 8) will flash in
orange, and you will hear a beeping sound.
The image will be shot after approximately
10 seconds.
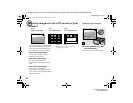
To cancel the self-timer during the
operation
Press V ( ) on the control button again.
•
If you stand in front of the camera and press the
shutter button, the focus and the exposure may
not be correctly set.
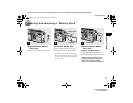
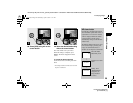
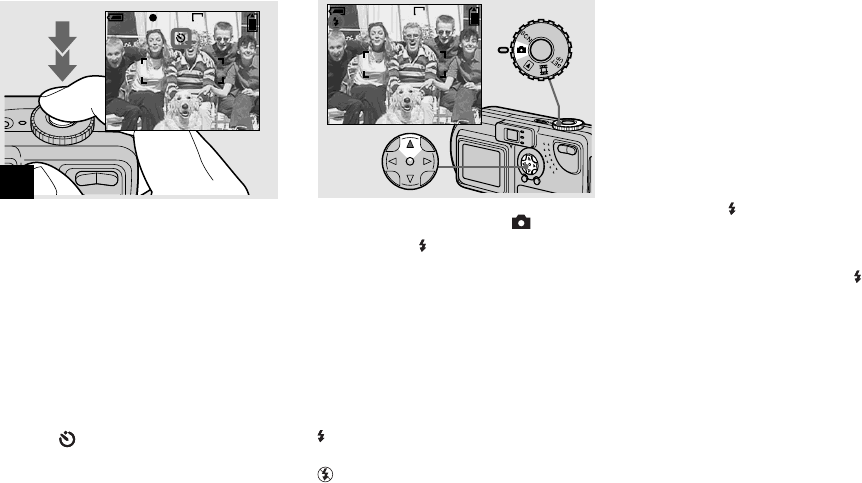
Selecting a flash mode
,
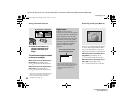
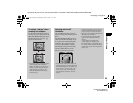
Set the mode dial to , and
press
v
( ) on the control
button repeatedly to select a
flash mode.
The flash mode has the following features.
No indicator (Auto): Based on the
lighting conditions, the camera will decide
if there is enough light, and will use the
flash accordingly.
(Forced flash): The flash will be used
regardless of the amount of ambient light.
(No flash): The flash will not be used.
•
The recommended distance using the flash is as
follows (when [ISO] is set to [AUTO]):
–
When the zoom is set all the way to the W
side, 0.5 to 3.8 m (19
11
/
16
inches to 12 feet
5
19
/
32
inches).
–
When the zoom is set all the way to the T
side, 0.5 to 2.4 m (19
11
/
16
inches to 7 feet
10
1
/
2
inches).
•
If the menu is currently displayed, press MENU
first to make the menu disappear.
•
You can change the brightness of the flash using
[FLASH LEVEL] in the menu settings (page 90).
•
In the Auto or (Forced flash) mode, you look
at the LCD screen in a dark place, you may
notice some “noise” in the image, but this will
have no effect on the image you shoot.
•
While the flash is being charged, the /CHG
lamp flashes. After charging is completed, the
lamp goes out.
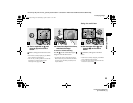
2
F2.8
4
0EV
30
1600
60min FINE
4
1600
60min FINE
05BAS.FM Page 24 Wednesday, May 15, 2002 10:58 AM