filename[C:\My Documents\_upload job\3075509111\3075509111DSCP2UC\02GB-DSCP2UC\05BAS.FM]
masterpage:Right
model name1[DSC-P2]
[3-075-509-11(1)]
27
Shooting still images
Shooting with the date and
time inserted
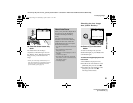
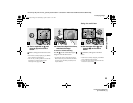
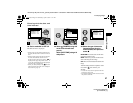
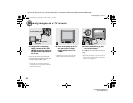
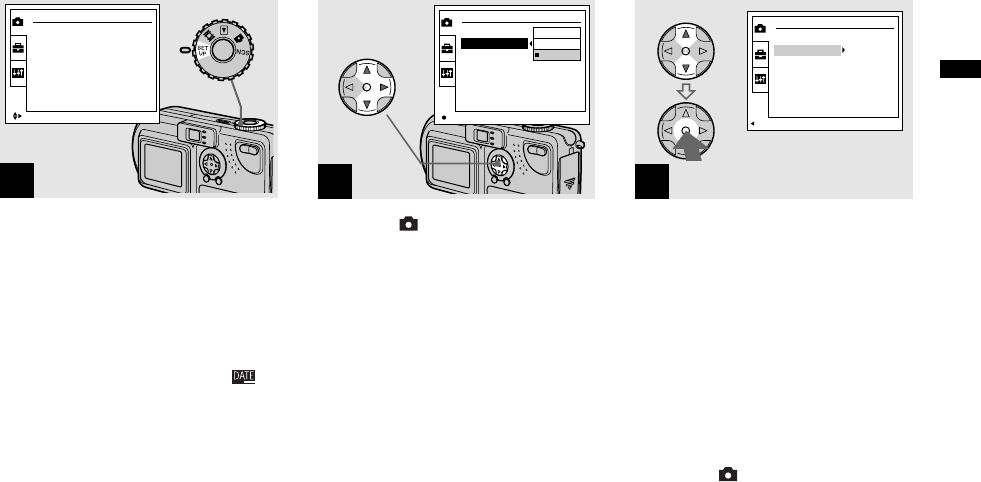
, Set the mode dial to SET UP.
The SET UP menu is displayed.
• When images are shot with the date and time
inserted, the date and time cannot be removed
later.
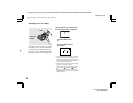
• When shooting images with the date and time
inserted, the actual date and time are not
displayed on the LCD screen, instead, “ ” is
displayed in the upper left portion of the LCD
screen. The actual date and time are displayed
when the image is played back.
• When you chose [DATE] in Step 3, the date
will be inserted in the order set in “Setting the
date and time” (page 15).
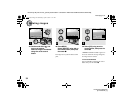
, Select (CAMERA) using
v/V
on the control button and
press
B.
Select [DATE/TIME] using
v/V
and press
B.
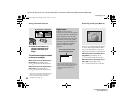
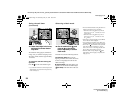
, Select the type of data to be
inserted using v/V on the
control button, then press the
center z.
DAY&TIME: Inserts the date and the time
of shooting into the image
DATE: Inserts the year, the month and the
date of shooting into the image
OFF: Does not insert date/time data into the
image
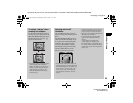
After the setting has been completed, set the
mode dial to , and continue your
shooting.
• You can also carry out this operation when the
mode dial is set to SCN.
• The settings made here will be saved even when
the power is turned off.
1
CAMERA
MOVING IMAGE :
DATE/TIME :
DIGITAL ZOOM :
RED EYE REDUCTION :
AF ILLUMINATOR :
MPEG MOVIE
OFF
O
N
OFF
AUTO
SELECT
2
CAMERA
MOVING IMAGE :
DATE/TIME :
DIGITAL ZOOM :
RED EYE REDUCTION :
AF ILLUMINATOR :
DAY&TIME
DATE
OFF
OK
3
CAMERA
MOVING IMAGE :
DATE/TIME :
DIGITAL ZOOM :
RED EYE REDUCTION :
AF ILLUMINATOR :
MPEG MOVIE
DATE
O
N
OFF
AUTO
PAGE SELECT
01cov.book Page 27 Wednesday, April 3, 2002 11:17 AM


