


25
IP Camera User’s Manual Speco Technologies
connect to THE CAMERA by Domain Name (Server Name) allocated to THE CAMERA.
For example, run Web Browser and input Domain Name allocated to THE CAMERA in URL.
In http://IPXXXXX.ipcam4u.net, ‘IPXXXXX’ is to be Name of Server registered in Service
Server by user.
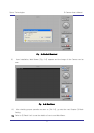
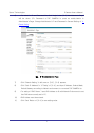
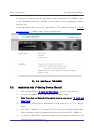
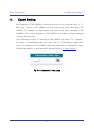
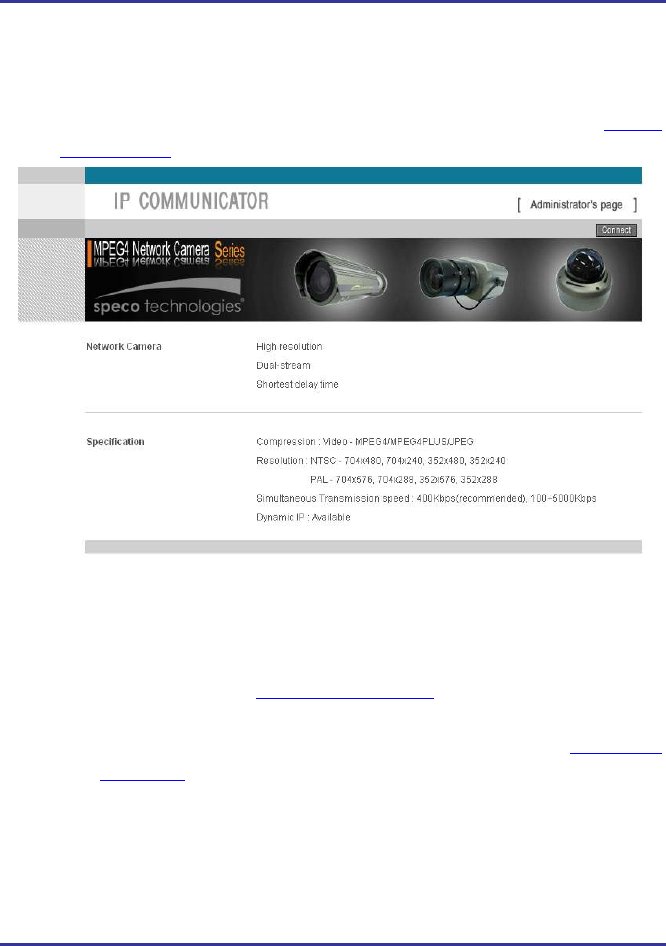
If the initial page is shown as [3-8], check Video of THE CAMERA referring to ‘2. Install
and Video Check’. If Video is seen, set up is properly done.
Fig. 3―8 Initial Page of THE CAMERA
3.3. Installation with IP Sharing Device (Router)
1) After checking Video in
‘2. Install and Video Check’, then go to the next step.
2) Connect THE CAMERA and PC with LAN Cable (Crossover Cable).
3) Cable Connection and Network Setting should be done same as per
‘2. Install and
Video Check’.
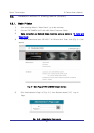
4) Go to Network Setting Page of Administrator’s Page as per 4), 5), 6), 7) of ‘Static IP
Setup’.
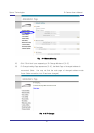
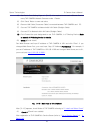
5) Click ‘Static IP Address’ in ‘IP Setting’ of [3-9], and input IP Address, Subnet Mask,
Default Gateway according to Network environment to connected THE CAMERA to.
6) For setting of ‘DNS Server’, input DNS Address to fit with Network Environment to set.
Use DNS value normally set in PC.