


100
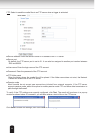
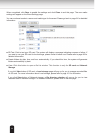
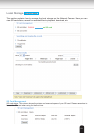
Source: Select the recording source (stream 1 ~ 4).
Recording Schedule: Specify the recording duration.
■ Select the days of the week.
■ Select the recording start and end times in 24-hr time format.
Destination: You can select the SD card or network storage that was set up for the recorded video les.
Capacity: You can choose either the entire free space available or limit the recording size. The recording
size limit must be larger than the reserved amount for cyclic recording.
File name prex: Enter the text that will be appended to the front of the le name.
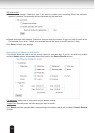
Enable cyclic recording: If you check this item, when the maximum capacity is reached, the oldest le
will be overwritten by the latest one. The reserved amount is reserved for cyclic recording to prevent
malfunction. This value must be larger than 15 MBytes.
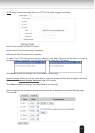
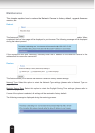
When completed, select Enable this recording. Click Save to enable the setting and click Close to exit
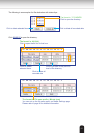
this page. When the system begins recording, it will send the recorded les to the Network Storage.
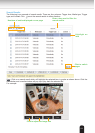
The new recording name will appear in the drop-down list on the recording page as shown below.
To remove a recording setting from the list, select a recording name from the drop-down list and click
Delete.
■ Click Video (Name): Opens the Recording Settings page to modify.
■ Click ON (Status): The Status will become OFF and stop recording.
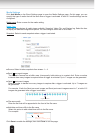
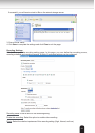
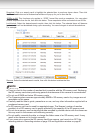
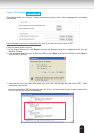
■ Click NAS (Destination): Opens the le list of recordings as shown below. For more information about
folder naming rules, please refer to page 97 for details.
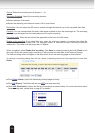
20100115
20100116
20100117