


27
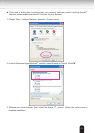
Conguration Area
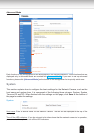
Client Settings: Click this button to access the client setting page. For more information, please refer to
Client Settings on page 30.
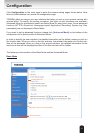
Conguration: Click this button to access the conguration page of the Network Camera. It is suggested
that a password be applied to the Network Camera so that only the administrator can configure the
Network Camera. For more information, please refer to Conguration on page 32.
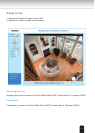
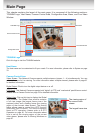
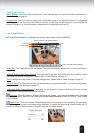
Live Video Window
■ The following window is displayed when the video mode is set to MPEG-4:
Video Title: The video title can be congured. For more information, please refer to Video Settings on
page 61.
MPEG-4 Protocol and Media Options: The transmission protocol and media options for MPEG-4 video
streaming. For further conguration, please refer to Client Settings on page 30.
Time: Displays the current time. For further conguration, please refer to Video Settings on page 61.
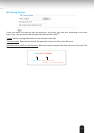
Title and Time: The video title and time can be stamped on the streaming video. For further conguration,
please refer to Video Settings on page 61.
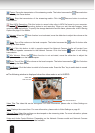
Video and Audio Control Buttons: Depending on the Network Camera model and Network Camera
conguration, some buttons may not be available.
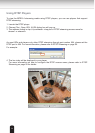
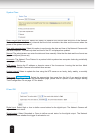
Snapshot: Click this button to capture and save still images. The captured images will be displayed
in a pop-up window. Right-click the image and choose Save Picture As to save it in JPEG (*.jpg) or BMP
(*.bmp) format.
Digital Zoom: Click and uncheck “Disable digital zoom” to enable the zoom operation. The navigation
screen indicates the part of the image being magnied. To control the zoom level, drag the slider bar. To
move to a different area you want to magnify, drag the navigation screen.
Video and Audio Control Buttons
MPEG-4 Protocol and Media Options
Video Title
Time
Title and Time
Video 13:49:39 2010/01/25