


11
Connecting to a Computer︱
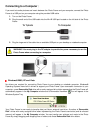
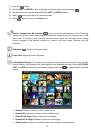
If you want to transfer pictures and music between the Photo Frame and your computer, connect the Photo
Frame to a USB port on your computer using the provided USB cable.
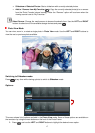
1. Turn on the Photo Frame.
2. Plug the small end of the USB cable into the Mini-B USB port located on the left side of the Photo
Frame.
3. Plug the large end of the cable into an available USB port on your desktop or notebook computer.
WARNING! You must plug in the DC adapter to provide the power necessary to run the
Photo Frame when connecting to a computer.
Windows®
2000, XP and Vista
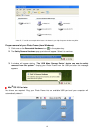
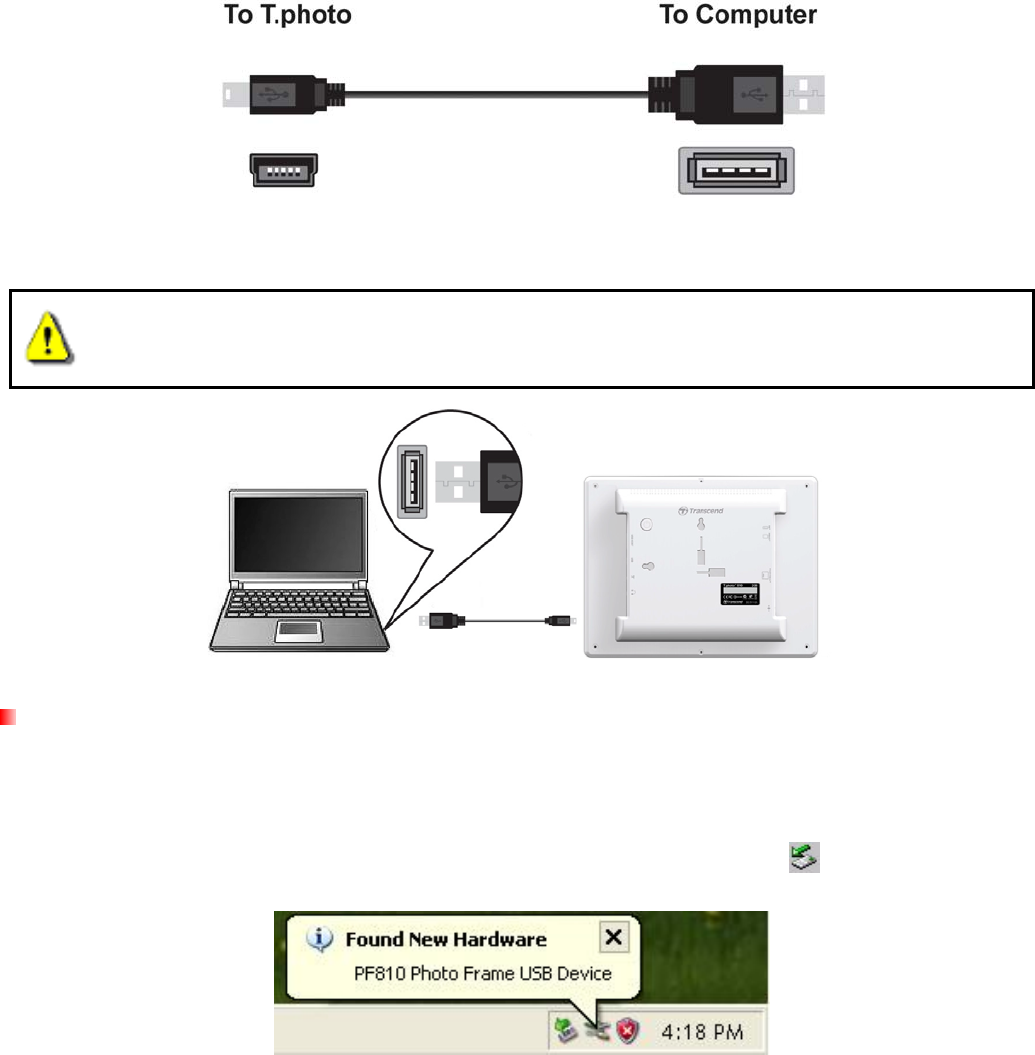
No drivers are required for connecting Photo Frame to your desktop or notebook computer. Windows®
Operating Systems have built-in drivers to support your Photo Frame. Upon successful connection to your
computer, a new Removable Disk drive with a newly assigned drive letter representing the Photo Frame will
automatically appear in the My Computer window and a Removable Hardware
icon will appear in the
Windows System Tray.
Your Photo Frame is now ready to transfer data just like an external hard drive. A number of Removable
Disk* drives with newly assigned drive letters representing the Photo Frame’s card slots (and its onboard
memory) will appear in the My Computer window. You can transfer your pictures and music to the Photo
Frame by simply dragging-and-dropping files or folders onto these Removable Disk drive letters.