6. Self-Timer. Press the ENTER Button to display a
set of monochrome icons on the image display. Press
the arrow buttons / until the self-timer icon
appears (enlarged) in the center of the LCD window.
Press the arrow buttons / to toggle between
self-timer enabled/self-timer disabled. Enable the
self-timer. Press the shutter button and note that the
RED self-timer LED blinks on the front of the camera and
an image is captured after ten seconds.
7. Digital Zoom. Press the arrow buttons / on the
MENU/ENTER Button to adjust the digital zoom and a
scaling-bar will appear on the left side of the LCD Monitor
indicating the digital zoom level, in ten steps.
8. Slide the Macro Switch on the side of camera to enable
Macro (close-up) photography. When you select Macro
Mode, the green Macro LED located on the top of the LCD
monitor will light green.
Notes:
• If the low-battery icon appears, install new batteries
immediately to keep the camera operating normally.
• When the storage memory begins to fill, the image
counter will turn red and a red card icon will appear as
an indication that memory is almost full. “Memory Full”
indicates all memory storage has been used.
6-3 Play Mode
In Play Mode, you can review your still images and movies as
follows:
1. Turn the Mode Dial to Play Mode .
2. Use the lens cover to turn the camera on. As the camera
powers-up the last recorded image appears on the LCD.
3. Press the arrow buttons / on the MENU/ENTER
Button to review your images. You may move forward or
backward through your images.
4. Press the Enter button in the center of the MENU/ENTER
Button to access the "Delete" function. Press the
arrow button , to access the "Auto play” (Slideshow)
feature.
Note: If there are no images stored in the internal memory or
memory card, a “No picture” message appears on the LCD.
6-4 Movie Mode
You can use the Movie Mode to record movies (without audio)
as follows:
1. Turn the Mode Dial to Movie Mode .
2. Use the lens cover to turn the camera on.
3. Press the Shutter button to start recording. Press the Shutter
button again to stop recording.
4. The LCD Monitor will show the recording time (in seconds)
while you are recording a movie.
˜ The maximum recording time will depending on the available
memory space.
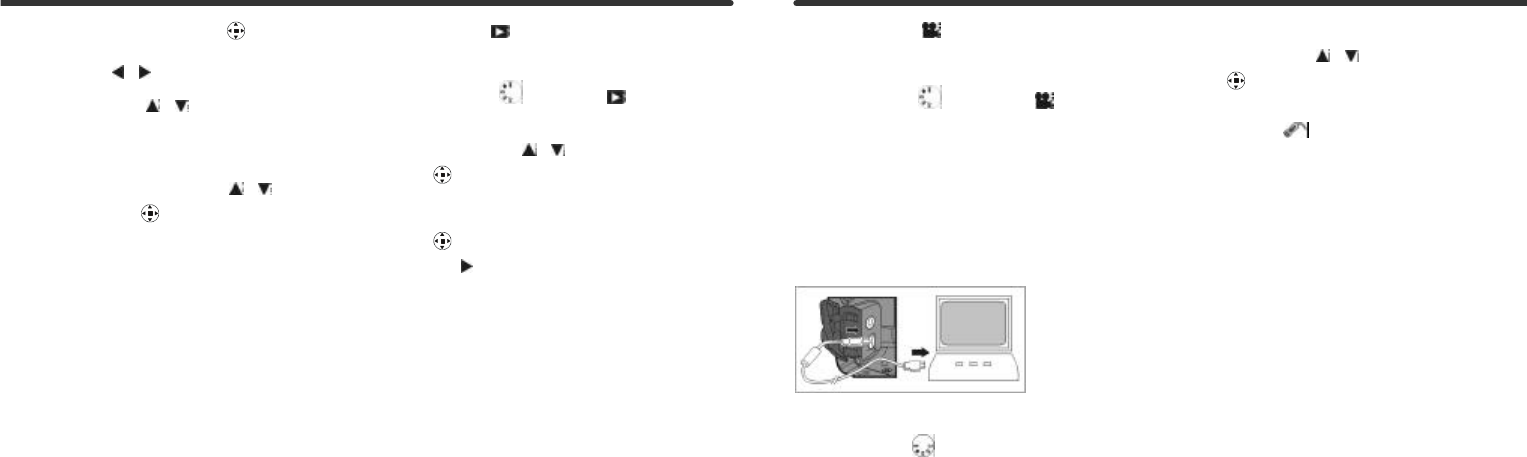
6-5 PC Connection
˜ Select either PC Camera or Mass Storage mode in the
PC Connection menu as follows:
1. Set the Mode Dial to PC and turn on the camera.
PC Camera and Mass Storage options will appear on the
LCD Monitor.
2. Press the arrow buttons / on the MENU/ENTER
Button to select the desired mode. Press the enter
button to invoke the desired option.
3. A graphical USB " " icon will pop up and flash on the
LCD. Connect the USB cable to the camera and to your
computer to complete the configuration.


