15
E
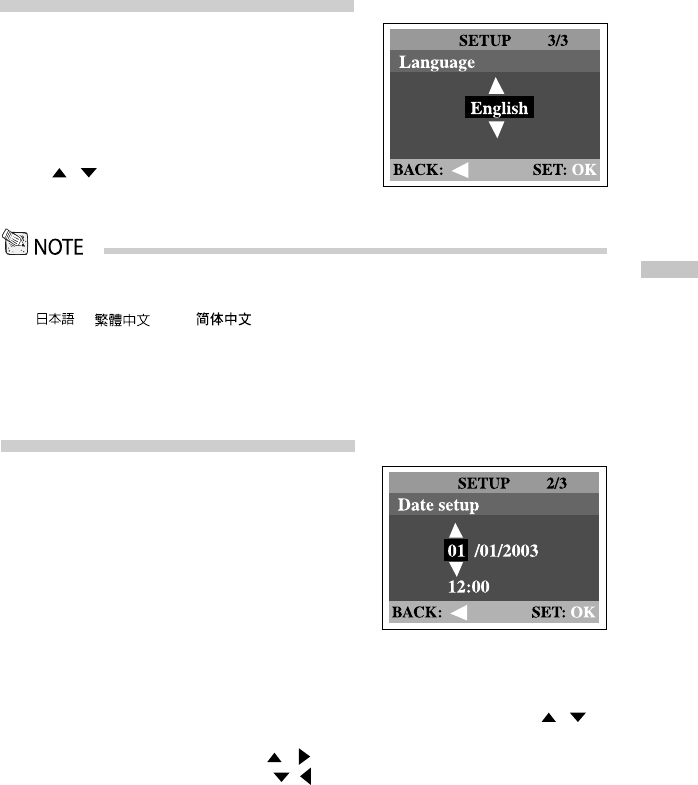
Choosing the language
When you first turn the camera on, the language
setting screen appears, prompting you to
choose a language for displayed information on
the LCD monitor. Follow the steps below to set
the OSD (On-Screen Display) language.
1. Select a language that you prefer by using
the / button.
2. Press the OK button to confirm.
• The language setting will be retained even if the camera is turned off.
• The provided languages are [English], [Français], [Deutsch], [Español], [Portugués], [Italiano],
[
], [ ], and [ ].
Setting the date and time
The Date/Time screen will be presented if/when:
Camera is turned on for the first time (after
setting the language)
Camera is turned on after removing the
batteries/AC power adapter or replacing
the batteries.
When the date and time setting screen appears,
follow these steps to set the correct date and
time. You may skip this procedure by pressing
OK.
1. Enter the values of the year, month, day and time fields by using the /
button. Press OK after all field is set.
To increase a value, press the / button.
To decrease a value, press the / button.


