•••••••••••••••••••••••••••••••••••••••••••••••••••••••••••••••••••••••••••••••••••••••••••••••••••••••••••••••••••••••••••••
Operations
87
3-2. Select “[Back to Authentication]” and either left-click or
press ENTER.
• The “[Authentication]” screen will appear.
3-3. Follow the steps in step 2-1 and enter the correct “userID”
and “password”.
4-1. (If you do not want to log in • • • )
Select “If you don’t want to log in, click here to exit.” and left-
click.
4-2. The message “SessionID removed in recorder & browser.
Please shut this Web Browser down to clear of your browser’s
cache.” will display. Close the Web Browser.
5-1. (To change password • • • )
The password can be changed in the “[Authentication]” screen
only by the user who has the authorization to change a
password. Follow the instructions in the menu and enter the
present “userID” and “password”.
5-2. Enter the new password in “new password:” and again in
“retype new password:”.
The number of characters that can be used in
registering a password is 16. Both alphabet letters
and numbers can be used with a distinction made
between upper and lower case. You cannot use
spaces.
5-3. To change into a new password, select “change” and left-
click or press ENTER. To stop the change, select “clear”, and
left-click or press ENTER.
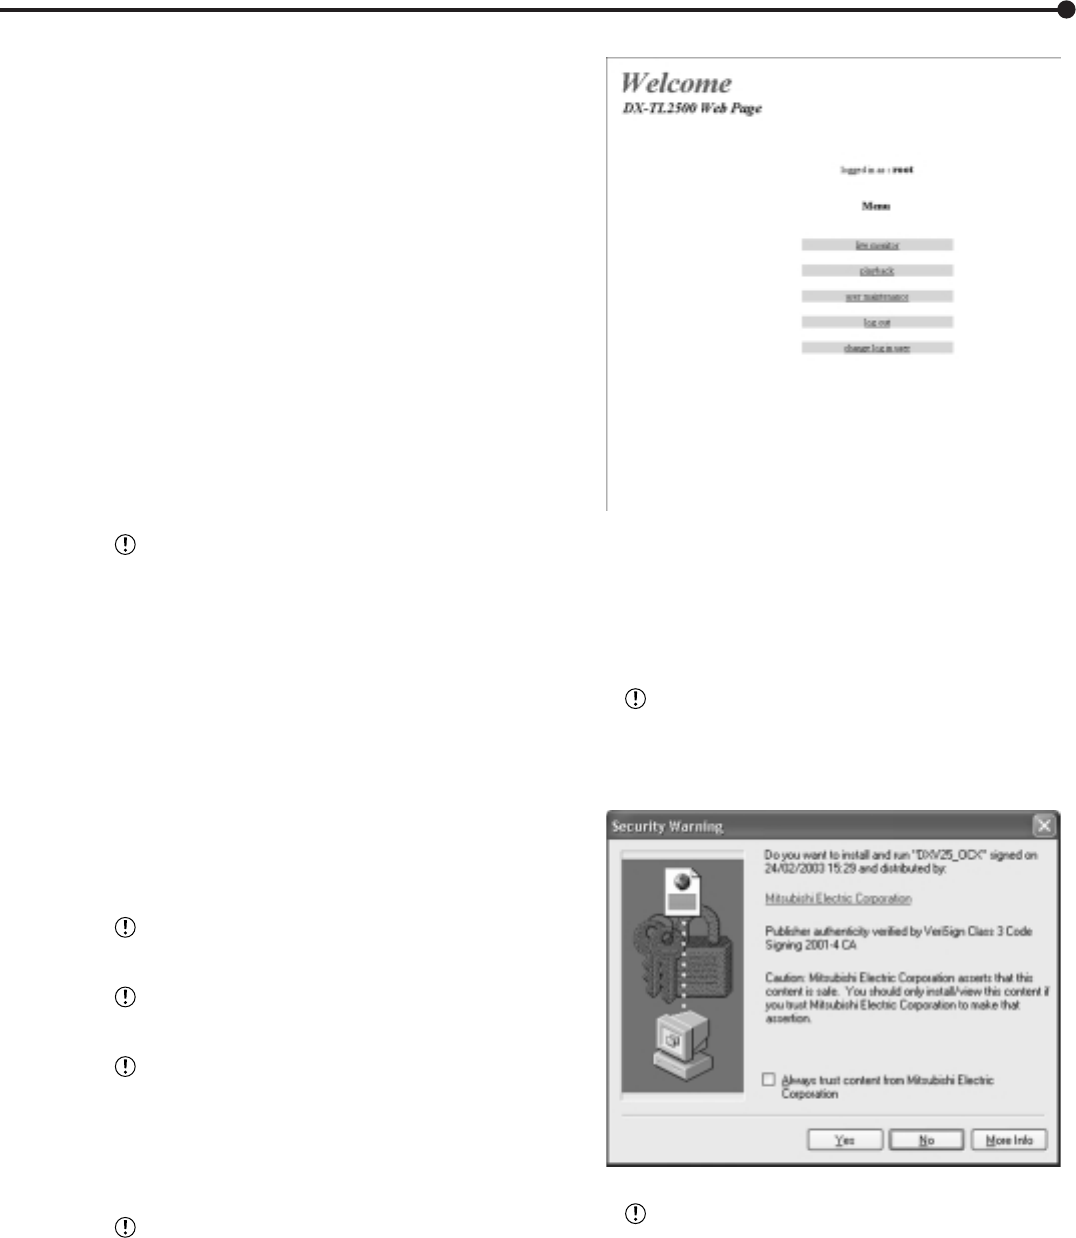
♦ Welcome
This is screen for selecting “Live monitor” for live images
or “playback” for pre-recorded image for display. User
maintenance for setting user authorization can be
configured along with “log out” for ending a job, or “change
log in user” for marking a change to the logged in user.
Depending on what the user’s authorization,
there are certain menus that cannot be selected.
If a request is made for a live picture during play-
back the recorder playback will be stopped.
The user’s sessionID (connection data) will be
lost in 5 minutes from the final operation that includes
image retrievals. When the data demand from cli-
ent PC stops 5 minutes or more, no other opera-
tions can be made after that so close the browser
and then log in again.
If the recorder’s MAIN switch is “OFF”, live and
recorded images cannot be retrieved.
1. Select the desired “Menu” and left-click.
• Live monitor
Retrieves live images and displays the images on the
PC screen.
1. Select “live monitor” and left-click.
• The “live monitor” screen will display.
When image acquisition is tried for the first time
with the Web browser of a personal computer, a
message as shown below will be displayed. Please
click “Yes”.
When a live picture is acquired from the recorder
and the <OUTPUT B ON/OFF> setting is “ON”, the
updating speed for the Live monitor screen de-
creases. It is recommended to set the <OUTPUT B
ON/OFF> setting to “OFF”.
