7
1. Insert Installation CD into your CD-ROM drive.
2. An Introduction screen will appear with a menu or CD contents.
Note: If the installer screen does not come up automatically, click “Start”, “Run”, and execute
the file “cdsetup.exe” on the CD to start the installer program.
3. Click “VideoImpression 1.6”.
4. Follow the on-screen wizard instructions to install.
5. When installation is complete, the VideoImpression 1.6 Program group will appear as a
folder in the Programs menu.
1. Click Start.
2. Select Programs>ArcSoft VideoImpression> ArcSoft VideoImpression 1.6.
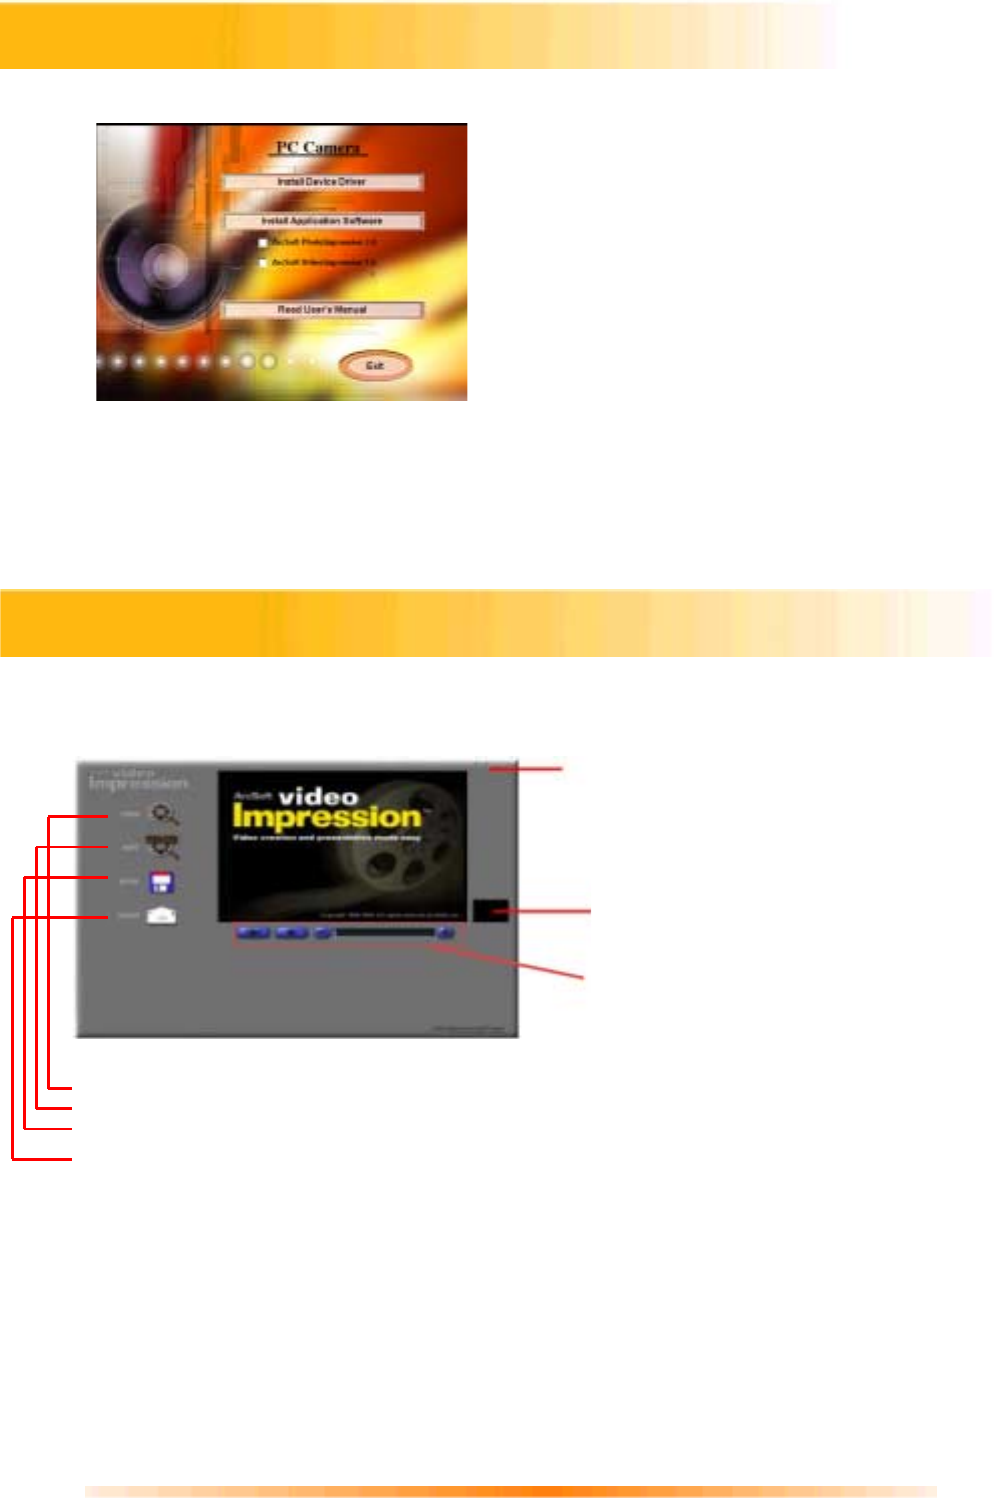
3. The VideoImpression Main Screen will appear as shown below.
Control Buttons
-
(“!”) Tips toggles pop-up tool tips on/off. When on, icon names will popup when you move your
mouse over an icon.
(“?”) Help launches VideoImpression Help. You can learn more about program functions and
procedures by using Help.
(“-”) Minimize moves VideoImpression to the background and places it in the Windows taskbar.
(“x”) Close closes VideoImpression.
VideoImpression 1.6 Main Screen Nomenclature
Installing Application Software
Control Buttons
Timer Window
-
shows the current
frame and the elapsed time within the
video. It becomes active when a
movie is opened (it will appear as a
black box when no movie is open).
Video Playback Controls
-
gives you the
ability to play, pause, and move
forward/backward to specific frames in
your movies.
New – Starts a new project, opens an existing one, and displays your albums.
Edit – Takes you back to the Storyboard (only when you have a prohect open.)
Save – Saves your work as a movie file in AVI format.
Send – Allows you to email your movie files. (A MAPI-compliant email program is needed
for this option.)


