


Download this book for free at http://www.TheArgusA.com/
47
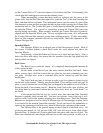
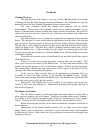
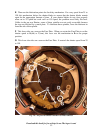
Fig. 7-2: “Homemade” adjustable shutter removal tool
Once you have removed the nut, the Shutter can be separated from the Neck, and
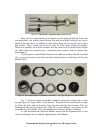
two metal plates, one with the Lens Locking Tabs and one with the Locking Lugs, can be
removed from the Neck. In addition to these plates, there are occasionally one or more
thin washers. These washers are the last to come off of the shutter during disassembly.
These were probably put in place to ensure that the camera was in perfect focus, despite
any minor differences between parts. Keep these brass washers with the Shutter they
were found on.
If you intend to switch Shutters between two different models, like the A and the
AF, you may also need to switch the nuts that retain the shutters so that they will fit in the
different Neck.
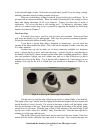
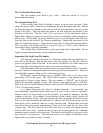
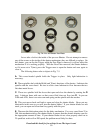
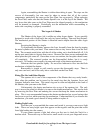
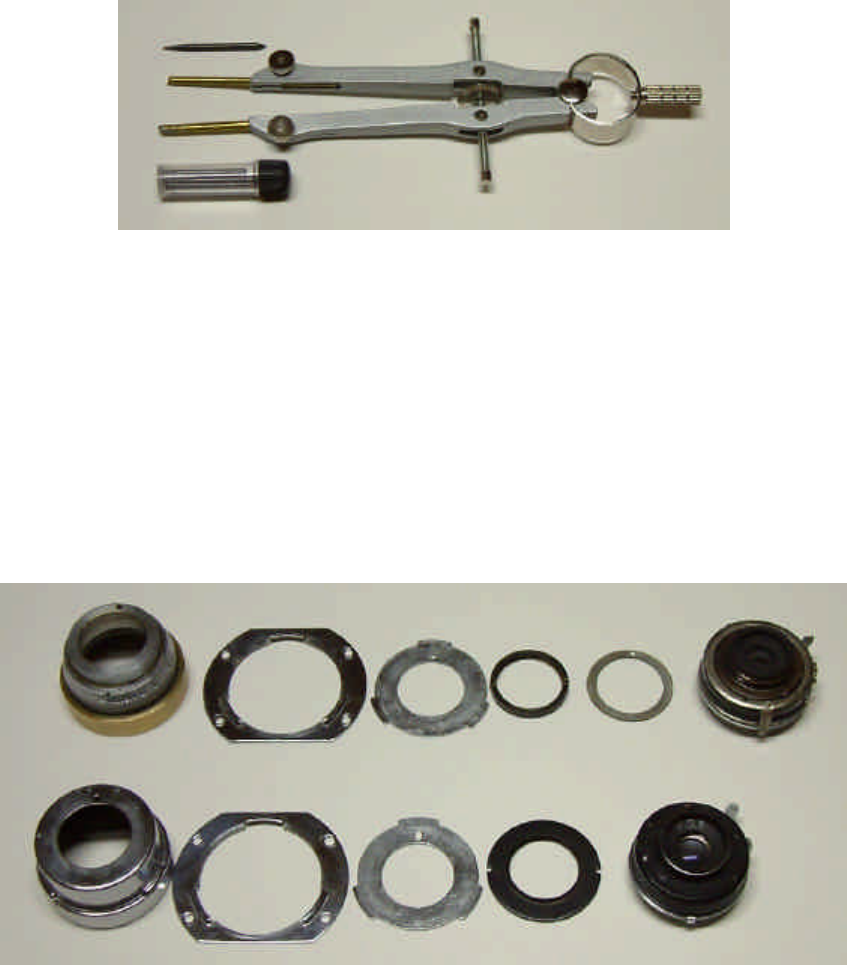
Fig. 7-3: Two separated Neck and Shutter assemblies; AF (top) and post-war A2B (bottom)
Fig. 7-2 shows two Neck and Shutter assemblies separated; an Argus AF is on the
top and a post-war Argus A2B is on the bottom. The parts are laid out from left to right:
the Neck, the plate with the Locking Lugs, the plate with the Lens Locking Tabs, the
retaining nut, the spacing washer (only on the AF), and the Shutter. As you can see, the
assemblies are very similar. Only the retaining nut for the two models is different.
As you reassemble the Neck and Shutter, ensure that the alignment holes on the
various components line up with the alignment pin on the Shutter.