


23
AXIS Q1755/-E - PTZ (Pan Tilt Zoom)
PTZ (Pan Tilt Zoom)
AXIS Q1755/-E has 10x optical zoom, 12x digital zoom and autofocus and can immediately provide the desired field of view in
perfect focus. The camera can be placed in a P/T device, in order to enable Pan/Tilt control from the camera. See
www.axis.com for a list of compatible devices (Pelco D protocol). Go to Setup > System Options > Ports & Devices > COM
Port for more information. If enabled, Pan/Tilt controls will be available from the Live View page.
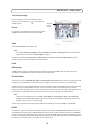
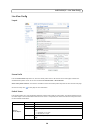
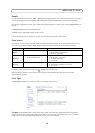
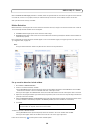
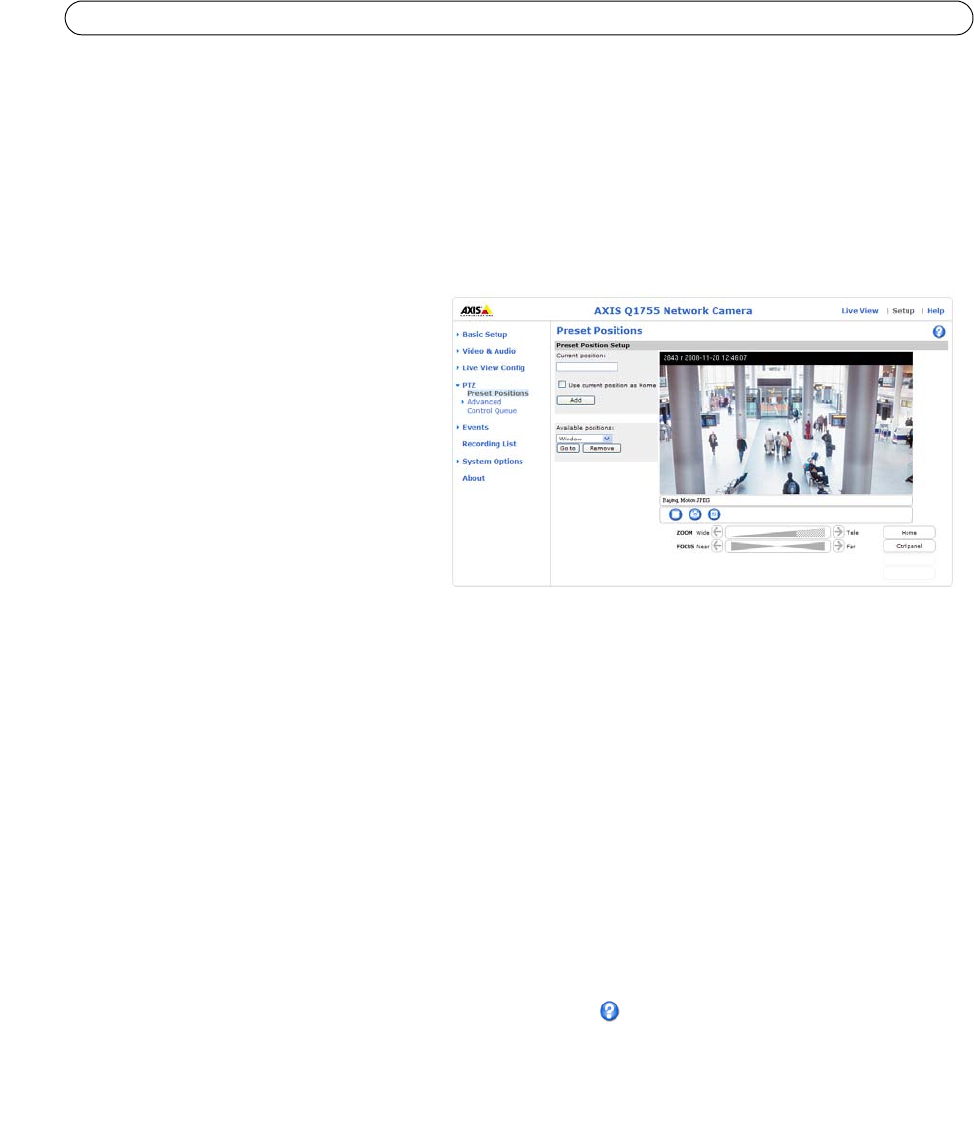
Preset Positions
A preset position is a pre-defined camera view
that can be used to quickly steer the camera to a
specific location.
From Preset Position
Setup, use the (Pan/Tilt)
Zoom control to steer the camera view to the
required position. When satisfied with the
camera's position, enter a descriptive name. Click
Add to save the camera position as a preset
position.
AXIS Q1755/-E will take the exact position when
the
preset's name is selected from the Preset
position’s drop-down list. Preset positions can be
selected in Live View, from events and in
Sequence mode.
One position can be set as the Home position, which
is readily accessible by clicking on the Home button in both the Preset
Position Setup window and the Live View window. The position's name will have (H) added, for example, Entrance (H).
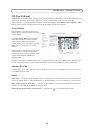
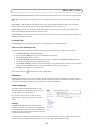
Advanced (Pan/Tilt)
A Pan/Tilt device can be used in order to pan and tilt the camera via controls on the web pages. The Pan/Tilt device controls
can be modified from this page.
Device
Video Source 1 - Device ID is the RS-485 address of the connected P/T unit and the presented value must correspond to the
value of the address switches in the connected PT unit, see the documentation for the connected unit for more information.
Driver Specific Settings for Video Source 1
- depending on the installation, it may be necessary to change the direction of
the pan or tilt. Check Flip pan and Flip tilt to change direction.
Extended Driver Specific Settings for Video Source 1 - see the help file for a description of each setting.