


1-10
1
2
3
4
Cover/Table of
Contents
Introduction
Downloading Images
from the Camera
Setting the Cameras
other than the EOS-1D
Series Cameras
Setting the EOS-1D
Series Cameras
Troubleshooting
Index
Remote Shooting
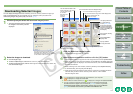
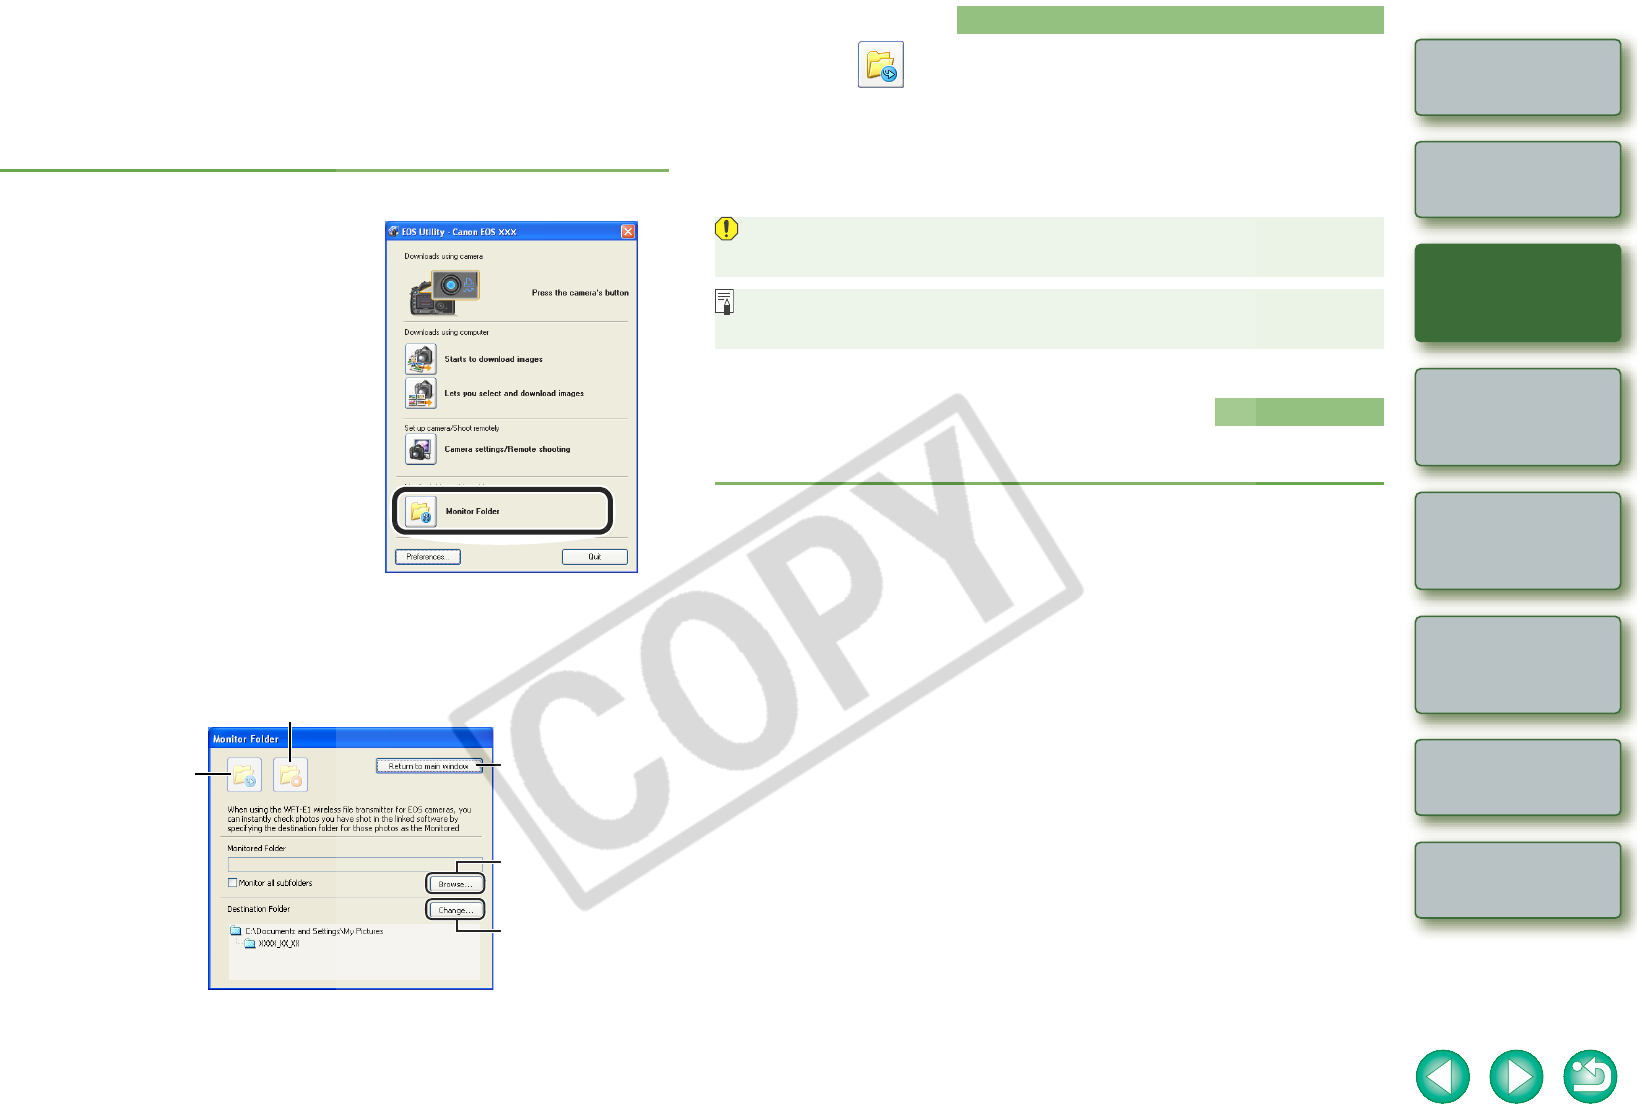
Transferring the Images in a Specified Folder
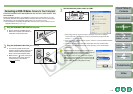
By inserting images in a transfer origin folder, the images can be transferred to the transfer
destination folder and displayed in Digital Photo Professional or ZoomBrowser EX.
In addition, when using the EOS dedicated Wireless Transmitter WFT-E1/E1A (optional), by
specifying the folder where the shot images will be saved, you can check the shot images in
Digital Photo Professional or ZoomBrowser EX in real time.
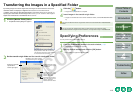
1
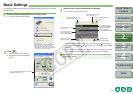
Click the [Monitor Folder] button.
¿ The [Monitor Folder] dialog box appears.
2
Set the transfer origin folder and the transfer destination folder.
The above window shows information
displayable when EOS 30D is connected.
The displayed information varies depending
on the camera model connected.
Monitoring of the folder specified
as the transfer origin is cancelled.
Monitoring of the folder
specified as the
transfer origin begins.
Click the [Browse] button
and in the dialog box that
appears, select the
transfer origin folder.
Close the [Monitor Folder]
dialog box to return to the
main window.
Click the [Change] button
and in the dialog box that
appears, select the
transfer destination folder.
You can perform various EOS Utility settings.
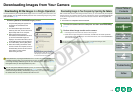
3
Click the [ ] button.
¿ Image transfer preparation is complete.
4
Insert images in the transfer origin folder.
¿ Images are transferred to the transfer destination folder, and ZoomBrowser EX starts
up.
You cannot make the transfer origin folder and the transfer destination folder the same
folder.
You can change the software that starts up when images are transferred, from
ZoomBrowser EX to Digital Photo Professional, in the [Preferences] as described next.
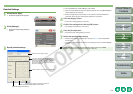
1
Click the [Preferences] button in the main window (p.1-6).
¿ The [Preferences] dialog box appears.
2
Specify desired settings and click the [OK] button.
¿ The settings are applied to the EOS Utility.
Specifying Preferences