


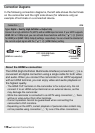

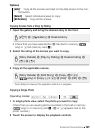

124 External Connections
Installation
Install the software before you connect the camcorder to the computer
for the first time. Refer to the Installation Guide (supplied leaflet) and
follow the instructions in the Software Guide (PDF file) to install the
supplied PIXELA’s software.
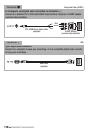
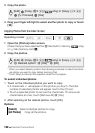
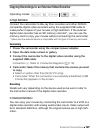
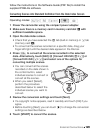
Connecting the Camcorder to a Computer
1 Power the camcorder using the compact power adapter.
2 Open the date index screen.
3 Connect the camcorder to the computer using the supplied USB
cable.
Connection D. Refer to
Connection Diagrams
(0 118).
4 Camcorder: Select [All (for PC only)].
Camcorder: When the connection is successfully established, [USB
Connection] appears on the screen.
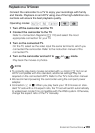
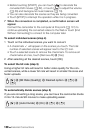
5 Computer: Depending on the software you chose to install,
Transfer Utility or VideoBrowser will start up automatically.
• Transfer Utility: Click [Video file import] to start transferring files. For
details about using the software, click [Help] to open the Software
Guide (PDF file).
• VideoBrowser: Click in the menu panel to start transferring files.
For details about using the software, click to open the
Software Guide (PDF file).
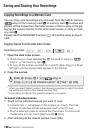
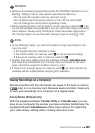
Saving Photos (Windows/Mac OS)
With the supplied software Photo Application you can save photos to
your computer and easily organize and edit them.
Installation
Install the software before you connect the camcorder to the computer
for the first time. See also the relevant sections in the ‘Photo Applica-
tion’ Instruction Manual (r, PDF file in the
[MANUALS_ENGLISH] folder on the supplied Camcorder Supplemen-
tal Disc).