


4140
● Shooting ●
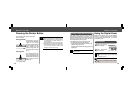
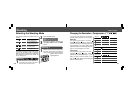
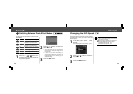
Changing the Resolution / Compression
You can change the resolution and compression
(excluding movies) settings to suit your purpose.
Resolution
The resolution gets higher in the order
(Small), (Medium), (Large). Use a higher
resolution if you want to make a large print. Use
a lower resolution if you want to print on small
objects like labels or to send images electroni-
cally or to fit more images on a CF card.
Compression
The compression gets higher in the order
(Superfine), (Fine), (Normal). Select
(Superfine) for a higher quality image or (Nor-
mal) if you want to put more images on a CF
card. The
(Fine) settings provide adequate
quality for standard shots.
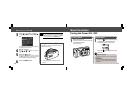
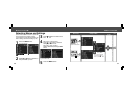
(Large)
(Medium)
(Small)
PowerShot A200
1600 × 1200 pixels
1024 × 768 pixels
640 × 480 pixels
PowerShot A100
1280 × 960 pixels
1024 × 768 pixels
640 × 480 pixels
320 × 240 pixels
160 × 120 pixels
Superfine
Fine
Normal
Compression
Resolution
Resolution
Shooting
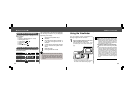
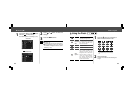
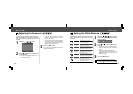
Selecting the Shooting Mode
The following modes are available with this
camera.
Manual
Auto
Stitch Assist
Movie
The camera automatically makes
most of the settings for you.
You can manually adjust the
exposure, white balance, and
other settings before shooting.
For shooting panorama
composition images
For shooting movies
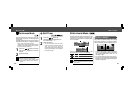
The details on settings for each mode are kept
even if the shooting mode is changed.
When the power is turned off, the settings are
also retained for certain shooting modes, but
not for others (p. 57).
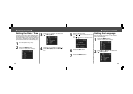
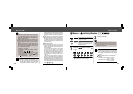
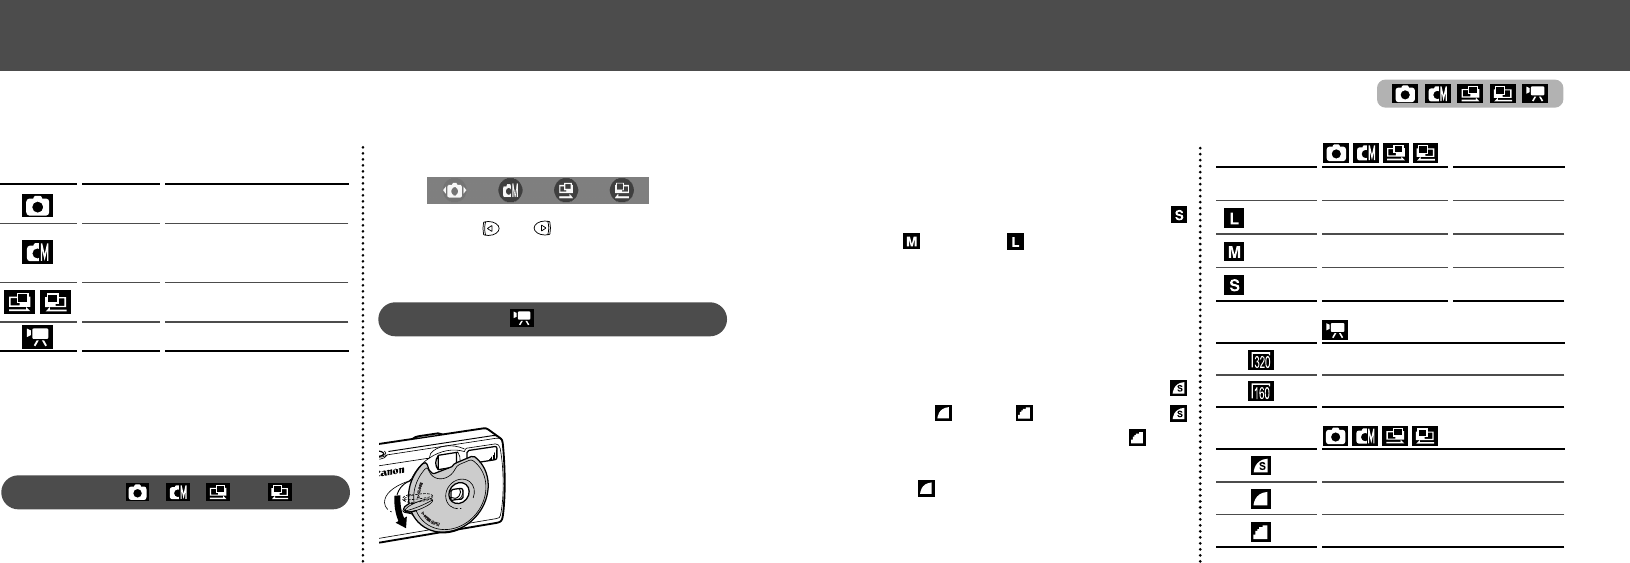
Selecting , , or
1
Open the lens cover to turn the power on.
The shooting mode selected is the same as
when the camera was last turned off.
2
Press the SET button.
3
Press or button to select the
shooting mode and press the SET
button.
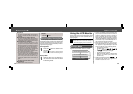
Selecting
1
Whilst the lens cover is open, lower
the lens cover lever to switch to
movie mode. Lower the lens lever
again to return to shoot-
ing still pictures.