


6564
Erasing
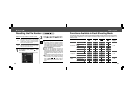
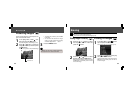
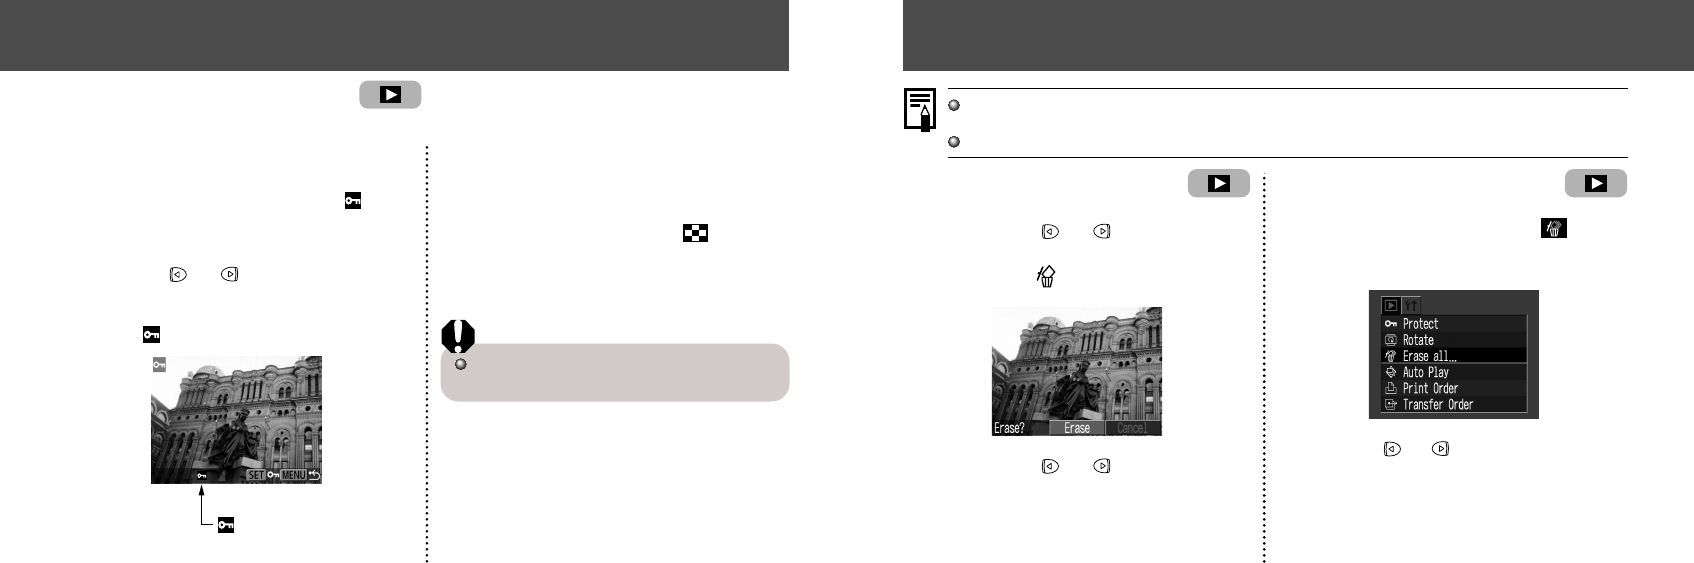
Erasing Images Individually
1
Press the or button to select
the image you want to erase and
press the
button.
2
Press the or button to select
[Erase] and press the SET button.
Select [Cancel] instead of [Erase] and press
the SET button if you decide you do not want
to erase the image.
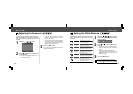
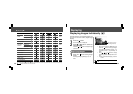
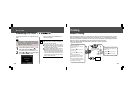
Erasing All Images
1
In the [Play] Menu, select (Erase
all) and press the SET button.
See “Selecting Menus and Settings” (p. 36).
2
Press or button to select [OK]
and press the SET button.
Select [Cancel] instead of [OK] and press the
SET button if you decide you do not want to
erase the images.
Remember that erased images cannot be recovered.
Be careful to avoid accidental erasures.
This function will not erase protected images (p. 64).
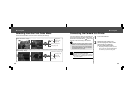
Use the protect feature to protect important im-
ages from accidental erasure.
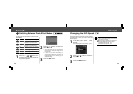
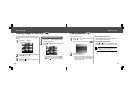
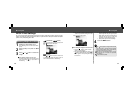
1
In the [Play] Menu, select (Pro-
tect) and press the SET button.
See “Selecting Menus and Settings” (p. 36).
2
Press or button to select the
image you want to protect and press
the SET button.
The icon appears on the protected image.
Protected Icon
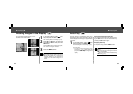
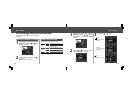
• To release the protection, press the SET
button again.
• You can make the selection of images
easier by toggling between single replay
and Index replay with the button.
3
Press the MENU button.
Please note that even protected images are
erased when a CF card is reformatted.
● Replaying ●
Protecting Images