


49
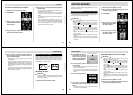
EDITING IMAGES
IMPORTANT!
You cannot use the following operation with a movie, or
a panorama.
1.
Slide the Function Switch to PLAY.
2.
Use [+] and [–] to display the image you want to
rotate.
3.
Press MENU.
Rotating an Image
The following operation rotates an image.
6.
Use [+] and [–] to select the image that you
want come after the image you are moving, and
then press the shutter button.
• Pressing the shutter button moves the image to the
location above the image you specified in step 6
above. Images after the location you move to are
shifted to make room.
• When you move a movie or panorama, all related im-
ages are moved as a group.
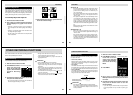
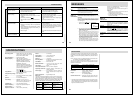
• To jump to the last page
(image) in memory, use [+]
and [–] to display the mes-
sage “LAST PAGE” and
then press the shutter but-
ton.
50
EDITING IMAGES
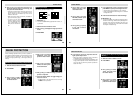
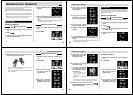
7.
If you selected 90° or 270° in the previous step,
press MENU to specify the background color.
• Skip this step if you specified 0° or 180° in step 6.
• Each press of MENU scrolls through the 10 available
background colors.
8.
Press the shutter button to rotate the image.
IMPORTANT!
The above operation only rotates the displayed repre-
sentation of the image, without actually rotating the im-
age itself. This means that uploading the image to a
computer or outputting it to a QV Color Printer sends
the original un-rotated image.
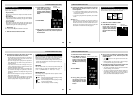
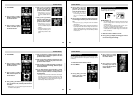
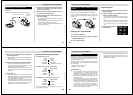
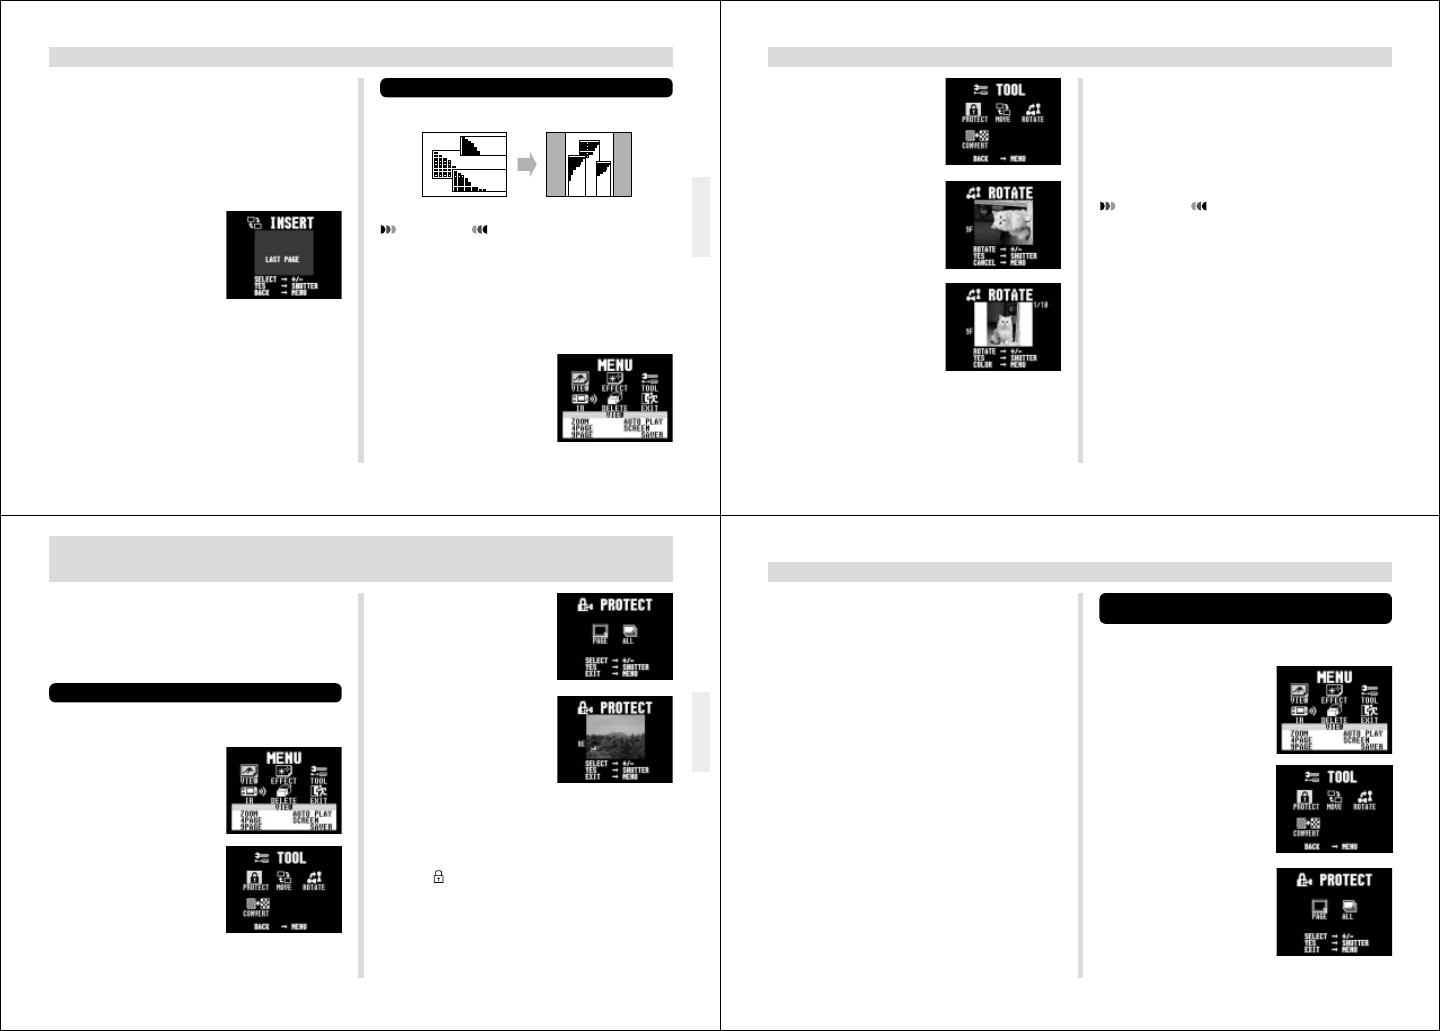
4.
Use [+] and [–] to select
TOOL, and then press
the shutter button.
5.
Use [+] and [–] to select
ROTATE, and then press
the shutter button.
6.
Use [+] and [–] to specify
0
°, 90°, 180°, or 270° as
the rotation.
51
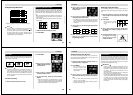
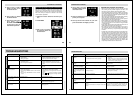
4.
Use [+] and [–] to select
PROTECT, and then
press the shutter button.
5.
Use [+] and [–] to select
PAGE, and then press
the shutter button.
6.
Use [+] and [–] to select the image you want to
protect or unprotect.
7.
Press the shutter button to toggle image pro-
tection on and off.
• The indicator in the upper left corner of an image
indicates that it is protected.
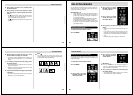
IMAGE PROTECTION
Use the following operations when you want to protect im-
ages against accidental deletion. A protected image cannot
be deleted until it is unprotected. You can protect and
unprotect a single specific image, or all images currently in
memory.
Protecting and Unprotecting a Single Image
1.
Slide the Function Switch to PLAY.
2.
Press MENU.
3.
Use [+] and [–] to select
TOOL, and then press
the shutter button.
52
IMAGE PROTECTION
Protecting and Unprotecting All Images in
Memory
1.
Slide the Function Switch to PLAY.
2.
Press MENU.
3.
Use [+] and [–] to select
TOOL, and then press
the shutter button.
4.
Use [+] and [–] to select
PROTECT, and then
press the shutter button.
8.
If you want to protect or unprotect other im-
ages, repeat steps 6 and 7.
• When you protect or unprotect a movie or panorama,
all related images are treated as a group.
• To exit the image protect operation, press MENU. The
image protect operation is also cancelled automati-
cally if you do not perform any button operation for
about one minute.