


29
OTHER RECORDING FUNCTIONS
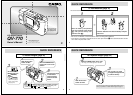
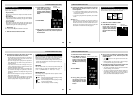
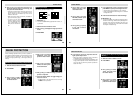
2.
Press MODE a number of
times until the screen
shown on the right hand
appears, which indicates
the Self-timer Recording
Mode.
3.
Press MENU.
4.
Use [+] and [–] to select the Self-timer Record-
ing Mode you want to use, and then press the
shutter button.
Self-timer Recording
There are three different Self-timer Recording Modes:
single, movie, and future.
• Single (SINGLE)
After about 10 seconds have elapsed, this mode records a
single image.
• Movie (MOVIE)
Starts movie recording 10 seconds after the shutter button
is pressed. See “Movie Recording” on page 27 for details
on movie recording.
• Future (FUTURE)
After about 10 seconds have elapsed, this mode records
the image in front of the lens the instant the shutter button
is pressed, along with four subsequent images.
IMPORTANT!
The flash fires only when SINGLE is selected.
1.
Slide the Function Switch to REC.
Self-timer
Recording Mode
30
OTHER RECORDING FUNCTIONS
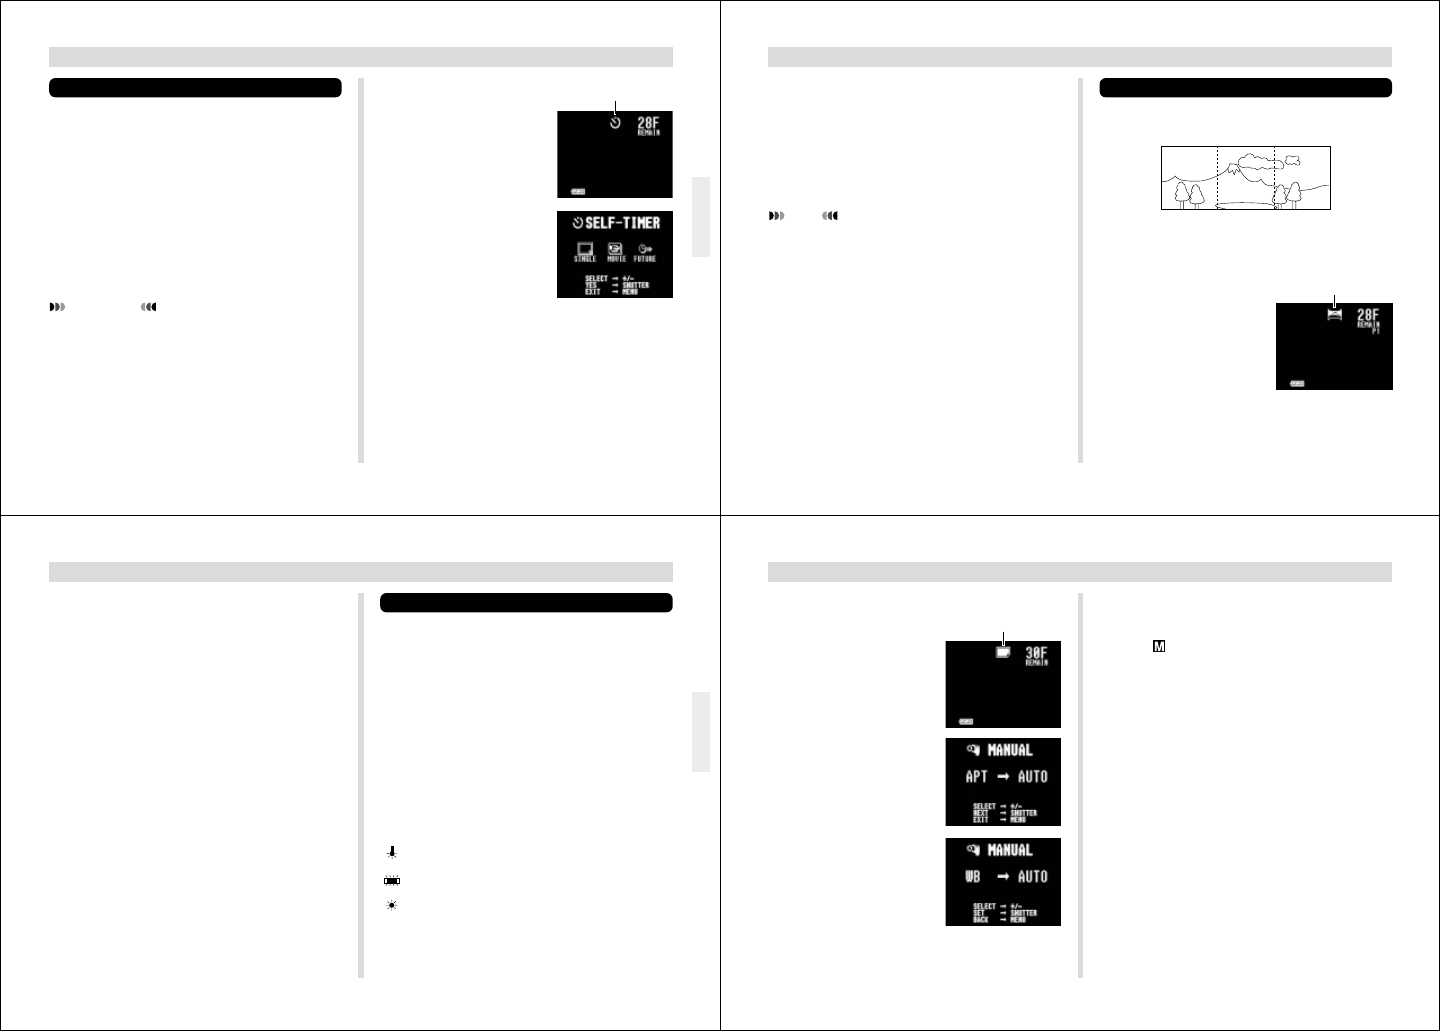
Panorama Recording
With panorama recording you record a series of images and
then link them to create a single panoramic effect.
1.
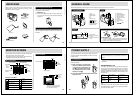
Slide the Function Switch to REC.
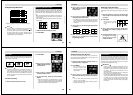
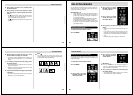
2.
Press MODE a number of
times until the screen
shown on the right hand
appears, which indicates
the Panorama Recording
Mode.
5.
Compose the image on the monitor screen and
then press the shutter button to start the
record operation.
• A 10-second countdown starts on the LCD. The shut-
ter will release automatically when the end of the
countdown is reached.
• To cancel ongoing Self-Timer operation, press shutter
button.
NOTE
During self-timer recording, you may find it helpful to
rotate the swivel lens mechanism 180 degrees so the
monitor screen faces the same direction as the lens.
This way you can always see how much time is left until
the start time is reached and recording begins.
Panorama
Recording Mode
31
OTHER RECORDING FUNCTIONS
Manual Recording
With this operation you manually set the aperture and white
balance to the settings you want to use in order to produce
special effects or to compensate for special conditions.
• You can override automatic settings and manually set ex-
posure and white balance to create exactly the effects you
want for your images.
Aperture
You can select AUTO, F2, or F8 as the aperture setting. F8
allows recording of a wider area (NORMAL Mode: 0.3m ~ ∞
(11.8" ~ ∞), MACRO Mode: 11 ~ 26cm (4.3" ~ 10.2")).
White Balance
This settings lets you adjust white areas to produce a more
natural-looking image.
WB1
WB1 ....Use this setting when indoor lighting is making
the image appear reddish.
WB2 ....Use this setting when indoor lighting is making
the image appear bluish.
WB3
WB3 ....Use this setting for outdoor recording.
3.
Compose the image on the monitor screen and
then press the shutter button to record.
• The left edge of the previous image you recorded re-
mains on the monitor screen, so you can use it to com-
pose the next image correctly.
• Up to nine images can be grouped into a panorama.
Press MENU when you want to stop a panorama re-
cording operation.
• If you want to link more than 9 images into a pan-
orama, upload the images to a computer and use your
computer application to link them.
• Aperture and white balance settings are locked when
you record the first image of a panorama, and these
settings are applied to all subsequent images in that
panorama.
• See “Panorama Playback” on page 35 for details on
playing back panoramas.
• Panorama images that are uploaded to a personal
computer and then downloaded back to the camera
cannot be played back using panorama playback.
WB2
32
OTHER RECORDING FUNCTIONS
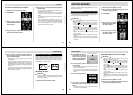
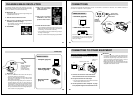
1.
Slide the Function Switch to REC.
2.
Press MODE a number of
times until the screen
shown on the right hand
appears, which indicates
the Manual Recording
Mode.
3.
Press MENU.
4.
Use [+] and [–] to select
the aperture (APT) set-
ting you want to use, and
then press the shutter
button.
5.
Use [+] and [–] to select the white balance (WB)
setting you want to use, and then press the
shutter button.
• The indicator is in the upper left corner of the dis-
play screen.
• Manual settings you make remain in effect until you
turn off power or change to another mode.
6.
Compose the image on the monitor screen and
then press the shutter button to record.
• The image is recorded using the aperture and white
balance settings you made above.
• To return the aperture and white balance settings to
their default (AUTO) settings, turn off the camera or
select normal recording again and set the aperture
(APT) and white balance (WB) both to AUTO.
Manual Recording Mode