


Sawgrass Technologies, Inc. SubliJet IQ
®
Getting Started Guide for the EPSON Stylus Photo 1280
9
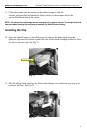
Fig. 11
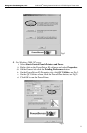
Fig. 12
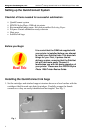
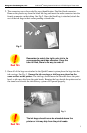
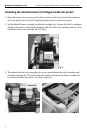
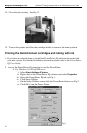
11. Clean the printer and the bottom of the rubber bumpers with the
alcohol pad provided and attach the Velcro circles to the bumper and to the
printer. Push them firmly into place.
NOTE: Do not put the left bumper on the overhang of the printer interior. The weight of the lid
can push down causing the overhang to contact the QuickConnect tubing.
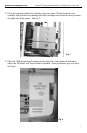
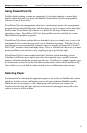
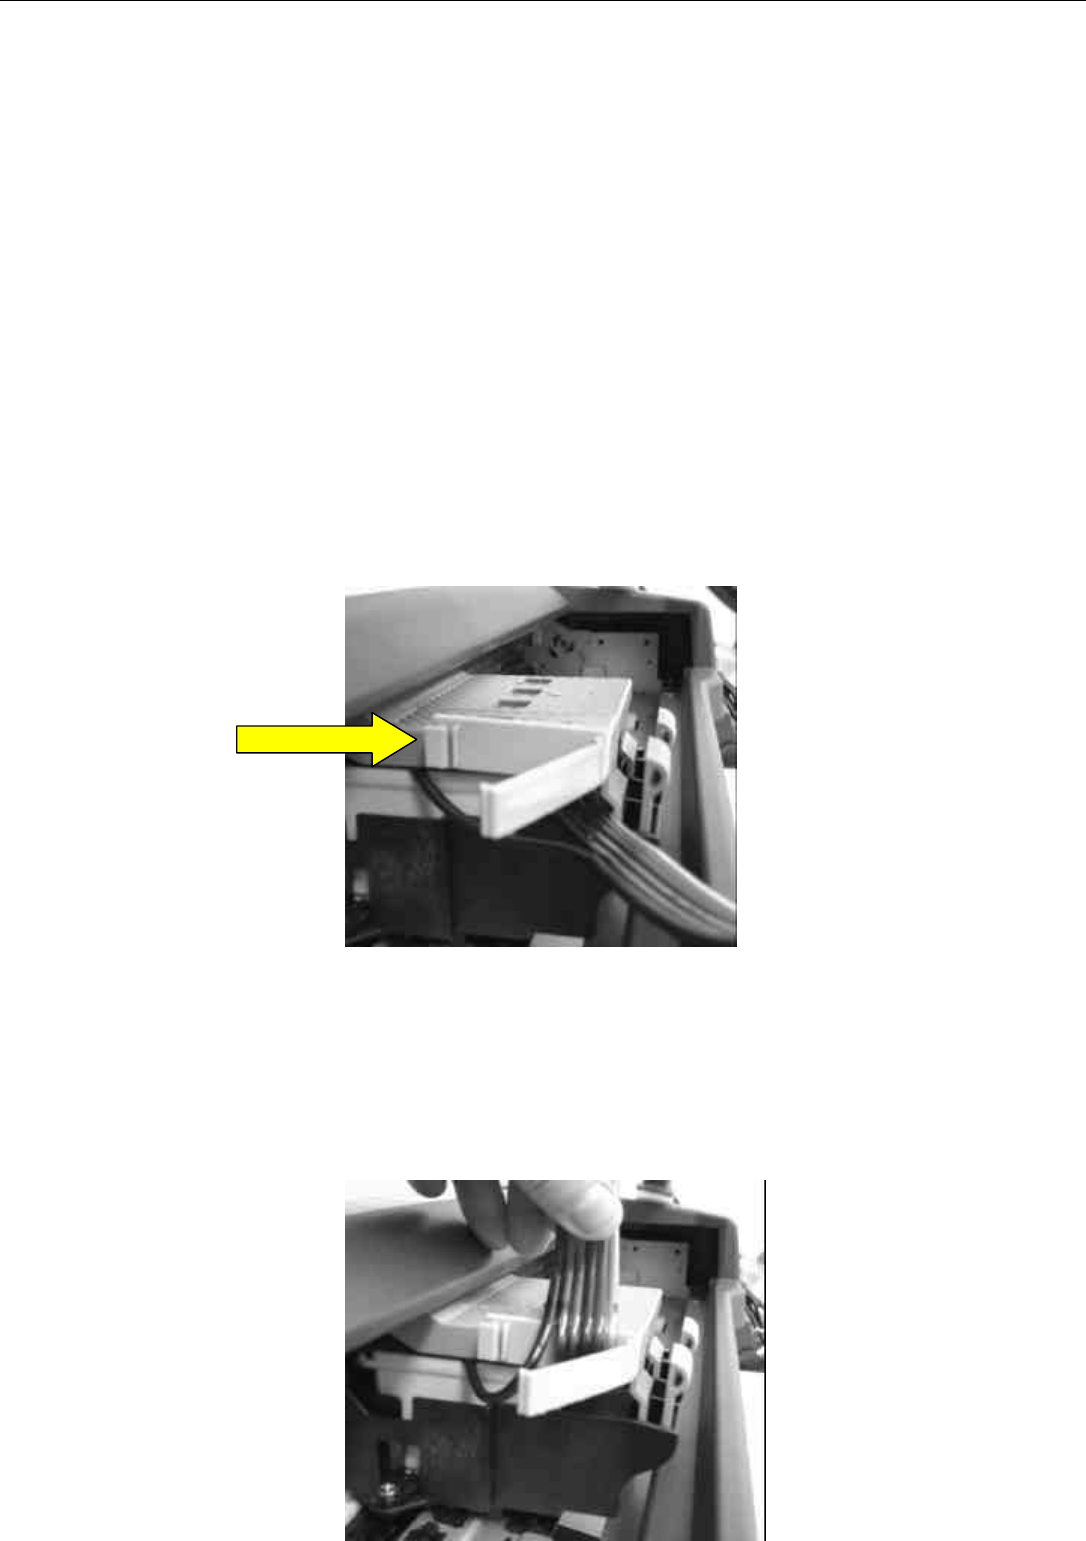
Installing the Clip
12. Once the QuickConnect is installed properly, remove the paper back from the
adhesive strip and stick firmly against the side of the black cartridge holder lid. Press
the tab to open the clip. See Fig 11.
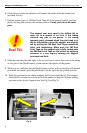
13. Pull the tubing flush into the clip. Ensure the tubing is not pinched in any way as to
constrict ink flow. See Fig 12.