Sawgrass Technologies, Inc. SubliJet IQ
®
Getting Started Guide for the EPSON Stylus Photo 1280
5
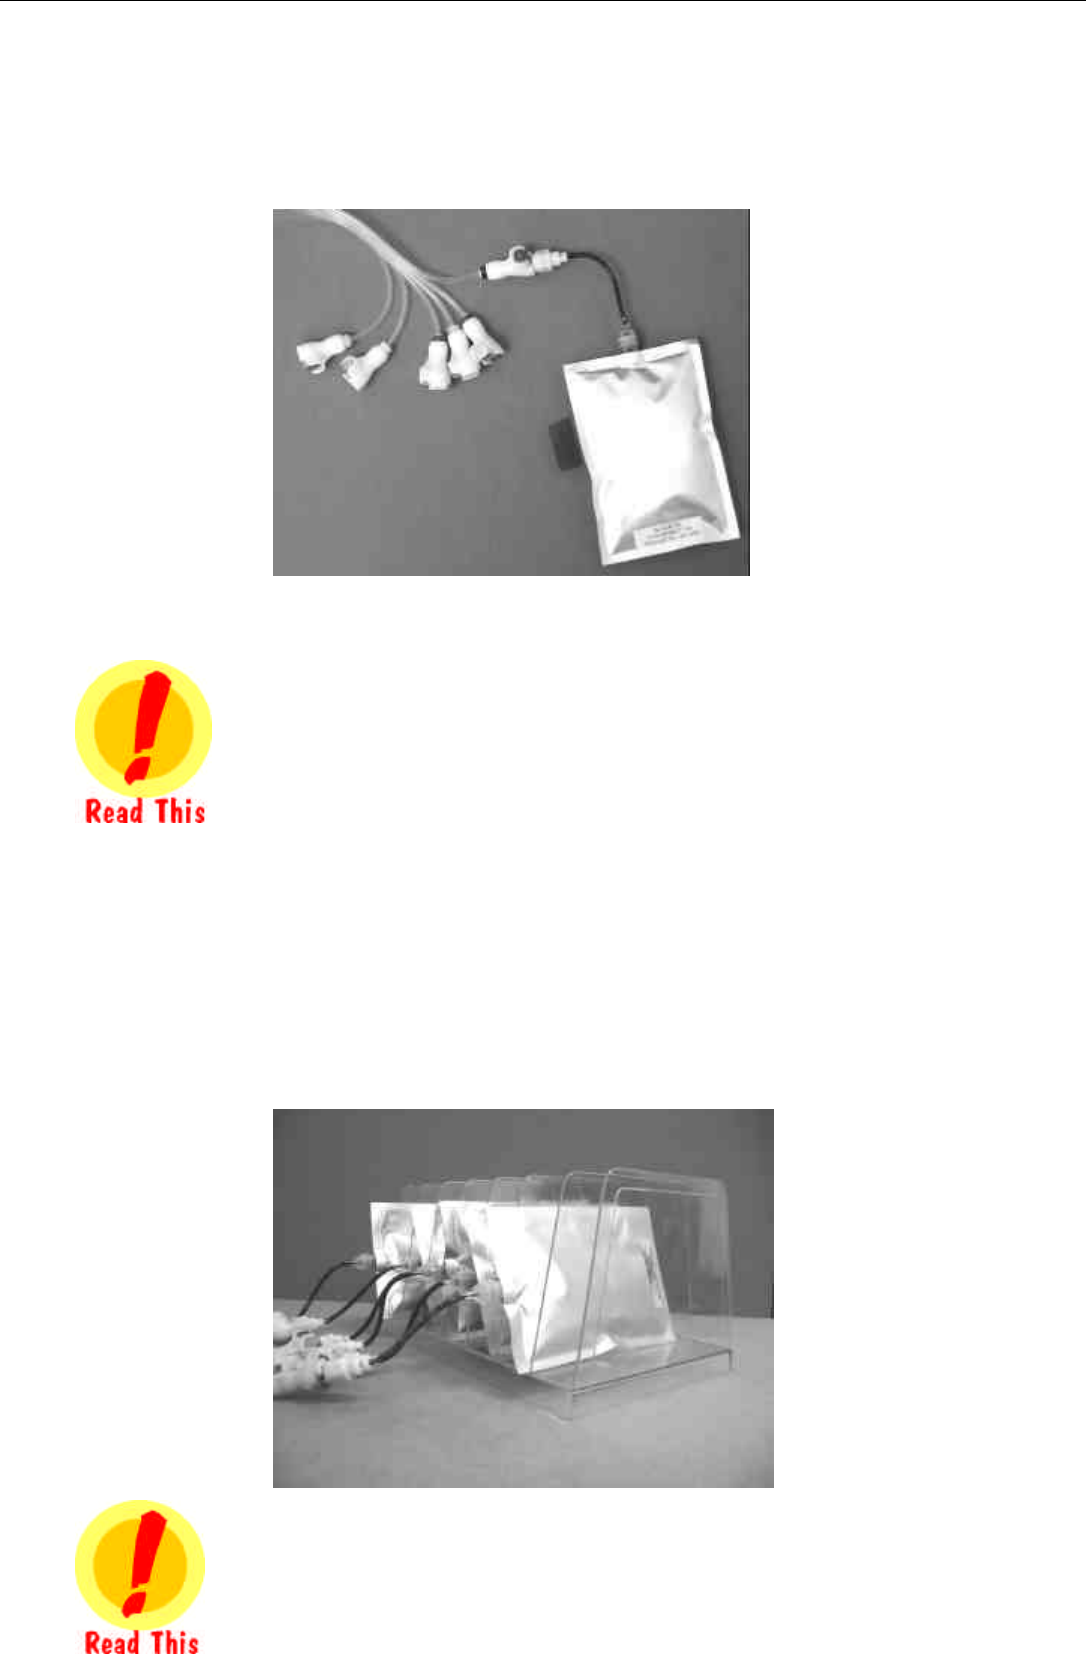
2. The connectors are color-coded for easy identification. Find the black connector.
Remove the plastic cap from the black ink bag and insert the male connector into the
female connector on the tubing. See Fig 2. Once the black bag is attached, attach the
rest of the ink bags to their corresponding colored tube.
3. Once all of the bags are attached to the QuickConnect system place the bags into the
ink carriage. See Fig 3. Ensure the ink carriage or ink bags are placed on the
same surface as the printer. The ink bags should never be elevated above the print
head, or ink may drip from the print heads. Keeping the bags beside the printer and at
the same level assures the ink delivery system will operate properly.
Fig. 2
Fig. 3
Remember to match the right color ink to its
corresponding cartridge chamber. Once the
tube is filled, there is no way to undo it!
The ink bags should never be elevated above the
printer or ink may drip from the print heads.


