Using EPSON Photo!3
2-5
EPSON Photo!3
Rev. C3
A5 size CHAP2.FM
9/8/99 Pass 0
R
Proof Sign-off:
E. Omori _______
M. Fujimori _______
K. Pipa _______
2
Using the Camera Menu
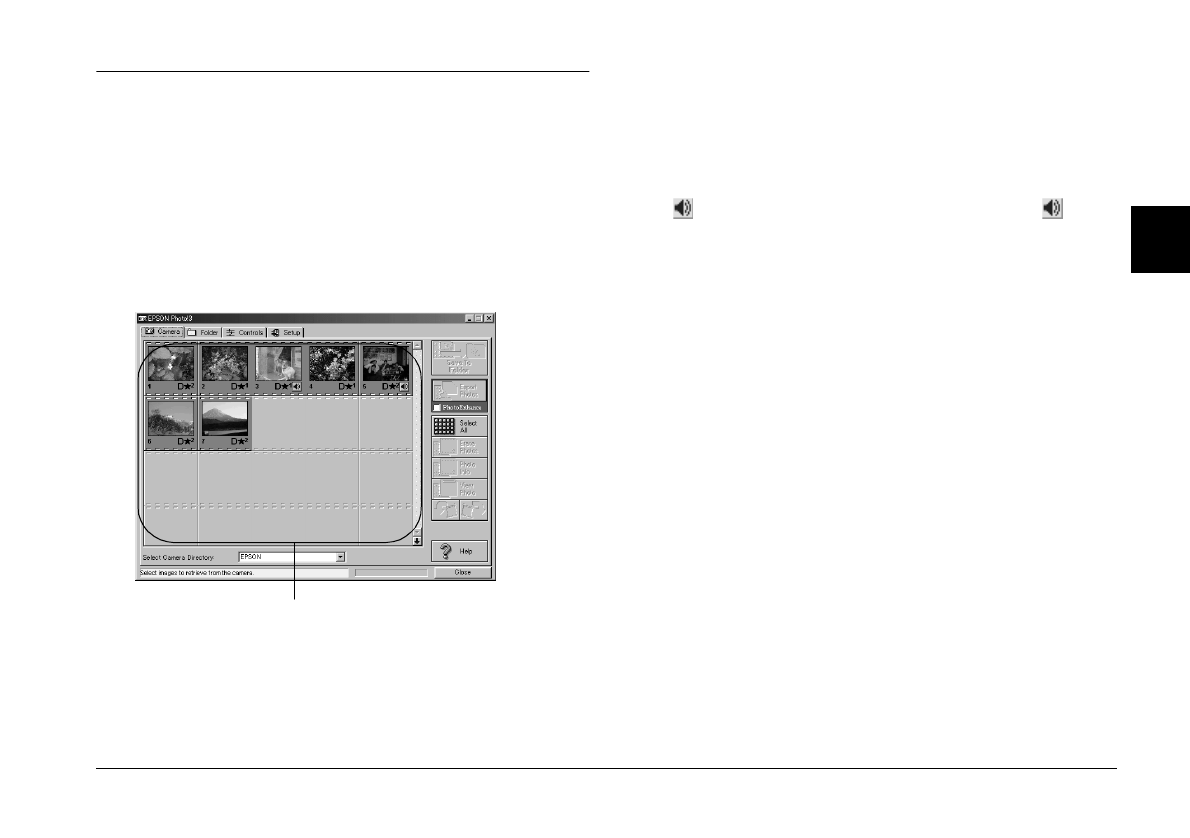
When you open EPSON Photo!3, the Camera menu
appears and starts downloading thumbnail images of
the photos stored in the memory card in the camera.
The images are downloaded in the order that they
were taken and are displayed in the image selection
window.
If scrolling through the images takes too long, you can
reverse the images by clicking the blue arrow at the
bottom of the scroll bar.
You can select the directory in the memory card in the
camera connected to the computer with
Select
Camera Directory
.
If you have made and attached an audio recording to
a photo, you can listen to the recording by clicking the
audio icon. To stop the playback, click the audio
icon again.
Note:
If a message appears indicating that the camera is not
connected properly, make sure the serial or USB port is
working, and that the port setting in the Setup menu
matches the port you are using. To change the port setting,
see “Changing the communication port” on page 2-17.
Transferring photos to your computer
There are two ways to transfer, or save, your pictures
to your computer. You can click the
Save To Folder
button to create a JPEG file that is named
automatically. Or you can click the
Export Photos
button to name the file yourself and save it as a JPEG,
BMP, PCX, or PICT (for Macintosh only) file.
image selection window


