Using EPSON Photo!3
2-13
EPSON Photo!3
Rev. C3
A5 size CHAP2.FM
9/8/99 Pass 0
R
Proof Sign-off:
E. Omori _______
M. Fujimori _______
K. Pipa _______
2
Finding the folder containing your photos
Click the
Browse
button to open a dialog box that
allows you to locate the folder containing the images
you downloaded from your camera. Select the folder
where you stored the photos and click
OK
.
Note:
Image files that were not originally downloaded from the
camera using the
Save To Folder
button, or files not
converted to EPSON Photo file forma
t
do not appear. For
instructions on converting files to EPSON Photo file
format, see “Using EPSON Photo File Uploader3” on page
3-1.
Uploading and copying photos
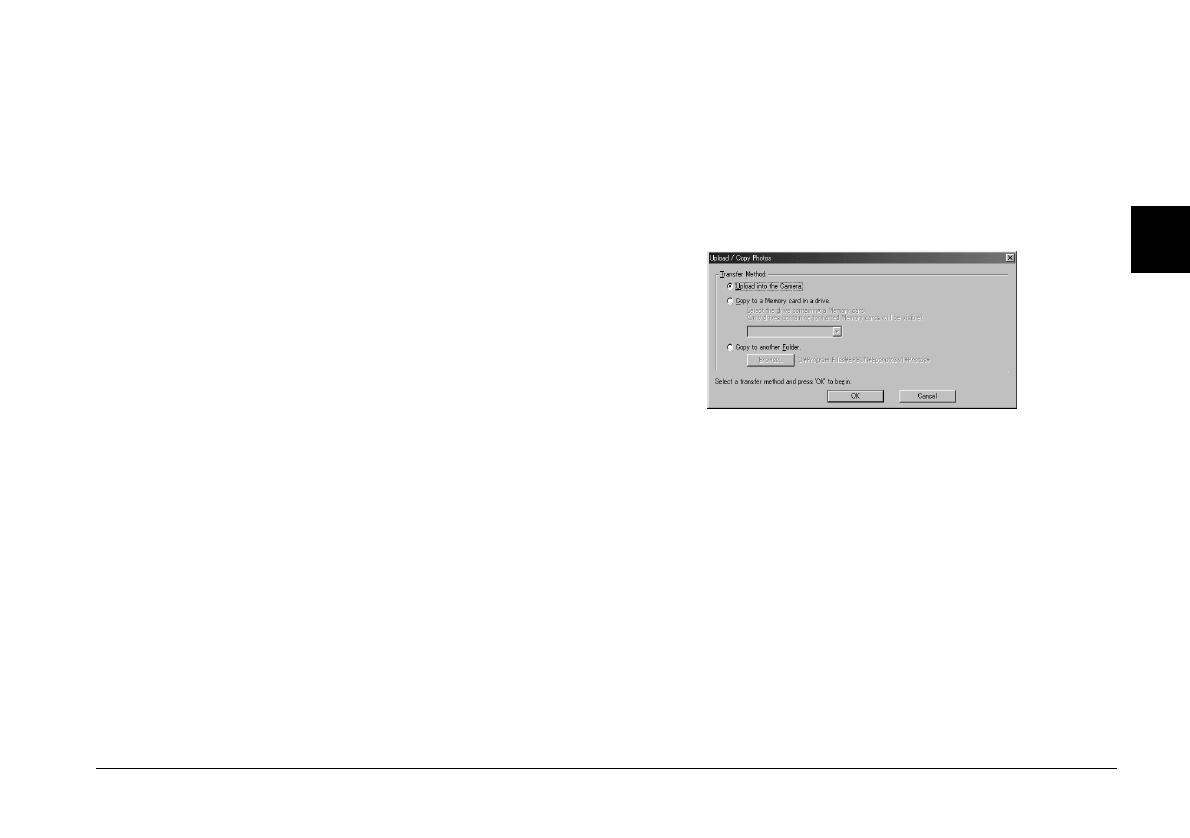
Click the
Upload/Copy
button to upload selected
photos to a CompactFlash memory card installed in
your computer or camera. You can also copy photos
to another folder with this button. The following
dialog box appears after clicking this button.
Select the transfer method, then click the
OK
button.
Images are added to the memory card in the camera,
or to the selected folder in your computer, in the order
they appear in the Folder menu's image selection
window. To cancel the transferring of images, click the
Cancel
button.
To copy images to another folder, select the folder
using the
Browse
button, then click the
OK
button to
start copying.
If the photos you select to upload or copy have audio
recordings, you can choose to upload or copy the
photo and audio file, or only the photo.
