


Using the FS-2/2E
FS-2/2E Studio DTE Disk Recorder User Guide
98
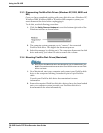
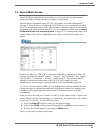
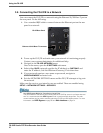
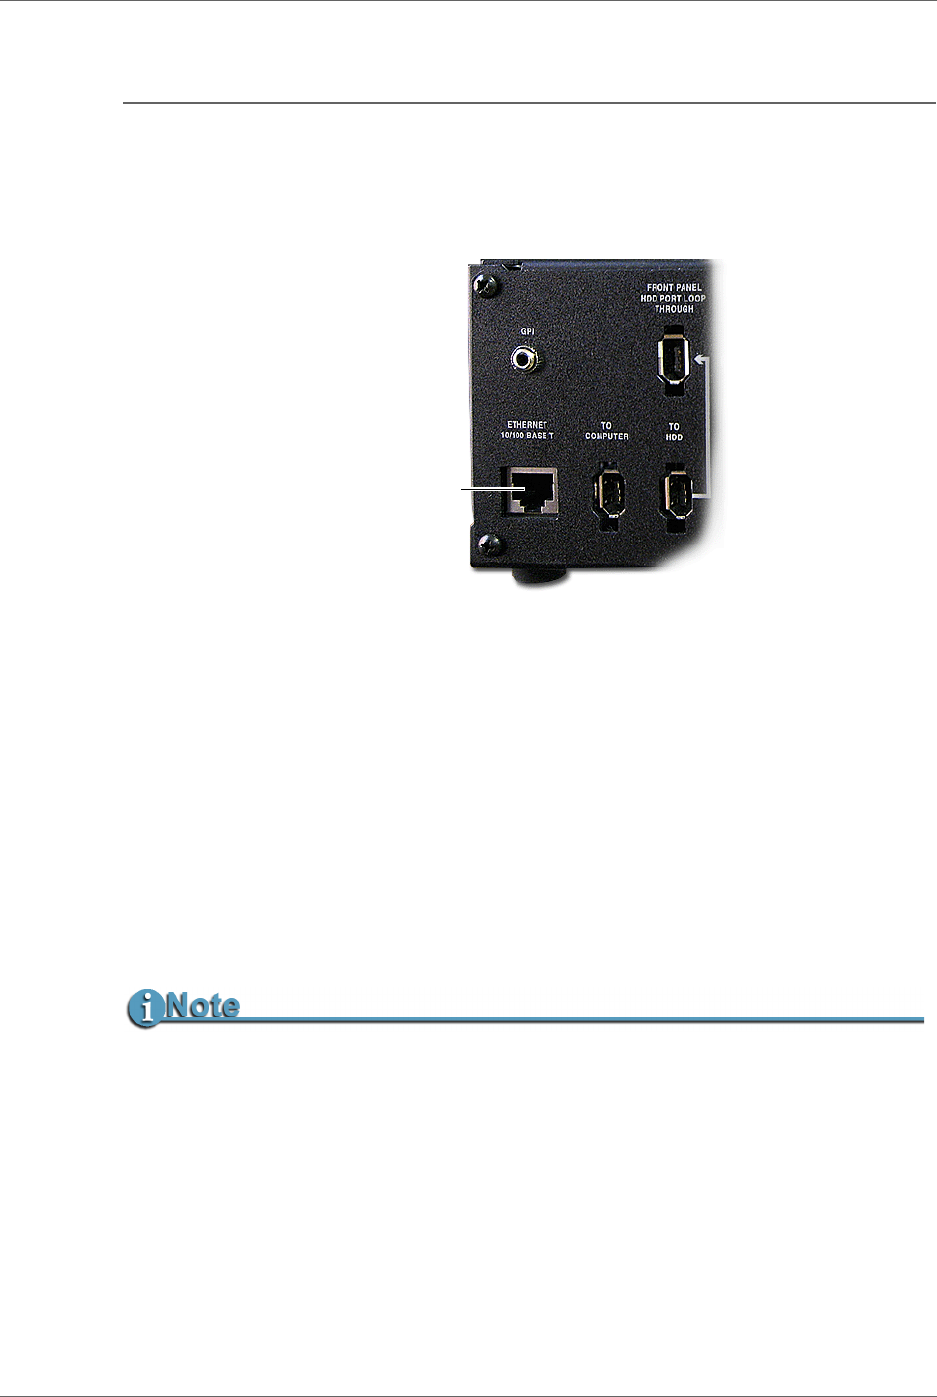
3.6 Connecting the FS-2/2E to a Network
You can connect the FS-2/2E to a network using the Ethernet 10/100 Base T port on
the rear panel. Do the following:
1. Use a standard RJ85 cable to connect between the Ethernet port on the rear
panel to a network.
2. Power up the FS-2/2E and make sure your network is functioning properly.
Contact your system administrator for additional help.
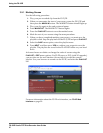
3. Navigate to the FS-2/2E NETWORK menu.
Once in the menu, open the
IP SETTINGS sub menu.
4. Select either DHCP (network supplies the IP address) or CUSTOM IP and
enter the IP address, Sub Net Mask and Gateway). Exit when done.
5. If your network requires a user name or password, navigate to
USER/PASSWORD and enter both.
6. Exit the NETWORK SETTINGS menu and the FS-2/2E attempts to log onto
the network.
Make sure the services you intend to use are enabled. These are enabled using
SETUP > NETWORK SETTINGS > SERVICES.
Use HDD Bypass Mode for Transferring Large Files
The performance of transferring files utilizing the FS-2/FS-2E ftp server is not faster than real
time. It is recommended that HDD Bypass mode is used to transfer larger files. The web
control interface can be used to remotely place the FS-2E into HDD bypass mode. For more
information, see
HDD Bypass on page 50 and Web Interface on page 74.
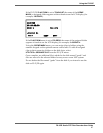
FS-2E Rear Panel
Ethernet 10/100 Base T Connector