


47
Advanced Features
3
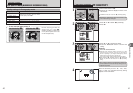
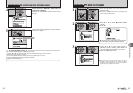
AUTO:Automatic adjustment
(shooting to show the ambience of
the light source)
6: Shooting outdoors in good weather
7: Shooting in shade
9: Shooting under “Daylight” fluorescent
lamps
0: Shooting under “Warm White” fluorescent
lamps
-: Shooting under “Cool White” fluorescent
lamps
8: Shooting in incandescent light
✽ When the flash fires, the white balance setting for the flash is used. Consequently, to achieve a particular effect, the
flash mode should be set to Suppressed flash (➡P.36).
●
!
The color tones may vary depending on the shooting conditions (light source, etc.).
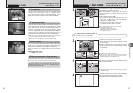
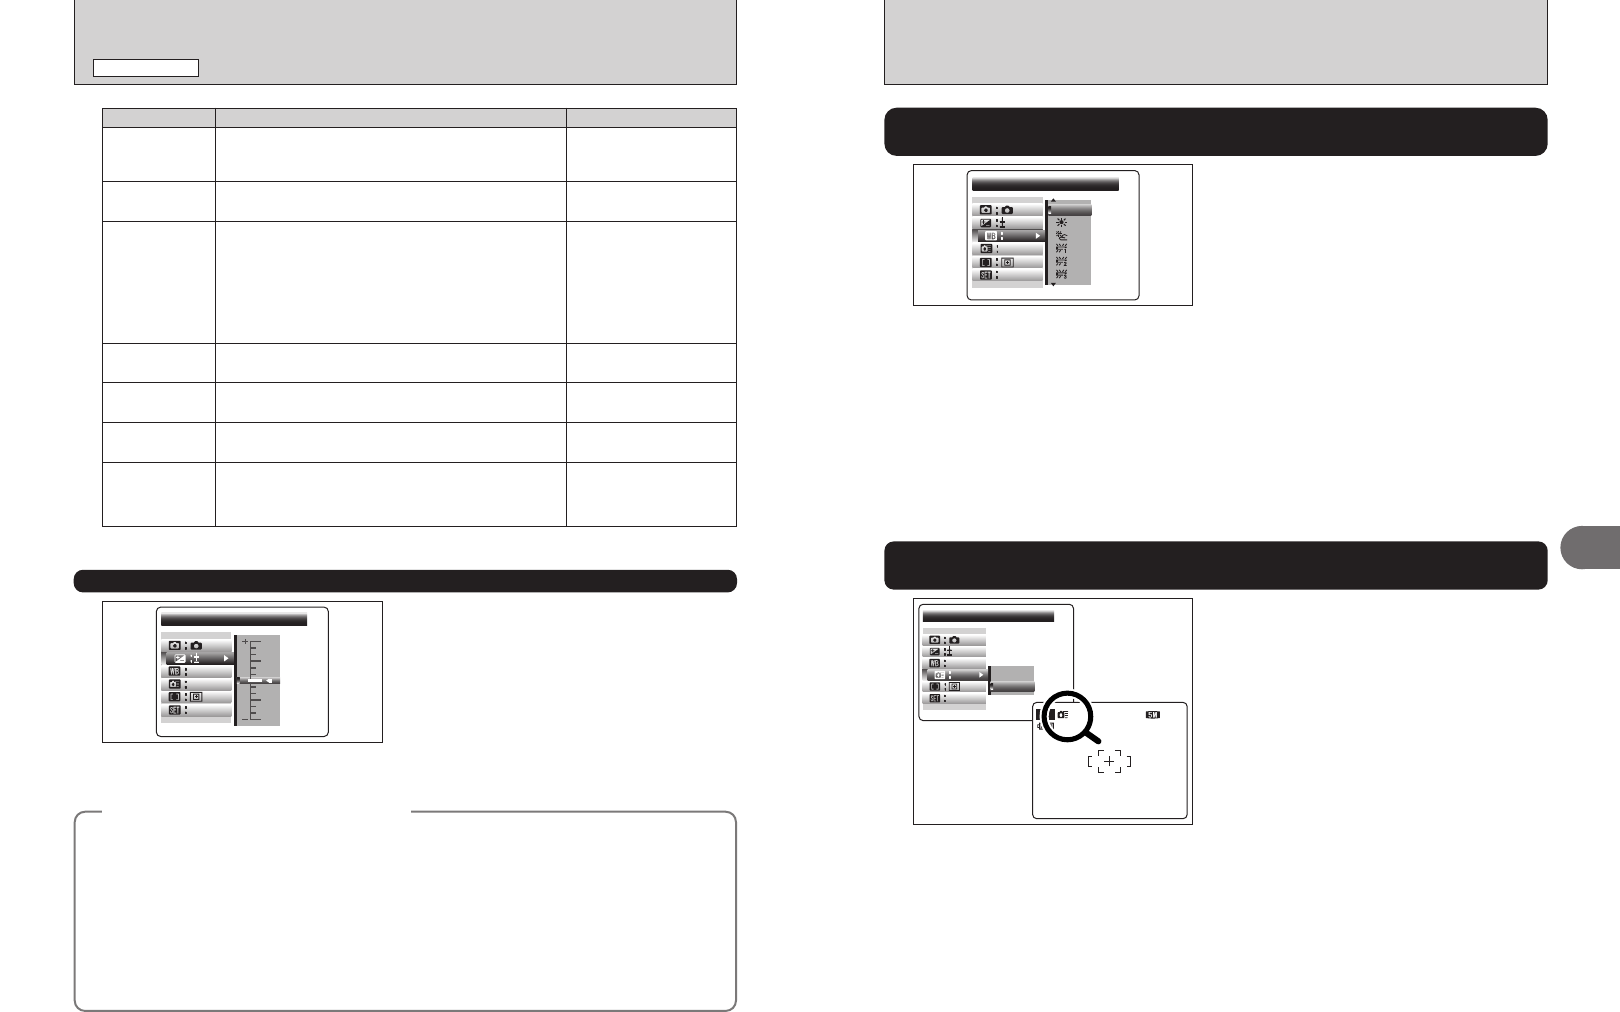
Change the white balance setting to suit for the
surroundings and lighting.
In AUTO mode, the correct white balance may not
be achieved for subjects such as close-ups of
people’s faces and pictures taken under a special
light source. Select the correct white balance for
the light source. See P.107 for more information on
the white balance.
0
AUTOA U T O
AUTOA U T OA U T OAUTO
OFFO F FO F FOFF
SET
S E T
WHITE BALLANCE
W H I T E B A L L A N C E
M
»
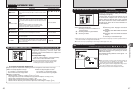
WHITE BALANCE
(
SELECTING THE LIGHT SOURCE
)
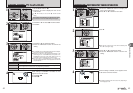
Available Photography mode: s
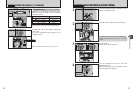
High-speed shooting mode reduces the time
required for focusing when pressing the shutter
button down halfway.
The available shooting distance is from approx. 1 m
(3.3 ft.) to infinity.
â
HIGH-SPEED SHOOTING
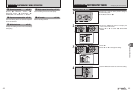
Available Photography modes: AUTO, À, m, ,, ., ©, s
OFFO F FO F FOFF
ON
O NO NON
HIGH-SPEED SHOOTING
H I G H - S P E E D S H O O T I N G
AUTOA U T OA U T OAUTO
SET
S E T
OFFO F FO F FOFF
MM
0
AUTOA U T O
NNN
11112222
●
!
When this function is active, higher sensitivity settings will
increase the amount of speckling in your images. This is
normal and does not affect the photographed image.
●
!
When taking pictures while the High-speed shooting mode is
set to “ON”, the battery will run down more quickly.
●
!
The LCD power save function is disabled in this mode.
46
PHOTOGRAPHY MENU
PHOTOGRAPHY MENU
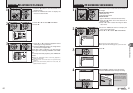
¨
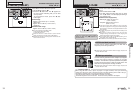
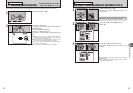
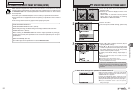
EXPOSURE COMPENSATION
Available Photography mode: s
SETS E T
AUTO
A U T OA U T O
AUTO
OFF
O F FO F F
OFF
0
M
EXP. COMPENSATIONE X P. C O M P E N S A T I O N
Use this function for shots to get the correct
brightness (exposure), such as shots with
extremely high contrast between the subject and
the background.
h Compensation range
–2 EV to +2 EV (13 steps in 1/3 EV increments)
See P.107 for more information on EV.
●
!
Any of the following disables exposure compensation:
i Using the flash in Auto or Red-eye reduction mode
i Shooting dark scenes in Forced flash mode
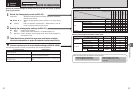
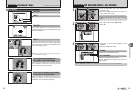
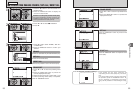
Shooting mode Explanation Available flash modes
m
PORTRAIT
Used for photography getting beautiful skin tones and soft
overall tone.
AUTO / b / d / v / c /
n
s
MANUAL
Sets the “Exposure compensation” (➡P.46), “White balance”
(➡P.47) and “AF mode” (➡P.48) to manual to easily control
yourself.
AUTO / b / d / v
AUTO
Used in a wide range of conditions. This is the easiest mode for
taking pictures.
AUTO / b / d / v / c /
n
À
NATURAL LIGHT
This mode produces beautiful images that retain the natural
ambience when shots are taken in low-light conditions. This
mode is also ideal for situations where the flash cannot be
used.
Sample uses:
• Portraits of sleeping children, pets and birthday cakes
• Candlelit services (weddings, etc.) and school concerts
• Restaurants, aquariums, museums and churches
Flash not available
,
LANDSCAPE
Used for shooting scenery in daylight and provides crisp, clear
shots of scenery such as buildings and mountains.
Flash not available
.
SPORT
Used for shooting sporting events. This mode gives priority to
faster shutter speeds.
AUTO / d / v
©
NIGHT
Used for shooting evening and night scenes. This mode allows
you to take shots where priority is given to slow shutter speeds
of up to 4 seconds. Place the camera on a stable surface to
prevent camera shake.
c / n / v
✽ “m”, “,”, “.” and “©” cannot be selected Macro mode.
◆
To obtain the optimum brightness
◆
Adjust the exposure compensation according to the level of brightness or darkness in the image.
■ Guide to compensation
i Backlit portraits: +2 steps to +4 steps (+
DW EV to +1DQ EV)
i Very bright scenes (such as snowfields) and highly reflective subjects: +3 steps (+1 EV)
i Shots made up predominantly of sky: +3 steps (+1 EV)
i Spotlit subjects, particularly against dark backgrounds: –2 steps (–
DW EV)
i Scenes with low reflectivity, such as shots of pine trees or dark foliage: –2 steps (–
DW EV)
hWhen the subject appears too bright
Try a negative (–) compensation setting.
This will make the overall image darker.
hWhen the subject appears too dark
Try a positive (+) compensation setting.
This will make the overall image brighter.
✽ Displaying the menus (➡P.43)