


85
Viewing Images
6
1
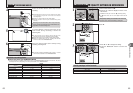
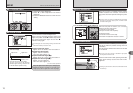
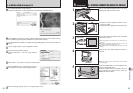
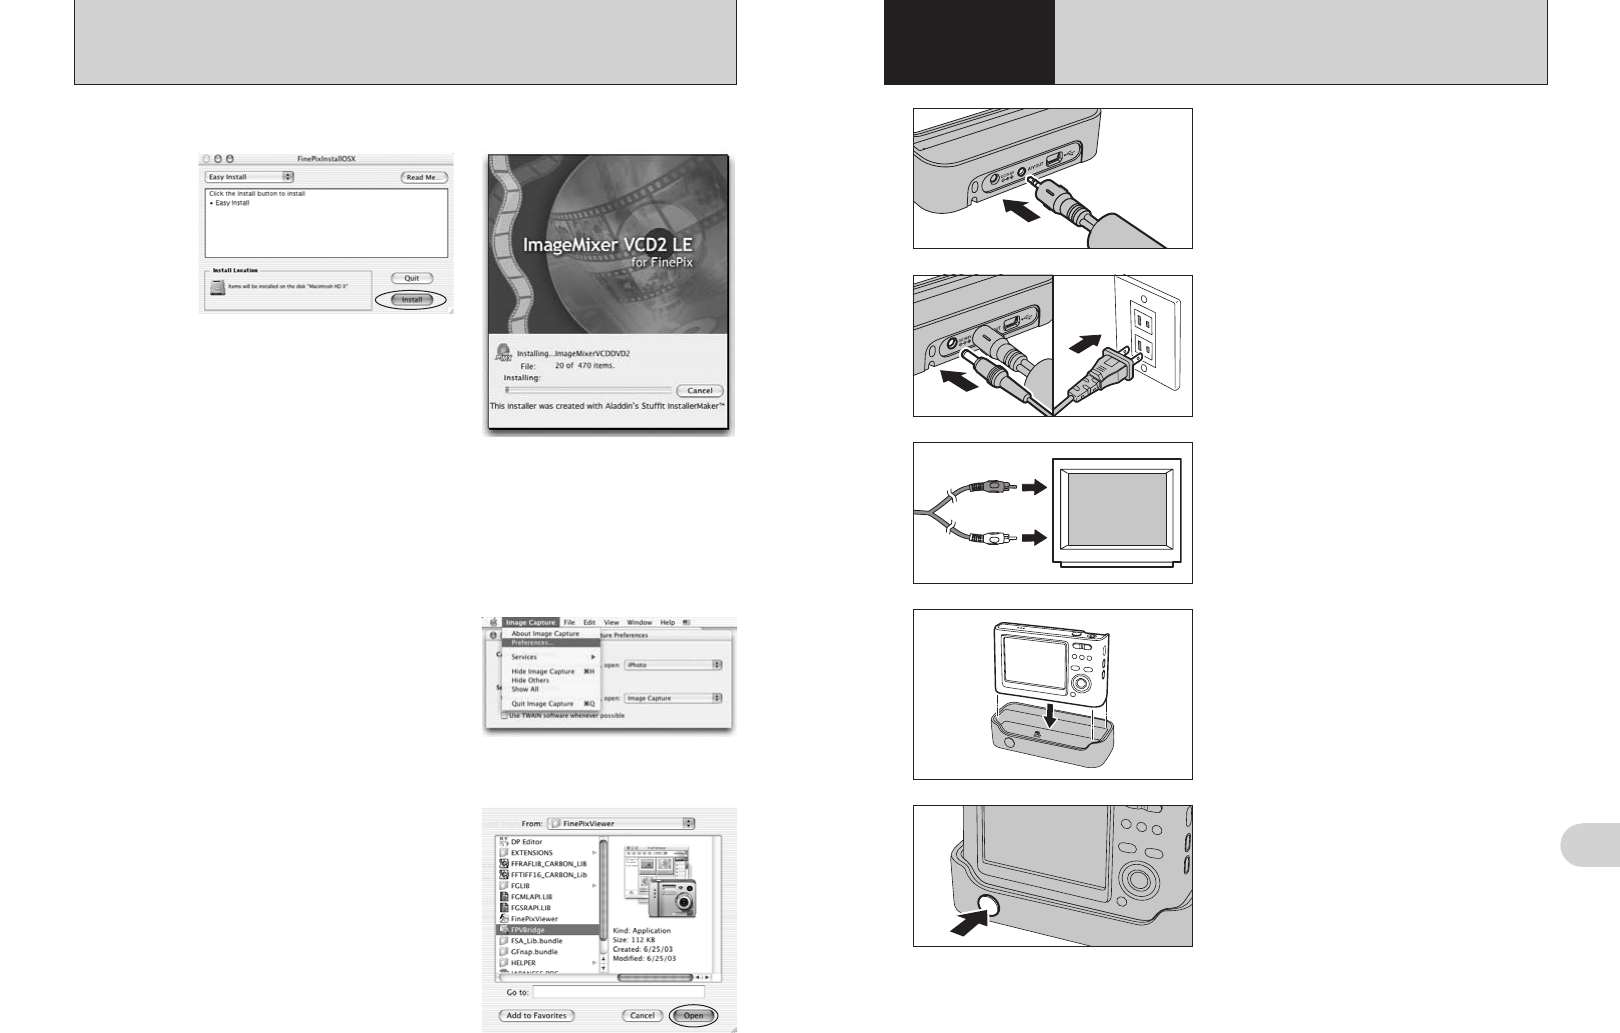
Plug the A/V cable (included) into the “A/V OUT”
(Audio/Visual output) socket for cradle.
3
Video (yellow)
Audio (white)
To terminals
Plug the other end of the cable into the video/audio
input socket on the TV.
●
!
When connecting the A/V cable to TV, the LCD monitor is
turned off.
●
!
Refer to the instructions provided with your TV for more
information on video/audio input for your TV.
●
!
The image quality for movie playback is lower than for still
images.
●
!
Plug the camera securely and vertically into the cradle
connecting plug.
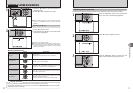
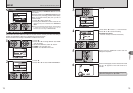
4
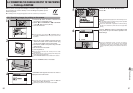
Close the lens cover before setting the camera in
the cradle.
2
01 02
1Plug the AC power adapter connector into the
“DC IN 5V” socket.
2Plug the AC power adapter into the power outlet.
Press the “POWER” button on the cradle to turn the
camera on in Playback mode.
Automatic playback starts automatically. When not
using Automatic playback function, press the
“MENU/OK” button to stop it.
5
6.1 CAMERA CONNECTION
(
USING THE CRADLE
)
6
Viewing Images
84
5.2 INSTALLATION ON A Mac OS X
10
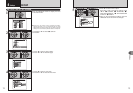
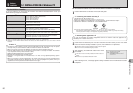
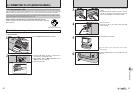
The “FinePixViewer installation completed” message dialog appears. Then click exit button and
close it.
11
Launch “Image Capture” from the “Applications” folder.
12
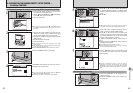
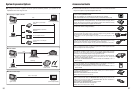
Change the Image Capture settings.
Select “Preferences...” from the “Image Capture”
menu.
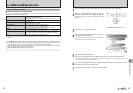
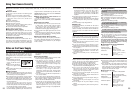
14
Select “FPVBridge” from “FinePixViewer” folder in
the “Applications” folder and click the [Open] button.
15
Select “Quit Image Capture” menu in the “Image Capture” menu.
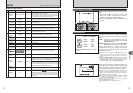
8
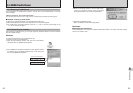
The “FinePixInstallOSX” window appears.
Click the [Install] button to install FinePixViewer and RAW FILE CONVERTER LE.
9
The ImageMixer VCD2 LE for FinePix installer automatically starts up and a window showing
the installation progress appears (Installation may take several minutes).
13
Select “Other...” from “When a camera is connected, open”.