


40
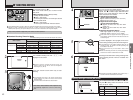
This mode can be selected in the “W”
photography mode.
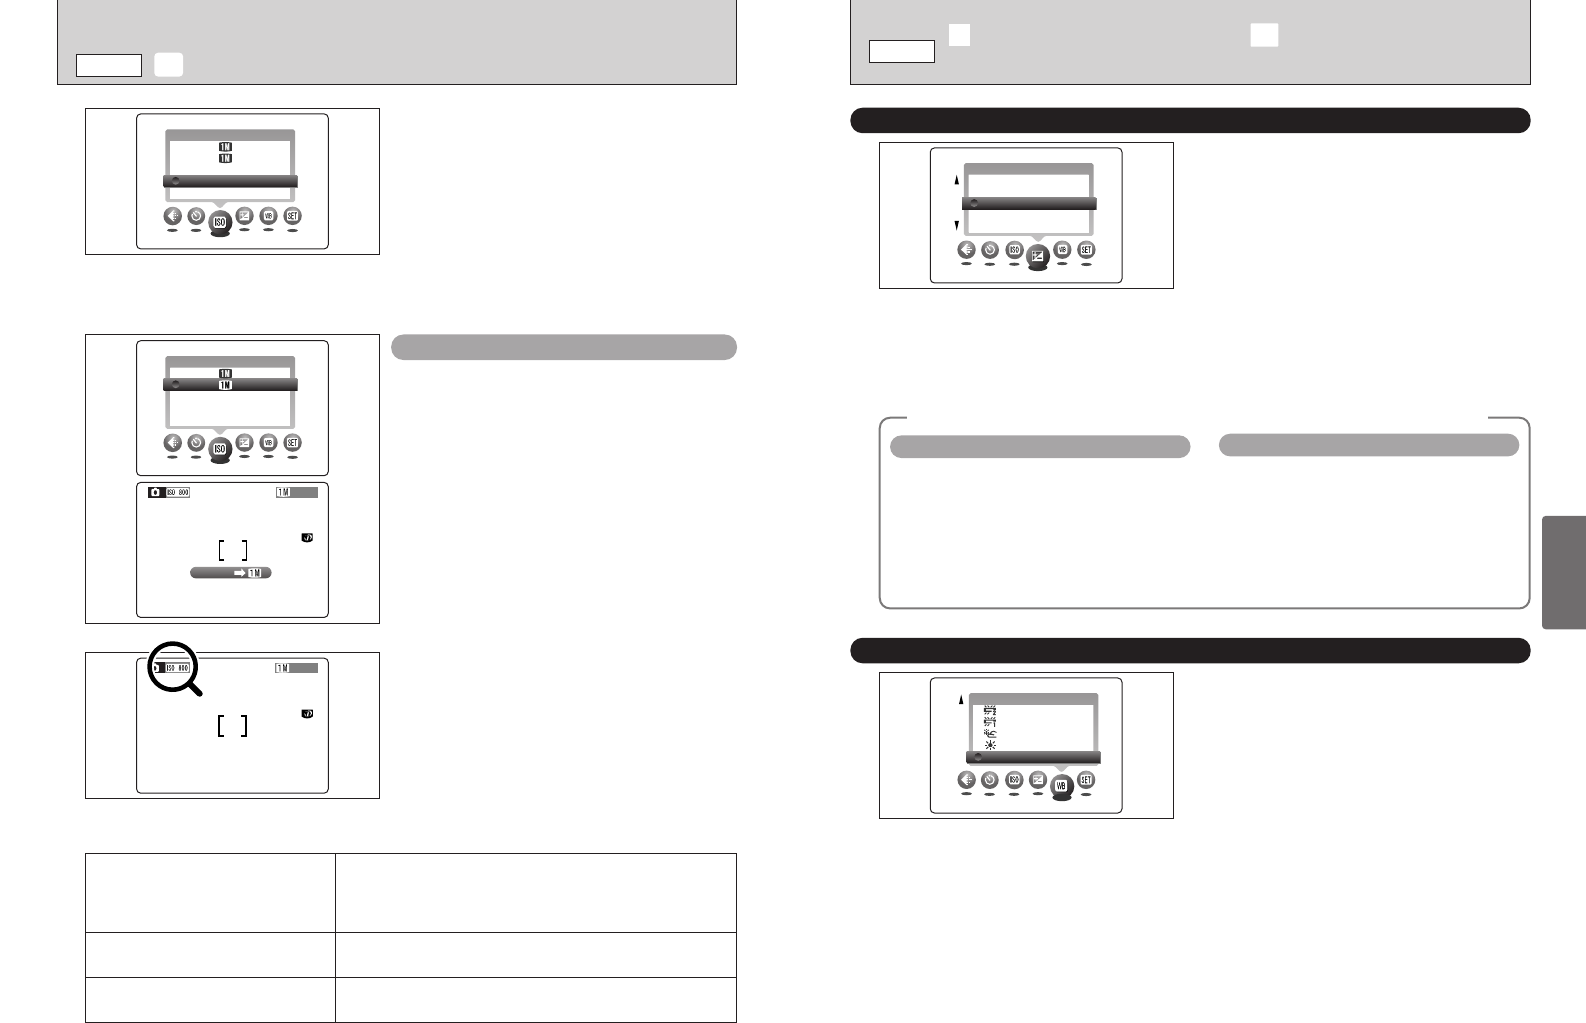
Use this setting when you want to take bright
pictures indoors without using a flash or when
you want to use a fast shutter speed (to prevent
camera shake, etc.).
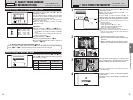
h Settings: 160, 200 (standard), 400, 800, 1600
●
!
While selecting a higher sensitivity setting will allow you
to take pictures in darker locations, it will also increase
the amount of speckling in your images.
Choose the sensitivity setting that best suits the
conditions.
When a high sensitivity (800 or 1600) is
selected, the quality is automatically set to “1”.
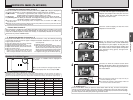
High-sensitivity photography (800 or 1600)
During high-sensitivity photography, “N” or
“M” appears on the screen.
●
!
While selecting a higher sensitivity setting will allow you
to take pictures in darker locations, it will also increase
the amount of speckling in your images.
Choose the sensitivity setting that best suits the
conditions.
High-sensitivity mode is cancelled and the camera settings revert to
the values current just before high-sensitivity mode was selected.
If the mode is changed to
W
again, the camera switches to high-
sensitivity mode and the camera settings change to the values set
when the sensitivity was specified.
Uses of changing to
W
or
U
The sensitivity setting remains unchanged at high sensitivity.
Setting the mode switch to
w
briefly and
then back to
q
Even if the camera is switched off, the sensitivity setting is saved
and the camera remains in high-sensitivity mode.
Switching the camera off
■ Camera settings for high-sensitivity photography
✽ Selecting U/W (➡P.32)
✽ Displaying the menus (➡P.32)
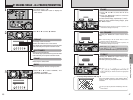
41
Advanced Features Photography
3
This mode can be selected in the “W” photography
mode.
Use the Brightness setting to obtain the optimum
image brightness (exposure) when the subject is
much brighter or darker than the background.
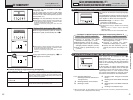
hCorrection range: –2.1 EV to +1.5 EV
(13 levels in 0.3 EV steps)
See P.85 for more information on EV.
●
!
The Brightness setting is disabled in the following
situations:
• When the flash is used in Auto or Red-Eye
Reduction mode
• When dark scenes are shot in Forced Flash mode
◆
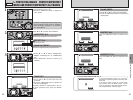
Subjects for Which Exposure Adjustment is Particularly Effective
◆
h Copying of printed text (black
characters on white paper) (+1.5 EV)
h Backlit portraits (+0.6 EV to +1.5 EV)
h Very bright scenes (such as snowfields)
and highly reflective subjects (+0.9 EV)
h Shots made up predominantly of sky.
(+0.9 EV)
h Spotlit subjects, particularly against
dark backgrounds (–0.6 EV)
h Copying of printed text (white
characters on black paper) (–0.6 EV)
h Scenes with low reflectivity, such as
shots of pine trees or dark foliage (–0.6
EV)
Guide to using + (positive) compensation
Guide to using – (negative) compensation
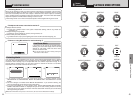
a WHITE BALANCE
(
SELECTING THE LIGHT SOURCE
)
AUTO: Automatic adjustment
(Shooting to show the ambience of
the light source)
6
: Shooting outdoors in fine weather
7
: Shooting in shade
This mode can be selected in the “
W”
photography mode.
Change the white balance setting when you
want to take a picture with the white balance
fixed for the surroundings and lighting when the
picture is taken.
In AUTO mode, the correct white balance may
not be obtained for subjects such as close-ups
of people’s faces and shots taken under a
special light source. In such situations, select
the correct white balance for the light source.
See P.85 for information on the white balance.
✽ Selecting U/W (➡P.32)
✽ Displaying the menus (➡P.32)
L EV
(
EXPOSURE COMPENSATION
)
9
: Shooting under “Daylight” fluorescent
lamps
0
: Shooting under “Warm White” fluorescent
lamps
-
: Shooting under “Cool White” fluorescent
lamps
8
: Shooting in incandescent light
✽ When the flash fires, the white balance set for the flash is used. To achieve a particular desired effect,
set the flash mode to Suppressed Flash (➡P.28).
f SENSITIVITY
q
MODE
L
EV
(
EXPOSURE COMPENSATION
)
•
a
WHITE BALANCE
(
SELECTING THE LIGHT SOURCE
)
q
MODE