2-4
When using the scanner with the SCSI inter-
face, you need to purchase a commercially
available SCSI cable and a SCSI card.
• SCSI cable
The SCSI has to fit to a 50 Pin half pitch connector
and the SCSI card connector of your PC.
• SCSI card
Use the recommended SCSI card noted on the fol-
lowing website:
http://imagescanner.fujitsu.com/
The factory default setting for SCSI ID is "ID 5". If the
SCSI ID of another device has already been set to the
same ID, change either the scanner's SCSI ID or that of
the other device. To change the SCSI ID see the
following procedure.
2.3 Installing the Scanner
Application
For scanning documents with this scanner, the
scanner driver as well as an image capturing
application software (called "application" here-
after) must be installed on your PC.
Scanner driver:
FUJITSU TWAIN 32 Scanner Driver
FUJITSU ISIS Scanner Driver
Connecting the SCSI
interface cable
ATTENTION
When connecting the SCSI interface
cable, be sure to first connect the SCSI
interface cable then turn on the scanner
and your PC. Connect the scanner so
that it is the terminated device on the
SCSI daisy chain.
1.
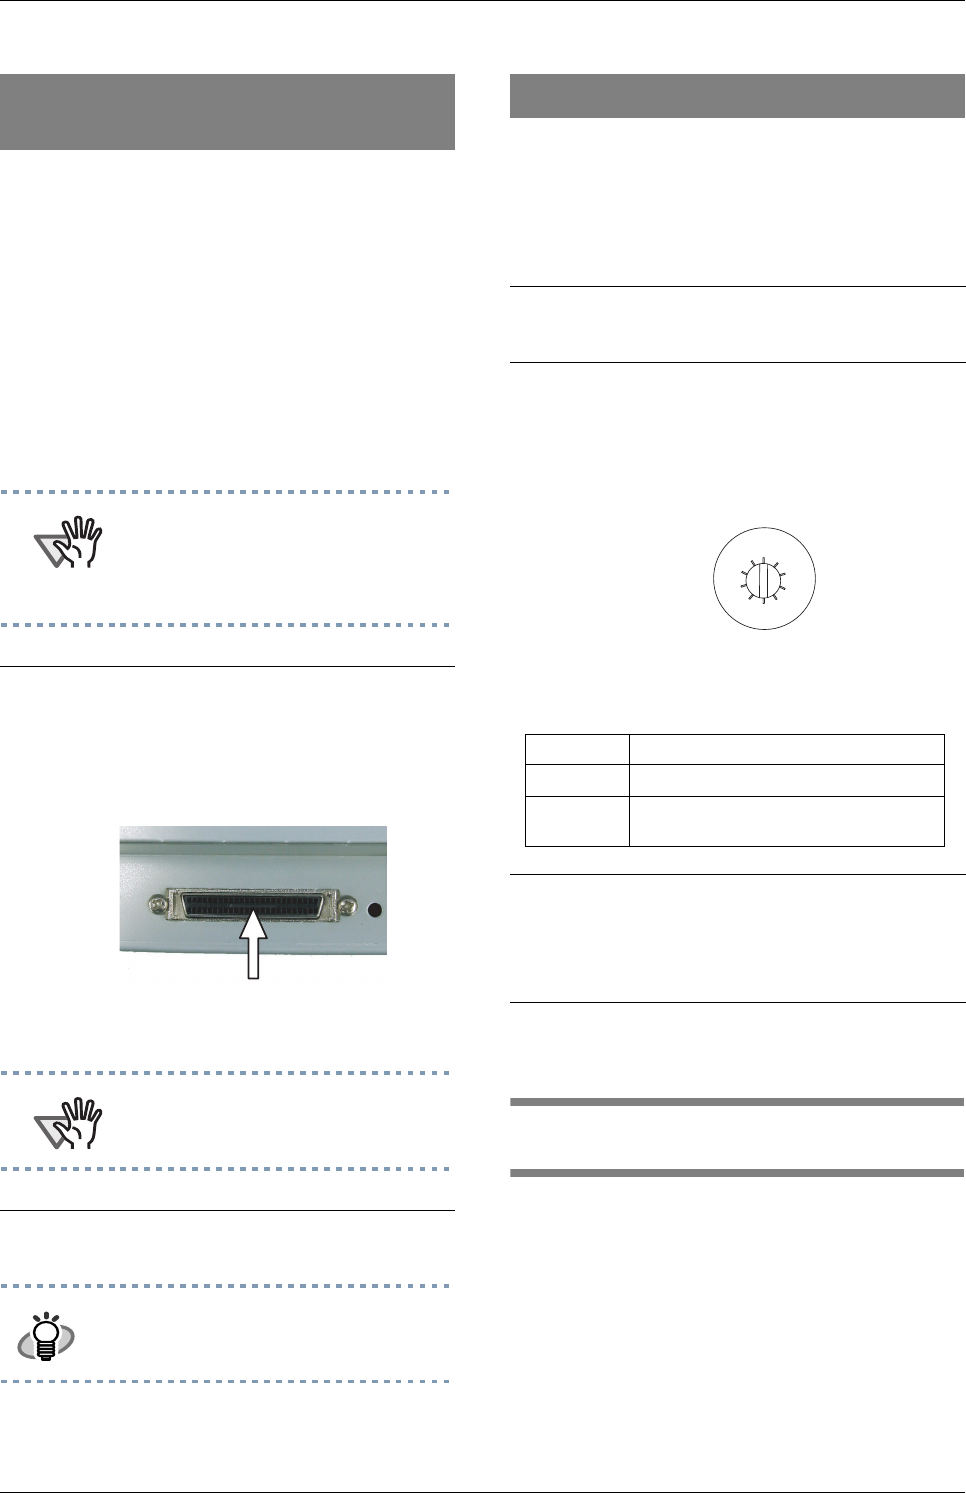
Connect the SCSI cable to the scanner.
Open the cable cover located below the
ADF paper chute, connect the SCSI cable
to the SCSI interface connector and make
sure it is firmly connected.
Once the cable is connected, close the
cable cover.
ATTENTION
Be careful not to bend the pins of the
SCSI cable when connecting to the
scanner .
2.
Connect the other end of the cable to
your PC.
HINT
For setting the SCSI ID of the scanner,
please refer to the following section.
Setting the SCSI ID
1.
Turn the scanner OFF.
2.
Set the SCSI ID.
Open the cable cover located below the
ADF paper chute and set the device
address by using the SCSI ID switch.
TABLE 1.
No. Description:
0 - 7 Can be set as the ID.
8, 9 Used for the factory default value
(SCSI ID=5).
3.
Turn ON the Scanner.
When the scanner is turned ON, the SCSI
ID set at step 2 is enabled.
4.
Turn ON your PC.
6
5
4
3
2
1
0
7
2
3
4
5
6
7
8
9
0
1


