English
142
Installing Software
Before installing the UDF driver (DVD-RAM driver) provided with this DVD video camera/
recorder, check to see if another UDF driver* has already been installed your PC.
*InstantWrite
®
provided with the DZ-WINPC1, DZ-WINPC2 or DZ-WINPC2B PC kit for the Hitachi
DZ-MV100A DVD video camera/recorder, or with the DZ-WINPC3 PC editing kit for the Hitachi
DZ-MV200A, DZ-MV230A or DZ-MV270A DVD video camera/recorder.
If the UDF driver has been installed, uninstall it and then install the UDF driver on the provided CD-
ROM. Use “Control Panel” – “Add or Remove Programs” or “Add or Remove Applications” to
uninstall the UDF driver.
If any question messages appear that mean “This file is not used on another application. Do you
wish to delete it together?” during uninstalling, click “No” for all such questions.
Note:
• If your PC uses Windows
®
XP or 2000 Professional, set the user name to “Administrator (computer’s manager)”
(or user name with equivalent authorization), log on to PC, and then install the software (if you do not have
authorization, consult your system manager).
• For the software provided with this DVD video camera/recorder, no program with different version can coexist: If
any programs with different versions are already installed in your PC, uninstall them, and then install the software
from the provided CD-ROM. However, installing the provided software may disable some functions that were
usable on the previously installed software programs with different versions.
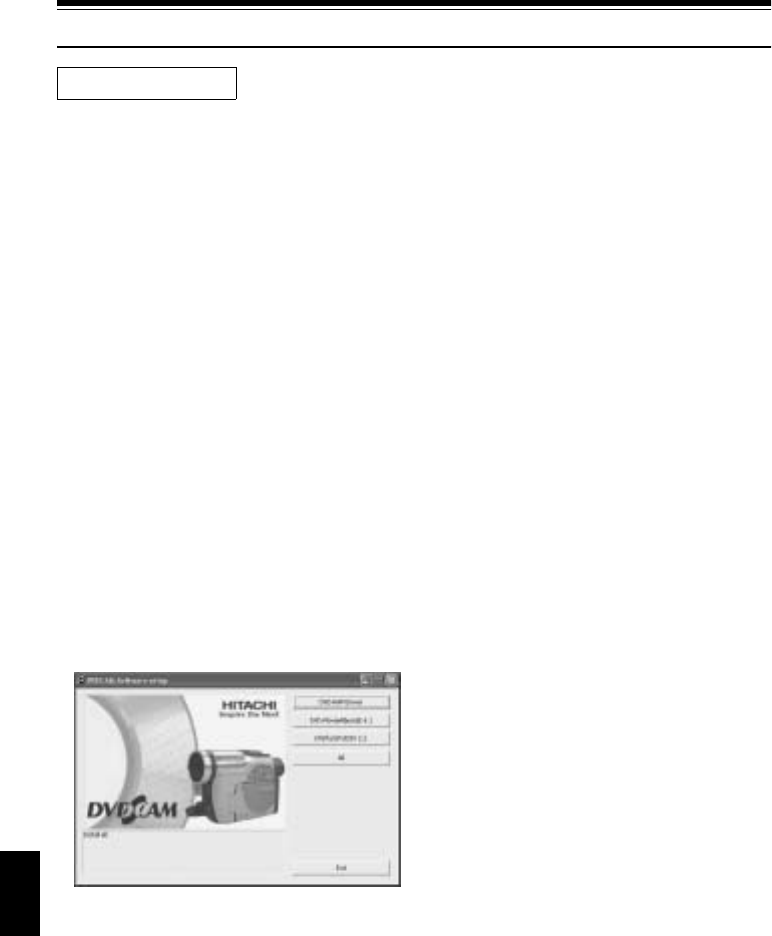
DISPLAYING INSTALLER SCREEN
1 Turn the PC on.
If any software is being run on the PC,
terminate all the programs being used.
2 Insert the provided CD-ROM into the CD-
ROM drive of PC.
The installer screen will automatically appear.
If the installer screen does not automatically
appear, use the following procedure to
display it:
3 Use the Windows My Computer or Explorer
to open the drive in which the CD-ROM is
located.
4 Double-click the Setup.exe icon.
The “.exe” extension may not appear,
depending on the PC being used.
Before You Begin


